How to Use A Compass: Finding Your Way Like A Good Scout
If you’re interested in all things survival, then learning how to use a compass is one of the most basic skills you should master in the wilderness. Knowing that, in combination with knowing how to read the topo map of the place you’re in, will lead you to safety wherever you are.
[the_ad_group id=”21″]
As such, this article aims to help you understand just how to do that, starting with the fundamental components of a baseplate compass and of a map. After these information are clear in your head, you can then put them into practice and start using both the compass and the map in order to find your way.
The Fundamentals of Compass Reading
If you browse for different compasses online or in a specialized camping store, you can see that each one of them is designed differently. However, they do have some essential components in common, like the magnetized needle that indicates magnetic fields on Earth.
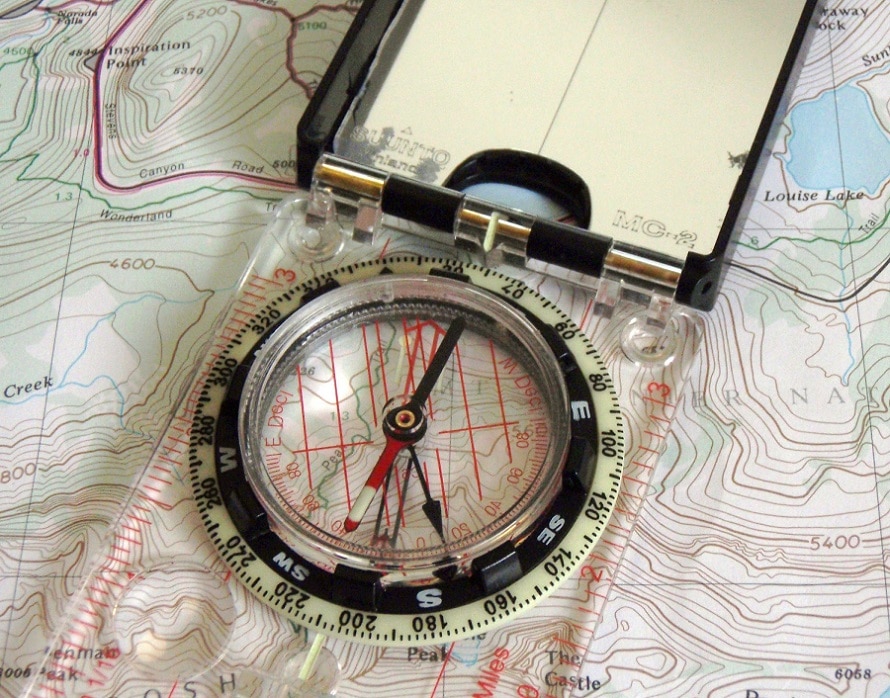
The baseplate compass, which is the simplest, most basic type of field compass, is the model we’re going to tell you about. That’s because once you get its components, you’ll be able to read a lot of other compasses as well.
The baseplate
Made out of clear plastic, this is the basic support for the compass. It’s used for measuring distances, since it has scales and rulers to help you determine that. The black line that runs across the baseplate is used on the map, to connect the dots between the place where you are now and the place you want to reach.
The compass housing
A circle made out of clear plastic where the magnetized needle lies, the compass housing is a rotating bezel. Around it you will see inscribed the degrees that a circle has, that will help you orient yourself on a 360° radius.
The degree dial
The degrees marked here on this dial that can be easily twisted, along with the dial itself form what is called the degree dial.
The direction of the travel arrow
Inside the baseplate, you will see an arrow pointing outwards. As it’s pretty obvious, this arrow indicates the direction where you’ll be going once you have established your current position.
The magnetic needle
Inside the compass housing you’ll see a needle that can spin. This is also called the compass needle and it rotates because it’s actually floating inside alcohol.
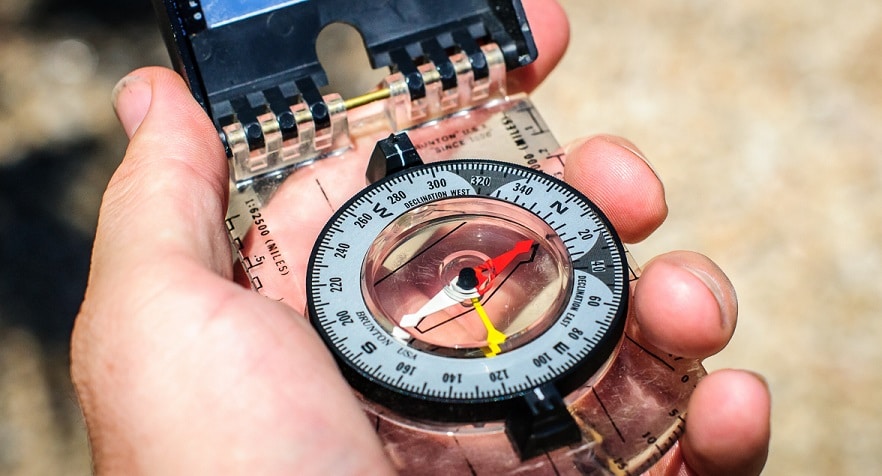
You’ll see a red end, which always indicates the magnetic north.
The orienting arrow
This arrow isn’t magnetic and it lies inside the compass housing. When you want to establish your exact location, you’ll have to align it with the magnetic needle.
The orienting lines
Also located inside the compass housing, you’ll see some lines parallel to the above discussed arrow. These are called orienting lines and their purpose is to be used on your map, in order to accurately indicate the north. You’ll simply have to make sure the orienting lines are in line with the easting lines.
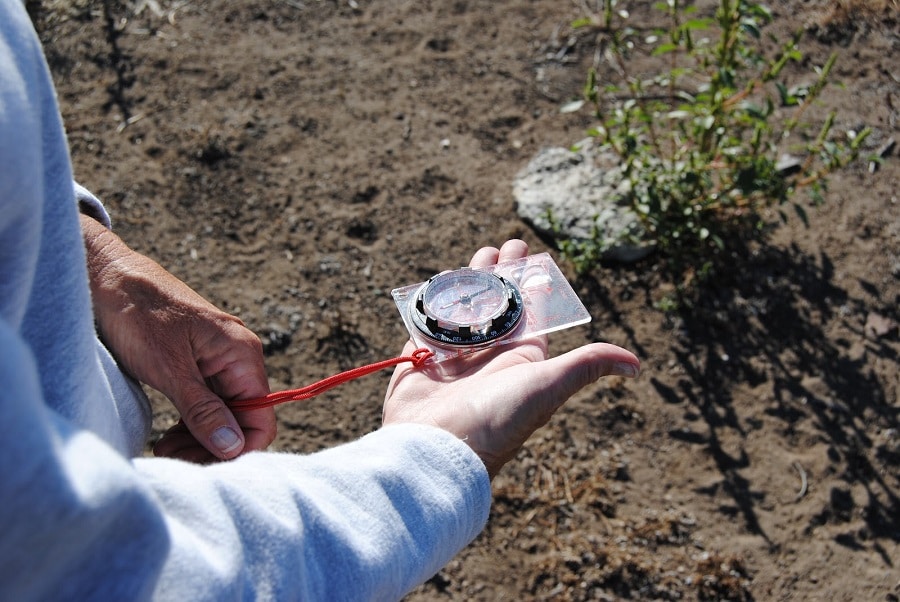
As you can figure out, the most important part of a baseplate compass is actually this magnetic needle you can find inside the central pivot. Since its red end will always show you where the Earth’s magnetic North pole is, and since the outside ring has inscribed the north, south, east, and west cardinal points, it’s obvious that you can use these indications for better orientation.
As such, once you manage to get the red point of the magnetic needle that indicates the North in line with the arrow on the baseplate, you can get your bearings. If you prefer a watch, see our review of the top compass watch to suit your needs.
Some Basic Types of Maps
To begin with, it’s important to note that there are different types of maps. Most people have a map inside their glove compartment, and you may have also used a map found in a guidebook when you’ve planned a camping trip.
These maps are called trail maps and they’re pretty crude, therefore they’re not appropriate for field navigation. To do that you need a topographic map, because it shows you how the terrain unravels in more detail.
The road maps
These maps are the traditional maps you can find in different books or tourists centers. They show a horizontal view of a certain area, picturing roads, land and water stretches, tourist trails, monuments, etc.

Road maps are bi-dimensional, flat maps which are mainly used to find a certain interest point: like a faster route to somewhere, or the location of a museum. However, they won’t give you an idea of the differences in elevation and therefore fail to build a full perspective of your journey.
That’s because you need to know these differences in elevation in order to calculate the distance between where you are and where you’re going more precisely. If you have to travel through a valley or across a mountain, this will add to the distance – but you won’t be able to see by how much if you’re only using a traditional map.
The topo maps
The basic examples of topographic maps that you may have heard of are the USGS (United States Geological Survey) quadrangles or certain map products that are customized and can be bought or downloaded.
These maps have a different appearance from the road maps, as they present differently colored areas overlapped with sinuous lines. Don’t be disconcerted if you don’t see any colors on your topo map: different nuances of grey may work just as well. The point is to have areas that aren’t colored the same combined with these sinuous lines in order to get the best picture of different elevations in your area.
As a consequence, topo maps will show you the high and low points of the landscape so that you can find the valleys or peaks that appear naturally in the relief. However, rest assured that topo maps will show you where the main roads are, as well as the cities and towns.
That makes topo maps the best when it comes to wilderness or outdoor camping trips, whether you’re going away for a weekend or a month. That’s because you can get lost even if you’re sure of yourself, your skills and the markings on the trail, and topo maps will help you see where a certain landmark is for sure.
Finding Your Way with The Topo Map
In order to understand how to use a compass and map, it’s best to be acquainted with the primary components and colors of a topo map.
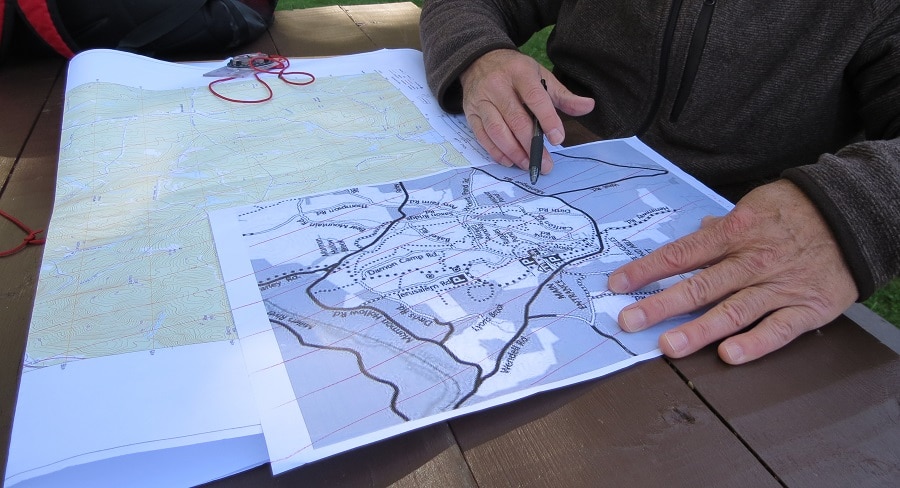
These will show you difference in elevation and terrain asperities, so that you can calculate distances and routes more precisely.
Contour lines
The tri-dimensional outlook of your area is given by these contour lines, which are traced between points that are situated at the same height. A level terrain is indicated by lines that are farther apart, while the opposite is true for an inclined terrain.
The contour interval
This is the interval used on a map that shows the difference in elevation represented by the contour line. You’ll be able to see the contour interval marked at the margin of your map.
The index contour line
This is the fifth contour line, which is more prominently drawn, indicating elevation.
The scale
The graphic scale is what will show you how to measure the distances. For instance, 1 inch may be the equivalent of 1 mile.
The colors
Places with a lot of vegetation are represented by darker colors, while places with little vegetation are lighter.
The magnetic declination diagram
The difference between the Magnetic North and the True, Polar North is crucial for using a map and compass to show you the way. The magnetic declination diagram will show you the declination between these two points.
The grid
Topo maps each have a grid used for pointing your position.
UTM (Universal Transverse Mercator)
UTM is a military system for dividing in different zones the area you’re in.
The Basics of Compass And Map Reading
Many people want to know how to read a compass but fail to do so because they aren’t holding it in the right position. As such, you shouldn’t simply place it on the map, but the map itself has to be previously placed on something flat – like a working desk. If you don’t have a map, the compass should be held in the palm of your hand, which should be at the chest level.
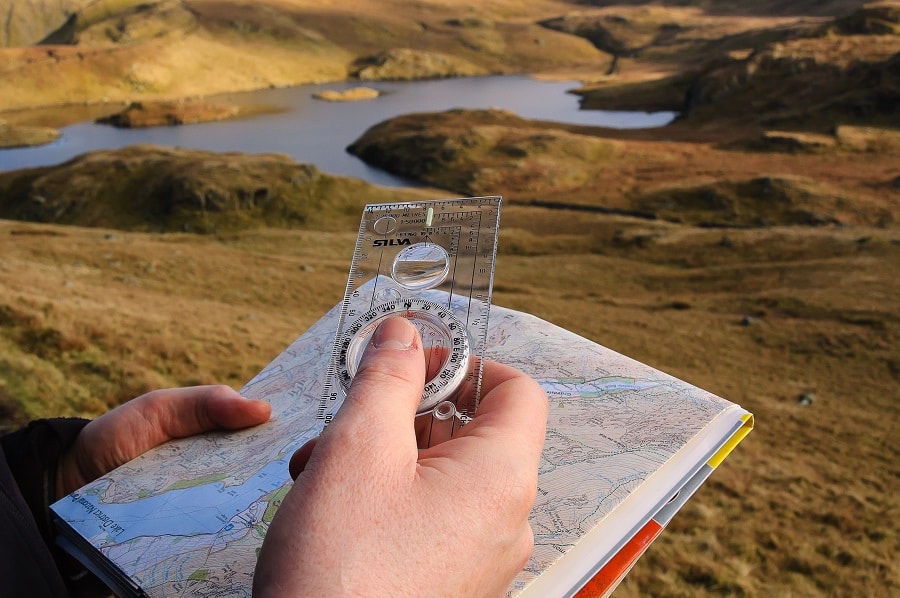
To find out where you should be going, you should first determine the direction where you’re heading, by analyzing the compass needle. If you’re not heading towards North, then this needle should be oscillating side to side.
See also: Best Compass: Never Get Lost in the Wilderness
The thing to do now is to align the orienting arrow lines and the magnetic arrow, so that they’re both towards the North. At this point, simply check where your traveling arrow is pointing.
Let’s take an example: once you have aligned the magnetic arrow with the orienting arrow lines, your travel arrow is showing a point between south and east. That means you’re heading southeast. By reading the point where the travel arrow and degree markers intersect (let’s say at 35), you will see by how many degrees you’re heading southeast. So you’re heading 35º SE.
[the_ad_group id=”22″]
Another basic of map and compass reading is the difference between the Magnetic North and the True North we’ve brought into discussion in the topo maps section. That being said, there are in fact 3 different north points:
- The True North shows the North Pole.
- The Grid North is the top side of your map.
- The Magnetic North is the Earth’s magnetic field, indicated by the magnetic needle.
The Grid North and the True North both show the North Pole, but since the Earth’s magnetic field presents some differences, the True North and the Magnetic North don’t coincide.
As such, the Magnetic North will indicate by how much the magnetic field is inclined in relation to the Earth’s axis, which is approximately 10º. But since the Earth is not a perfect sphere, the difference between the Magnetic North and the True North will itself vary on different points on the globe and reach a maximum of 20º.
Calculating this magnetic shift precisely is what will show you the right direction where you should be heading, or otherwise you’ll end up off track. In fact, disregarding declination by just 1º will put you off track by 100 feet every mile.
How to get the right declination
As declination shows the difference in degrees between the Magnetic North on your compass and the Earth’s True North, you will need to take it into account.
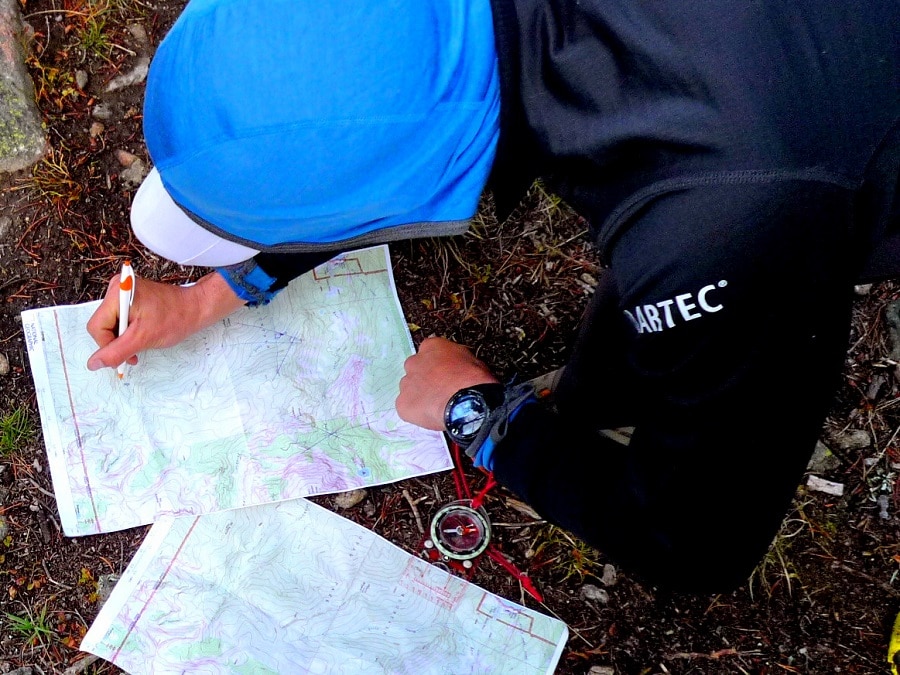
In short, you’ll get areas with:
- Zero declination: this line connects Alabama, Illinois and Wisconsin in the USA.
- West declination: the states west of this line.
- East declination: the states east of this line.
To get the right declination, you’ll need to:
- Do nothing for zero declination areas.
- Add the indicated number of degrees for west declination areas.
- Subtract the indicated number of degrees for east declination areas.
For more information on how to adjust the compass declination, see our earlier piece on this topic.
Reading The Compass
The steps you need to take to accurately read your compass are:
- Establish your position constantly when you’re out hiking, because you may end up getting lost without even noticing. In order not to lose your way, you should point the compass so that the travel arrow is showing the direction you’re going in. If that direction isn’t north, you’ll notice the magnetic needle rotating left to right. At this point, you should turn the degree dial in order to align the orienting line with the north point shown by your compass needle. That will give you an indication of where the travel arrow should be. Get the right declination by rotating the degree dial accordingly, either left or right depending on the number of degrees of variation. At this point, check to see where the degree dial and the travel arrow meet.
- Keep traveling in the direction indicated by the intersection between the degree dial and the travel arrow. For this purpose, keep the compass in the correct position (in the palm of your hand, palm in front of your chest) and keep turning until the Magnetic North and the orienting needle are aligned. Now move in the direction shown by the travel arrow, and don’t forget to keep your eyes on the compass if you start having doubts about your location.
- Keep your attention on different landmarks in your area. Following the travel arrow means finding a close-by point in your proximity and getting to that point. It may be a big rock, a weird looking tree or even a house. Once you’ve reached that landmark, you can follow the travel arrow to safely get to the next point. Remember not to use very far away objects as landmarks, because they’re not accurate. However, you may find yourself in a field with no landmarks or somewhere with no visibility. If that’s the case ask someone in your group to walk in front of you in the direction shown by the travel arrow. They should walk for as far as you can still see them without problems, and then tell them to stop until you get to them. Simply repeat this process for as long as you need.
- Get your map into play, by correctly placing it on a solid, plane surface. The compass should be placed on the map, so that its orienting arrow shows the map’s Grid North (which is the same with the True North). If you know where you are on the map, make sure your compass’s edge goes through your location, provided you keep the orienting arrow towards the north.
- Mark a line between the compass edge and your location. Next, you should turn the degree dial so that the orienting arrow and the map’s north coincide. That will make the orienting lines of the compass become aligned with the lines that connect the north and the south on your map. After doing that, simply find the right declination and proceed.
- Use the direction you’ve established to help you navigate better in the field. Holding the compass in the right position in your palm, with the travel arrow pointing outwards, you will get the right destination. That means turning towards the point where the magnetic north indicated by the compass needle meets the orienting needle.
How to Find Your Way When You Get Lost
While reading a compass and a map is essential when it comes to making sure you’re always heading in the right direction, some might argue that it’s even more important to find your way when you get lost.
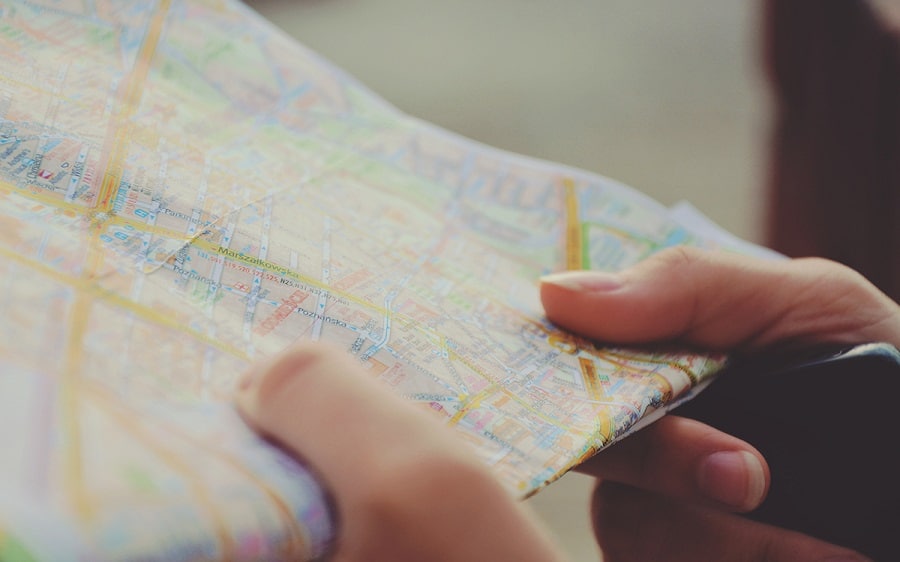
The triangulation method is one of the most commonly used techniques, since it’s pretty easy to understand and gives out a fairly accurate position.
- You should choose three points on the map you have visual access to. These landmarks – let’s call them L1, L2 and L3 – will help you find your way again provided that they are not very close together. In fact, the farther apart they are the more chances you have of realizing where you are.
- Point the travel arrow to L1. If L1 is not to the north, you’ll be able to see the compass needle rotate from side to side. Rotate the degree dial so that the orienting arrow is aligned with the North point indicated by the compass needle. That should indicate the way shown by the travel arrow. The next step is to correct the direction, according to the declination of the area you’re in.
- Once you have the direction of L1, transfer it on the map. Start by placing the map on that solid, plane surface you’ve gotten so used to by now, and the compass on top of it. Make sure the orienting arrow and the True North shown on the map coincide. Keeping this alignment in place, move the compass smoothly in order to make its edge go through L1.
- Mark a line between the compass edge and your location. Let’s name this line a.
- Point the travel arrow at L2. Align the orienting arrow with the magnetic needle’s north to give you the way shown by the travel arrow. Take declination into account.
- Transfer this direction on the map, by aligning the orienting arrow to the Grid North. Next, move the compass so that its edge passes through L2.
- Mark a line between the compass edge and your location, and call this second line b.
- Point the travel arrow at L3. After aligning the orienting arrow with the magnetic needle’s north, you will find the direction the travel arrow points towards in this case. Don’t forget declination.
- Use the map to get the direction, aligning the map’s north and the orienting arrow. Shift the compass so that its edge goes through L3.
- Mark a line between the compass edge and your location, and call this third line c.
- You will get a triangle made from the three lines: a, b, and c. You are inside this triangle. The more precise your calculations are, the smaller this triangle will be.
In fact, the more experienced compass users are able to obtain an actual point of intersection between these three lines instead of a triangle.
[the_ad_group id=”23″]
At the very limit, this method can also be used with just two landmarks if you really know what you’re doing and if you don’t have any other option of finding your way. As such, if you’re sure of your instincts and abilities, check where the lines a and b meet and that should tell you your approximate location.
Why It’s So Important to Use A Compass Properly
Most people who are occasional hikers don’t really see the point in knowing how to find their location with a compass and a map. But the truth is that even the safest looking trail can lead you in the wrong direction, so it’s always best to double check your position with a compass and map. Here’s our top choices for the best hiking compass to give you more options.
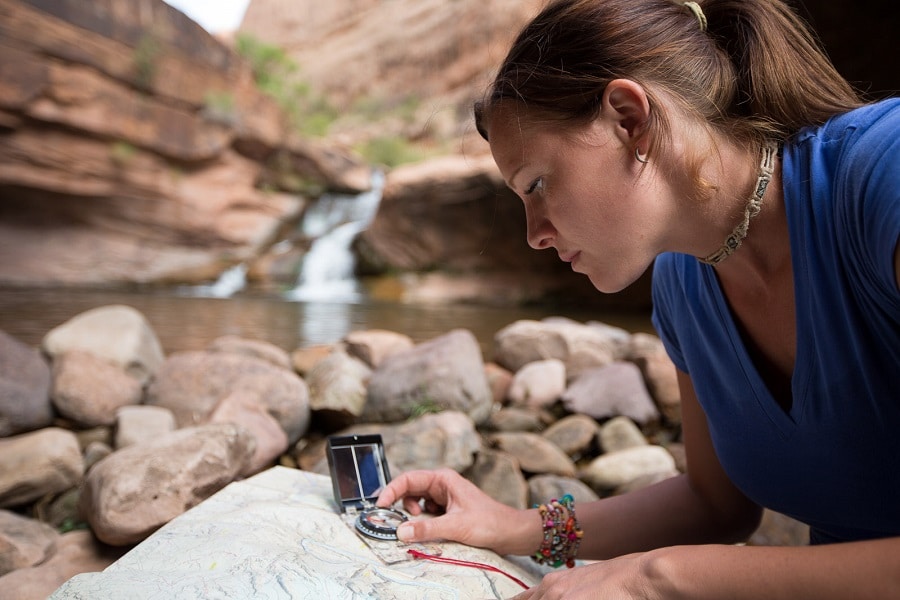
You can even find that the markings on some route have been washed away by a natural disaster, or you want to teach your kids how to make a map of their surroundings. Either way, using a compass and map is fun and educational as well as potentially life-saving. So let us know: when are you planning to use your new compass-reading skills?






Before going to the forest, the compass worth checking out. This is done so: place the compass on a horizontal surface of the table and wait for the arrow to take a fixed position. Notice the testimony of all the arrows on the compass dial. Then bring it out of dormancy, bringing a metal object. If the compass is working properly, then the arrow will return to its original position, once you remove the “irritant”. Conduct this procedure several times, holding the metal object all the time from different sides. Then you are ready!
Thanks for sharing this, Mickey. It is very important to know the basics and fundamentals of using a compass. It is not a magical thing that will show you the way, but it can provide you the closest direction how to find your way back.
Generally compass will just show you where north is. There are three types of compass I know, gyro, magnetic and astro. Magnetic compass is the most common to us and it is what hikers and survivalist use. It is very important that you know how to use map and compass in the wilderness because unlike life outside the wilderness, you might not be sure of where to go or where you are.
Good point in learning the basics of map reading and utilization of the compass. You can have the best compass in the world, but if you don’t know how to use it properly then it will not help you find your way.