How to Break in Hiking Boots: Making That Brand New Pair More Comfortable
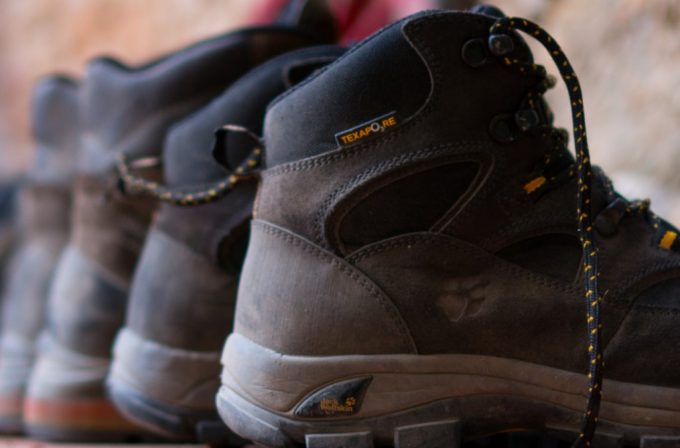
One of the most important aspects of a hike is the footwear that you decide to wear. You will be walking over long distances, across all kinds of terrain, with weight on your back and facing the weather head-on so the last thing that you want to feel is pressure and discomfort in your feet.
More often than not, hikers buy new boots before going out on a long hike, however, they have to be broken in before setting off on the trail. Breaking in hiking boots is not something that is to be taken lightly.
There are a lot of factors that need to be taken into account in order to not damage the boots in the process while at the same time making sure that you end up with a flexible and comfortable pair of boots.
Why break in new boots to begin with?
Freshly manufactured footwear tends to be rather rigid and uncomfortable to wear. This is because of the curing process that the vulcanized rubber goes through during manufacturing and the overall tightness of the material used to make and reinforce the boot.

A brand new boot feels slightly strange when worn the first time. The sole is far too rigid, the heel feels hard, the tip is stiff and the boot itself simply does not flex properly with the foot while walking. While this can be a fun little inconvenience with running shoes, sneakers, and other domestic footwear, it can be a real nightmare with hiking boots. Do check out our piece on how to break hiking boots for your reference.
The fact that these boots are built to be tough is not making things easier either and if worn on a hike without being broken in beforehand can lead to a lot of discomforts, strains and even injury to the feet and legs of the wearer.
Another thing to consider is the fact that these boots are never perfect and they will have certain kinks and flaws that you will have to compensate for or work around in order to get the most out of them. These are often discovered while they are being broken in so the hiker not only has time to prepare them properly but is also able to think and plan ahead for the worst case scenarios.
If the breaking period is skipped and these little kinks are not discovered they can lead to more serious problems like tears, breaks, popped stitches and even cracked treads.
One last argument that can be made to support breaking in these boots is the fact that they become stronger and more durable as a result of it. The small stress and moderate amounts of pressure that they are subjected to in this process help the fibers and stitches to loosen up slightly.
This, in turn, makes the boots more flexible and slightly more malleable, thus being able to handle the stress and pressures that they will be subjected to while on a hike and at the same time properly cradling the foot, preventing strain and injury from taking place.
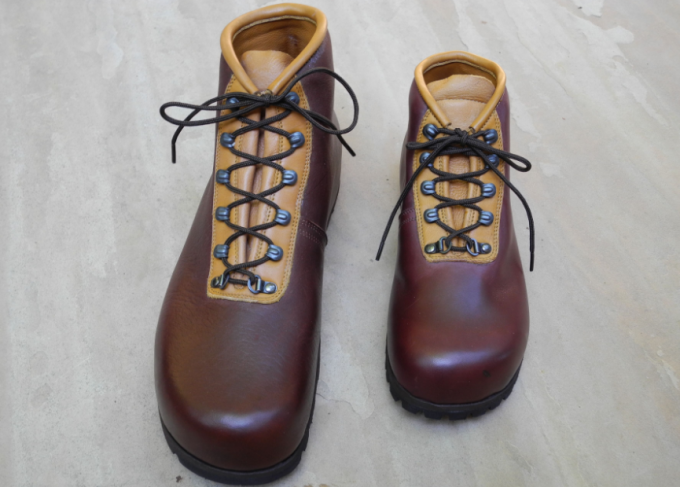
Getting the right boots
One of the most important parts in breaking in your new boots is getting the right ones to begin with. If you make the right choice there will be overall less work that you will have to put into breaking them in.
In order to find the right pair of boots, you will have to first know what kind of terrain you will be coming against as well as the weather conditions that you will be facing.
Ask yourself the following questions:
- Do they have to keep me warm?
- Do they have to be waterproof?
- How thick does the tread on the sole have to be?
- What material should the be made out of?
- Will they be used solely to hike or will there be some climbing and scaling involved?
These questions, while mostly basic, will help you figure out what kind of boots you will be looking to buy while at the same time giving you a rough idea of how long it will take to break them in. Probably the biggest mistake that people make at this stage revolves around the size of the boots. More often than not, people buy the wrong sized boots, often too large” because of how it “feels on the foot”.
The correct fit for a new pair of boots is simple to figure out. First of all, your foot needs to be cradled by the boot properly on all sides, allowing for no wiggle room while at the same time not putting any pressure on your toes, heel or sides as well as not rubbing against them. Consider the following tips on how to choose the right hiking boots for your needs.
The tips of your toes should fit snuggly in the tip of the boot, the big toes being able to move up and down slightly without chafing or pushing against the other toes. The heel should not be able to slide around in the boot, it should fit nice and snug while at the same time not rubbing against the back and sides of the boot when walking as well as raising or lowering the top of the foot.
A very important tip here is to always keep the receipt along with the tags and original packaging. This is because these boots often come with warranties that are not void due to damage caused by normal usage.
That being said, breaking them in is actually done by mostly normal usage and if something were to happen, like a tear, a popped stitch and so on, you can actually refund them or get a replacement pair.

What not to get, however, is second-hand boots. While cheaper, often times those boots are not just broken in but also worn out. The fabric, the sole, the treat, these are often times either about to give way or simply worn out to the point of uselessness. Although they might be attractive from a financial point of view, these are actually a bad idea in the long run.
One last thing to mention is the “fixer upper” deals that some stores offer. These are boots with small manufacturing defects like popped or misaligned stitches, small tears and so on, that can be fixed or ignored. The few stores that do offer these deals do so with a generous discount, and no warranty.
See also: Best Jungle Boots: An Essential in Hot and Humid Jungle Conditions
However, it is not recommended because these defects can turn into real problems while out on the trail. Small defects can lead to big ones, all the way to completely compromising the boots altogether, which can lead to disastrous consequences, especially during harsh weather conditions and unforgiving environments.
Tackling the sole
The sole is by far the strongest part of the boot and is most often made out of thick and resistant vulcanized rubber. Also to note here is the fact that the sole is often made using a hard cast of the perfect human foot position and shape, which is kept all the way to the point of acquisition.

The problem with this is the fact that nobody has perfect feet so the actual shape of the sole is uncomfortable for us. The sole being the thickest and most stubborn part of the boot to conquer, you will be starting with it and you will be working on it almost constantly.
Remember that the thicker the rubber and the deeper the treads, the harder the sole and the more time it will take. So start by putting the boots upside down, with their soles up, grab a rolling pin or any other solid cylindrical object and start rolling it across the sole. Emphasize more on front to back than side to side.
This will help flatten the shape and profile of the sole to a more comfortable level as well as make the actual rubber a bit more flexible, making the boot easier to wear and walk around in. Be careful not to put too much pressure on it though because you do not want to affect the tread on the bottom of the sole.
Next, you will want to grab a hair dryer, set it on medium heat and start heating up the sole. Again, you don’t want to go overboard with it, you just want to heat it up a bit in order to make the rubber more malleable. Make sure you do it evenly, though.
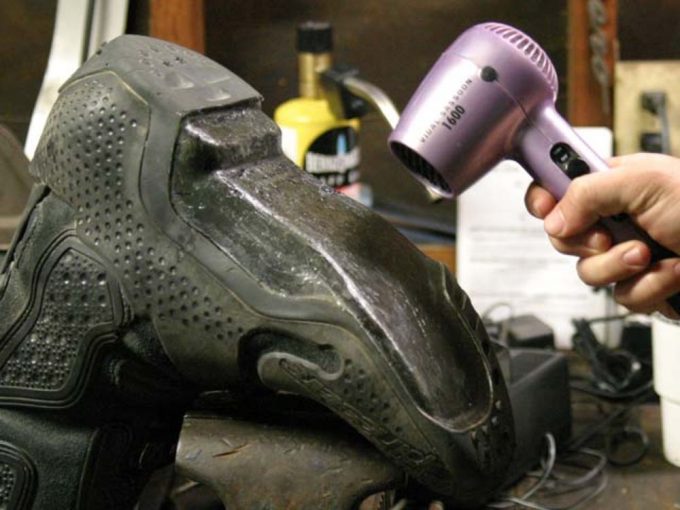
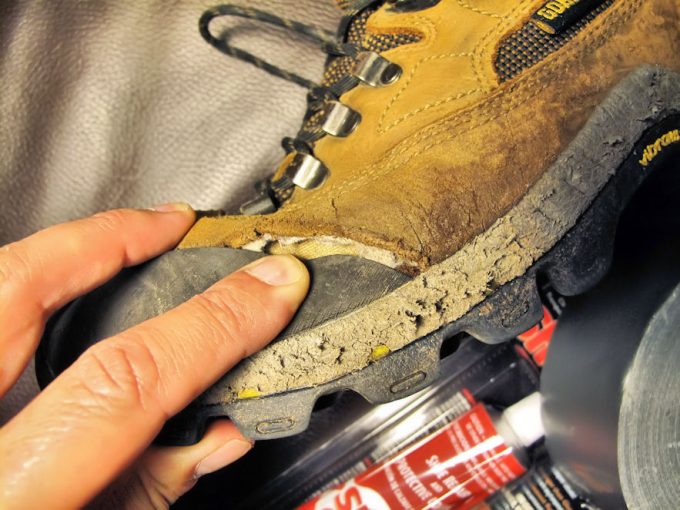
Once the sole feels warm to the touch, stop the hair dryer, grab the boot in one hand and with the other hand start pulling down gently on the tip of the boot. Do not pull too hard, just put a bit of pressure on it. This helps make the tip a bit more flexible, allowing you to move your foot easier without encountering too much resistance from the boot.
You will have to be careful not to damage the stitching on the sides of the boot. Don’t put too much pressure on it and try bowing the sole from side to side to ease up tension in the rubber.
Loosening the body
Often times the body of the boot feels oddly constrictive which can be a bit uncomfortable at the start. However, if the boot is not broken in properly it can lead to rashes and sores. Loosening the body, however, is not an easy thing to do, often times depending on the material that it is made out of.
Textiles and leather are the easiest to deal with. What you have to do is remove the laces and make sure that the boot is fully open. Then make a fist and force it inside the boot.
Push the fist as far in as you can and proceed to open and close the fist repeatedly until you feel the material loosening up.Don’t insist too much and don’t force the fist in too hard,otherwise you risk damaging and tearing the liner, the stitches, and even the interior padding.
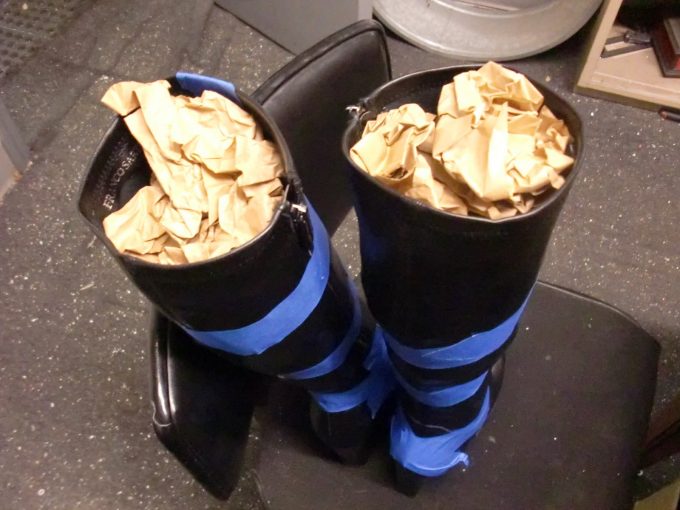
After you are done loosening the body, grab some old newspapers, crumple them into balls roughly the size of your fist and stuff them inside. This will keep the material taut and the pressure constant, helping to loosen it over time.
When dealing with rubber boots you can pretty much do the same fist maneuver, however, this time you will be doing it while using a hairdryer to heat the area from the outside. You will have to put a lot more pressure and force behind it though, rubber being harder to break in than textile or leather.
Alternatively, you can browse your local shoe stores for plastic, wooden or metallic foot struts that are made to mimic the human foot. They have an adjustable mechanism that allows the user to change their length and height.
This makes it possible to add steady pressure and loosen up the boots without having to be actively involved in it as well as keeping them filled and taught while stored, preventing wrinkles and crumpling.
Altering the reinforcements
Most boots are reinforced one way or another in order to protect against the stress and the harsh environment that they will have to go up against. Often times this comes in the form of extra filling, thick leather inserts stitched in strategic locations, all the way to plastic and even metal inserts usually found in the tip of the boot or at the bottom of the heel.
It goes without saying that the plastic and metal ones cannot really be altered by the wearer, their reduced size making them very hard to bend or warp, however, the rest of them are.
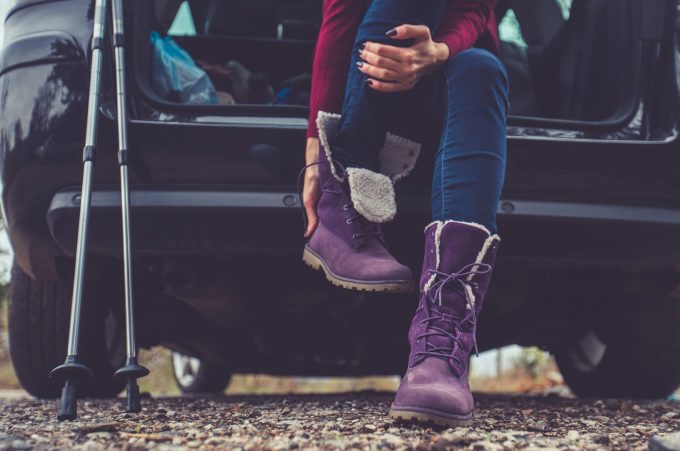
Breaking these in requires a bit of time because it is done by wearing the boots in question and emphasizing on the reinforced areas. You will have to wear them almost constantly around the house as well as outside.
This is also the final stage of breaking them in. Make sure that you are wearing the kind of socks that you will be wearing while on a hike and that you subject them to a constant effort. Again, do not exaggerate and do not push them too hard, just until they no longer feel constrictive.
Make sure to do things like jumping, hopping and even kicking in order to make the process go along smoothly and even go for a run or two. Seeing that these elements are usually hidden behind the main seams, it is a good idea to apply a bit of pressure to those areas to make them bend and flex, breaking up any excess adhesive and making them more flexible.
It is important to only apply pressure to these areas while wearing the boots and never do so from the exterior. If the exterior pressure is applied, especially with a tool or blunt object, there is a big risk of having the seam fail. Something that most hikers don’t really realize is the fact that the lacing area is actually reinforced as well, however it is not always the case to break in.
If, and only if, the area feels a bit tight or uncomfortable then you can try stretching it out. A simple way to do this is to put your boots on, tie the shoelaces as tight as you can and start flexing your feet back and forth.
Again, don’t put too much pressure otherwise you risk tearing the boots. Keep flexing until you feel the area loosening up, then untie the shoelaces and tie them back on again but this time tie them as you would normally do.
If the boots have zippers instead of laces, you will want to put on a thick pair of socks, woolen ones are usually the best choice, put on the boots, zip them up and start flexing your feet back and forth as well as side to side. This will help loosen up not only the area adjacent to the zipper but also the rim of the boot which will make them feel a lot more comfortable and a lot more loose fitting.
In conclusion
While breaking a pair of boots in is not the easiest thing in the world, it is also not the hardest. If done with care and attention it can lead to a pair of comfortable and properly fitting boots that you can enjoy on your next hike.

It’s normal for footwear not fit perfectly or be as loose and flexible as you would want right off the shelf, however, they set in a matter of time and eventually adapt to your foot and its needs. The overall idea is to bow and flex the boots and make them nice and flexible, adding comfort to the strength and endurance that they are known for. Don’t forget that shoelaces are important. Check out our piece on the best hiking shoe laces to give you more options.
While there are a lot of problems that can arise if done hastily, however as long as you don’t force it too much nothing will end up torn, broken or shredded. The boots will be prepped and ready to support you, your feet and your legs no matter what you encounter on your hikes and outdoor adventures.