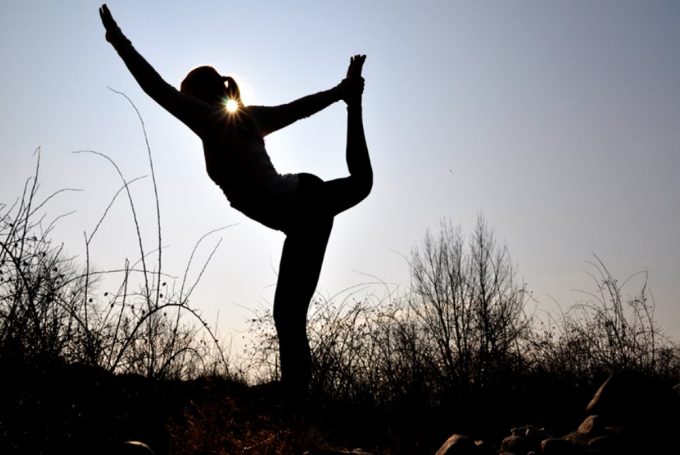
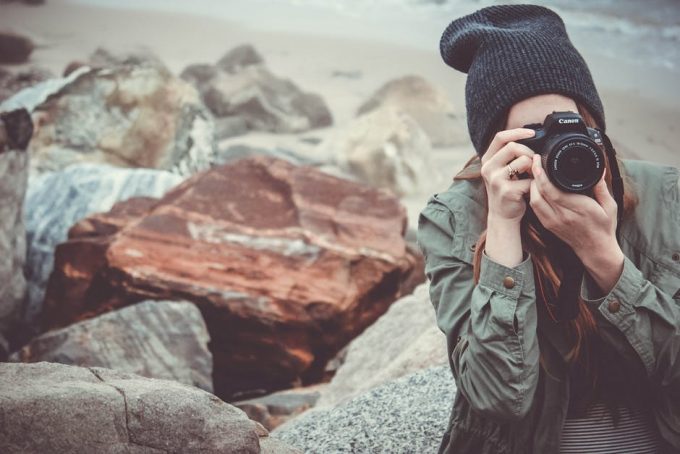
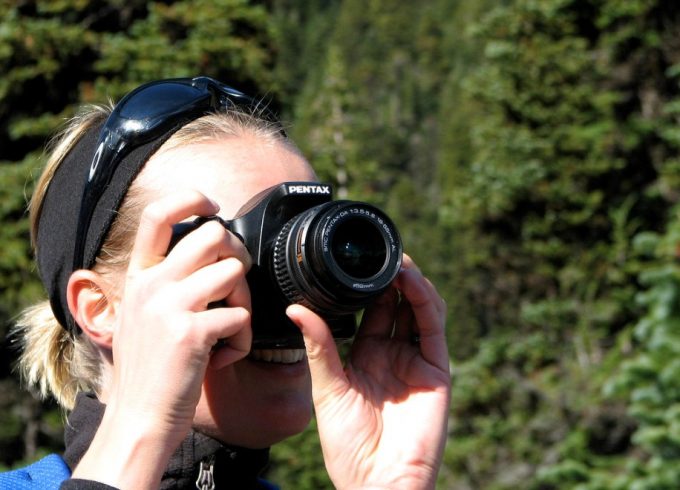
Hiking Photography 101: Your Guide to Taking Awesome Photos on the Trail
If you love hiking, and you love capturing all the incredible imagery you see, what can be better than to combine these two hobbies? That’s why we’ve thought to comprise a short guide for beginners, who would benefit from a bit of hiking photography 101. We promise we’ve cut out all the fluff, and offer only useful info.
We’ll start with some basic tips and tricks, then we’ll take you through a series of ideas on how to take the best photos, letting others see what you see. And to end up, we’ll discuss the equipment you’ll need to take, including how to pack it in a convenient way.
Tips and tricks
There are certain things every photographer must do before taking that special photo session hiking trip.
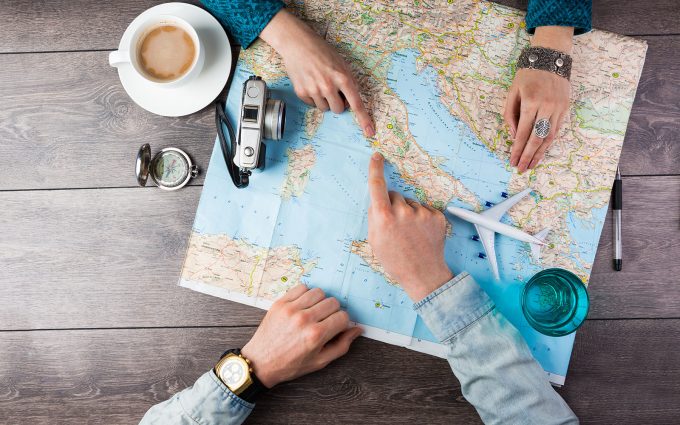
Do your planning
This is the first step you’ll need to take, but planning is done depending on your objectives. So try answering these questions:
- What sort of photos do you want to take, snapshots or fine art prints?
- Where are you going to go?
- What’s the weather going to be like?
- Are you photographing people or scenery?
- How long do you think you’ll stay?
- What’s the best light to benefit your photos?
Do your research
This is the second step, but it’s on par with the previous one importance-wise. You need to know the area where you’ll take photos as if it were your backyard, so you will need to:
- Get maps.
- Research online communities and forums about your trail.
- Look at recent photos that were taken there.
- Check out the US National Parks website for updated info.
- Go on a trial hike to check if most of the objectives above are reasonable.
Get a good camera
That means a good camera for you. So you should take the following things into account:
- Does that camera have a good resolution so you can capture landscapes?
- Are its rendered images crisp?
- How much do your camera and lenses weigh? Can you carry them comfortably?
- What lenses and how many lenses do you need?
- Are you going for scenic or wildlife photography that requires a longer lens?
That’s why it’s good to go on a trial hike prior to deciding which gadgets you’ll take. You might have your heart set on capturing the landscape at sunup, for instance. And when you do get there you find out that capturing wildlife at sundown is a much more intriguing experience.

That means you might need different equipment, or different cameras altogether. However, make sure the camera you choose is:
- Waterproof
- Dustproof
- Shockproof
- Fogproof
- Freezeproof
A good camera is supposed to be durable and tough, and it’s also supposed to be portable. So make sure it can be easily attached to your belt or to the side of your backpack for an easy reach whenever you need to take a quick, unplanned photo.
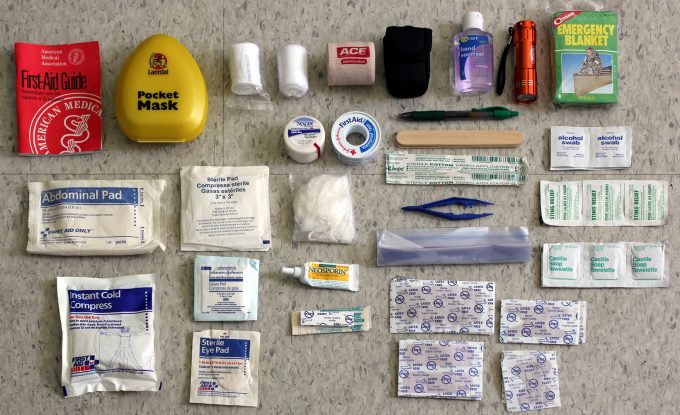
Double-check equipment
Yes, this deserves a heading of its own. Just don’t forget anything at home. Make sure your camera has enough batteries, and that you have some spare ones in your backpack. Same goes for enough memory cards.

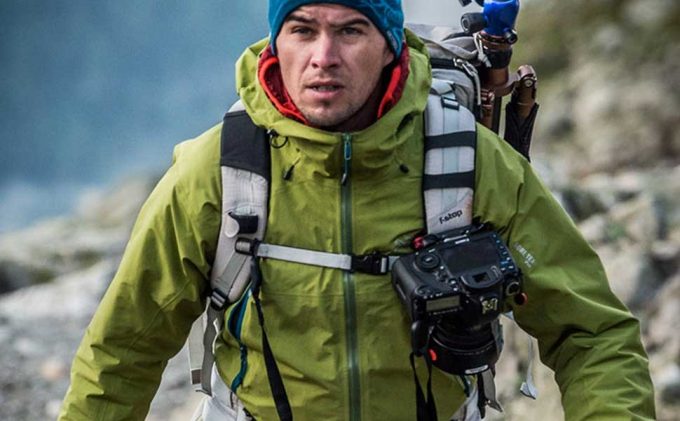
Consider how you’ll carry your things
Your first priority is to be comfortable and to make sure you’re only packing versatile equipment you really need. And when it comes to carrying your things in a comfortable way, you can choose between:
- A vest for smaller, more compact and lightweight
- A backpack for multiple gadgets that require various compartments. It’s better for heavier, bulkier things, that might otherwise inconvenience you.
Another good option is to use a slingpack. The good news is that you can find these things really easily, as they’re manufactured by many trustworthy brands on the market. This is an ideal way to carry your things for the intermediate weight/ size baggage.
See also: Best Backpacking Camera Bags: Always Carry a Camera for Memory Lane
Another advantage is the quick access you’ll get, even with your lenses set up on the camera. That’s because you only need to swing the sling from your back to your chest, meanwhile traveling with your hands unoccupied by anything.
Or, you can choose to put all your hiking and photography gear in a backpack with different compartments so you don’t get your equipment mixed up. The camera can be carried around your neck for an easy reach, or with a chest harness if it’s heavier.
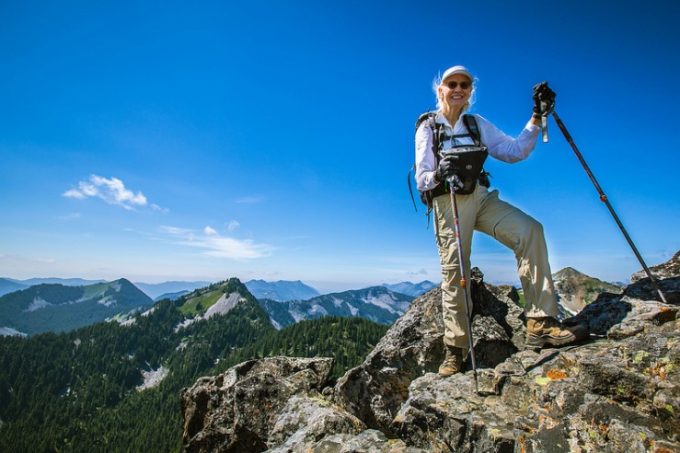
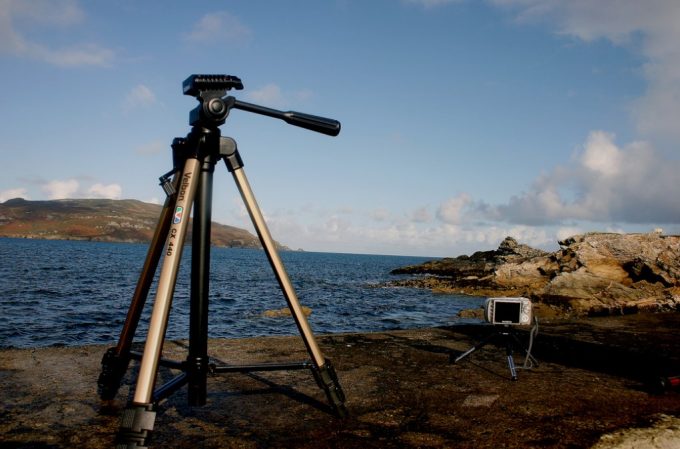
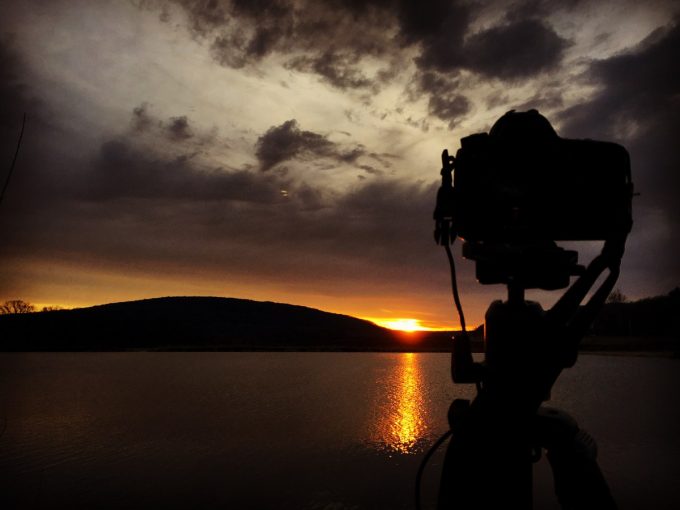
Consider a tripod
If you’re going to be out in the wilderness for a lot of time holding your camera without stopping, your hands are bound to get tired. So a tripod is especially useful when you’re stopping for long periods of time. Check out our best backpacking tripod for your reference.
A tripod offers reliable support, plus it can center your photos even better thanks to its adjustable legs. The best tripods on the market are sturdy and lightweight, so they don’t inconvenience you.
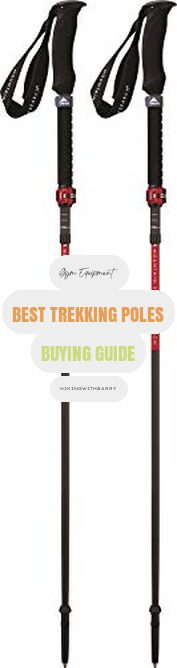
The other option is getting a hiking stick that has the advantage of weighing even less and doubling as a walking stick. The disadvantage is that it can’t support heavier cameras, but the more qualitative ones can still work with DSLRs that are loaded to the max.
Taking the best pictures
Now that you’ve done your planning and have acquired all your equipment, it’s time to brush off some of those photographing skills. And since creativity is 90% the result of hard work, here’s what you need to do:
Gather inside info
We love doing researchif that’s not obvious by now. So we’d advise you to:
- Check photos that have been taken on the same trail, at different moments of the day and in different weather.
- Make sure you get acquainted with all the possible angles and positions you can use, in order to comprise a battle plan for framing your pictures once you get there.
- Ask yourself what you’d change about these photos you find, how you could have framed them better. That helps you devise a better plan and collect fresh ideas.
- Make a comprehensive list, so you’re sure you’ve taken all the photos you came there to take. Sure, there are those lovely spontaneous shots, but the best pictures are planned.
- Review your objectives at every stop, so you can evaluate and re-asses their timeliness and attainability.
Stay stealth
If you want to capture wildlife, make sure you’re not making any noise that might scare them away. But apart from staying quiet, you need to camouflage your smell and appearance, so consider getting equipment in earth-toned colors, and a spray to mask your odors.
Teach your models what to do
If you’re not capturing wildlife, but want to take pictures of people and how they behave in a certain landscape, you should tell them what to do. People who don’t know much about photography are convinced that spontaneous pictures are better because they tell the truth and capture human interaction as is.

But Photographers know it takes a lot of work to get that perfect picture in terms of frame and angles. For instance, an action shot is done better when the person you’re trying to capture while hiking passes you from behind.
Get acquainted with the landscape
If you want to take pictures of the landscape, don’t just settle for the large view. You want to make your photos different, so you have to make sure you get something interesting in the foreground. That can be anything, like a flower or a small pond, but the idea is to give your pictures that one of a kind feeling.
The only way you can do that, though, is by studying your landscape. Some places stand out through their ancient trees, other by their happy wildflowers, and yet other by their eerie swamps. You just have to find that special thing and put it in front.
Don’t seek perfection at any cost
It’s said you need the perfect conditions to take that one perfect shot. But you know what? There is no such thing. So you don’t have to wake up in the middle of the night to wait for the first sunrays to fall directly on your carefully chosen rock that stands out in the middle of a green pasture.
Just go on your hike as you’d normally, and ensure you do the best with what you have. Every moment of the day and every place is special, so capture that instead of an ideal that might not even exist.
The details are everything
When you want to capture a surreal view, but also tell a story, you should be getting all the significant details for that. There are thousands of photos out there with the sunset, but how many of them have a set of car keys and a map lying on the ground?
Those details suggest the hiker has had it with their old life and is looking for something new. The bottom line is trying to find a narrative in your photos. Art for the sake of the art is an obsolete way to do things.
Make sure your camera is handy
Though you might have everything planned, you never know what you might stumble upon on your way there. Maybe a fawn that looks for its mother or a squirrel that’s lost its way home. Either way, your camera has to be easy to grab for that instantaneous shot.

So you shouldn’t pack it deep inside your backpack, even if you’ve chosen this way of carrying your things. At the most, your camera has to be in a side-pocket that’s open or zippered. But it’s even better to wear it on your belt, neck or chest to minimize any unnecessary rummaging.
Enjoy nightlife in the wild
There are tons of different things you can capture during the night that isn’t there during the day. Just think of the plethora of animals, insects, and different colors they offer, if you have a camera that allows nighttime photography. Even the far-away stars are a good reason to stay awake during the night.

But the main reason is you’ll capture a different feeling. The day photos might be eerie themselves, but the night shelters a different sort of mystery.
What equipment you need
All these pictures can’t be captured without the proper equipment. We’ll discuss the main gear you can take, as well as how to pack it more conveniently.
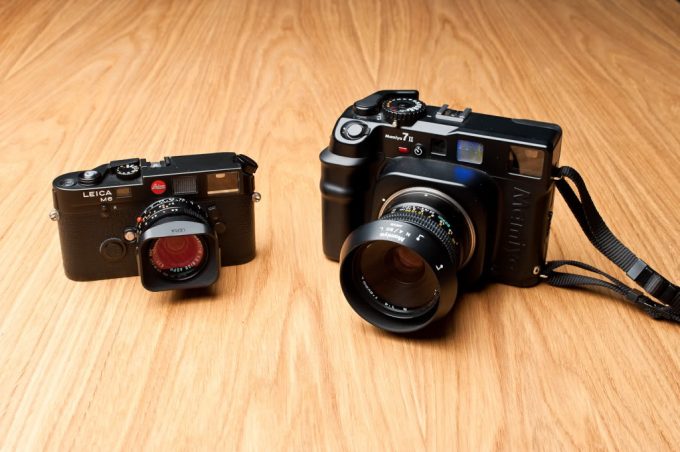
The camera
You can choose a camera with interchangeable lens, so you can capture different details and models. Some cameras even have electronic viewfinders, which are great for fixing those details.
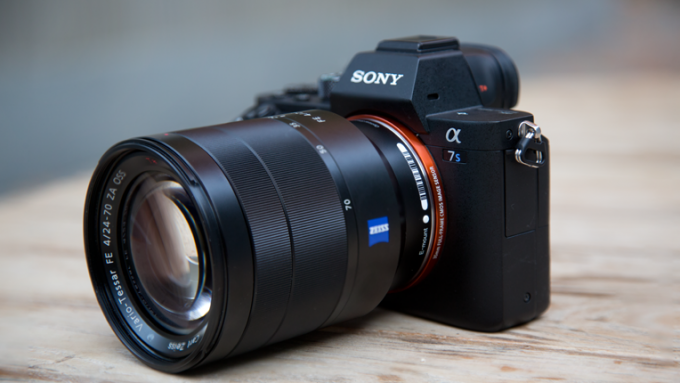
For instance, bigger sensors will render a more qualitative image. Just remember the qualities we’ve previously discussed that a good camera should have, and select your best option for the money.
The lenses
Bring at least three different kinds of lenses, or more if you have space. The reason is to make sure you cover a vast array of focal distances. Longer lenses are perfect for capturing wildlife on the move, while shorter lenses go well for landscapes.
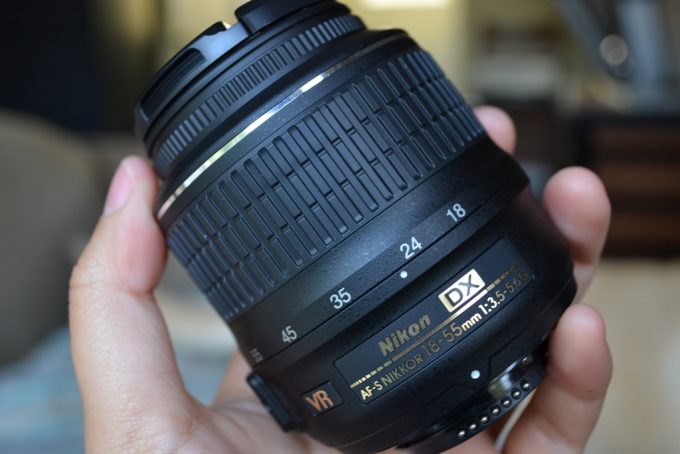
A telephoto lens is definitely something else to consider. It won’t be able to take very wide shots, but it’s particularly warm and crisp. This 70-200 lensis very light, it has a long reach, and with it, you can shoot only part of a certain landscape.
But you can choose a different option for a lens, like the versatile 24-105. This lens is still sharp and can capture a nice range of focal distances, between wide and narrow. Plus, it makes for a good solution when the light isn’t that great, but the scenery is breathtaking.
Consider your aperture
When talking about lenses, you have to consider the aperture. This is a technical term that can literally be translated as “opening” or how wide a certain lens is. The wider it is, the more light can pass through it to the sensor.
A bigger light transmission in a set amount of time means faster photos. So an f2 lens works in low light, an f4 is great for wilderness photos while hiking, while an f8 is great for more depth. However, a faster lens is bigger and weighs more, so that’s a disadvantage for portability.
The tripod
We’ve already suggested you might want to include a tripod, that does wonders for:
- Focusing.
- Faster speeds.
- Crisp pictures.
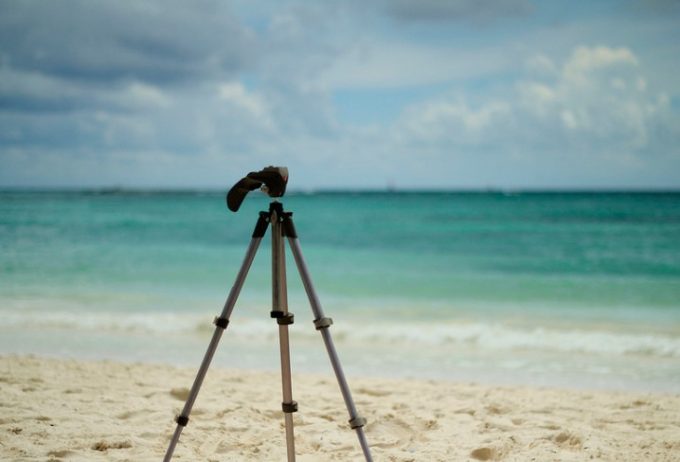
When it comes to its manufacturing, make sure it’s:
- Made from strong materials like carbon fiber.
- Light
- Adjustable
- A sound investment.
- Easy to set up your camera, with a quick-release system.
You might also consider a cable release to trigger the shutter once the camera is set up.
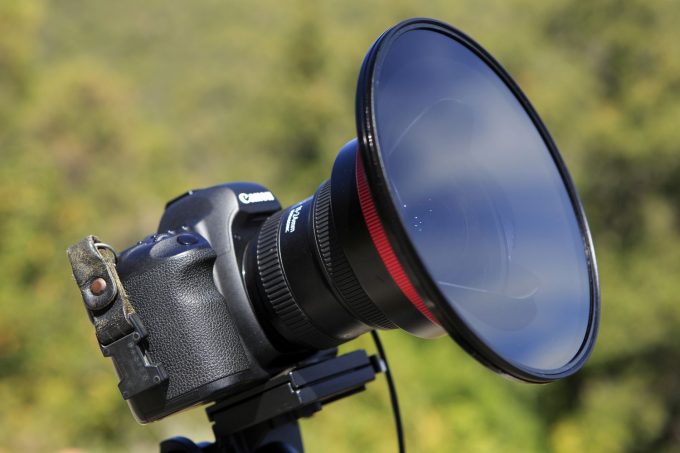
The extras
Filters are used for enhancing your photos, and you can either choose digital or actual filters. For instance, a polarizer is essential to minimizing glare, so you get bright images and true colors.
And we’ve already talked about bringing enough batteries and memory cards along. It’s also a good idea to bring a cotton cloth just in case you get your camera wet.
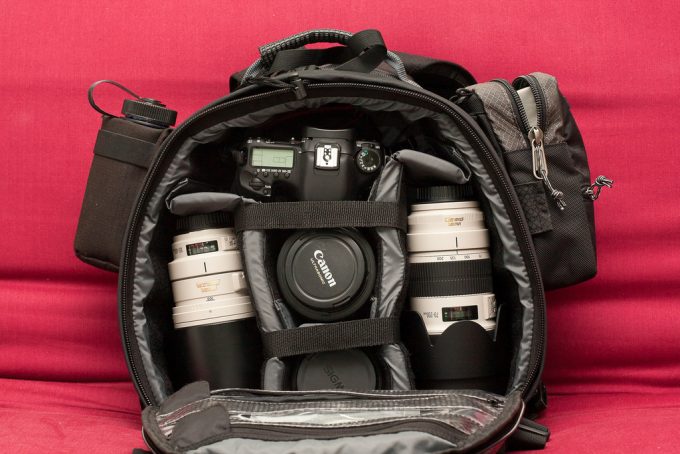
Pack it all up
With all these items to take, you need to ensure they’re:
- In a compact package.
- Handy
- Protected
So we suggest you:
- Carry your camera and polarizer in a camera bag that can be attached to your belt. Just pick one that offers enough padding and protection.
- Use a photo bag for your other equipment. This bag can then be placed in your backpack, at the middle part of clothes and sleeping bag at the bottom, and food/ water at the top. That makes your equipment moderately handy but protected. It also means you have a compact backpack.
- Attach your tripod to the outside of your backpack by using its compression straps. You can even insulate each leg with taped pipe, so they’re protected from any possible scratches when you put down your backpack or when you’re navigating through thebrush.
If you’re camping overnight with more people, including non-photographers, that might make this easier in terms of hiking at sunset or sunrise. That’s because you can leave the bulk of your equipment with them, while you take a short trip to the spot you’ve decided to use. This is when your photo bag really comes in handy, so your hands are free.
But it’s even more important to set camp as close to that particular spot as possible. That reduces time spent on the trail and minimizes the risk of you losing daylight or precious good lighting.
What will you do?
We know it’s said that beauty lies in the eyes of the beholder, but we feel it’s even more important to share that beauty with your friends or even capture it for yourself. That’s why we’ve tried to give you the inside scoop on how to take good pictures, how to choose your equipment and plan your hiking trip.
For the top outdoor camera for your needs, see our article on this topic.
And we hope you’ve learned something by reading this article. But tell us if we’ve missed something or if you have other tips and tricks you’d like to share with our other readers. The comment section is right below.