How To Hike the Appalachian Trail: A Classic Adventure
If you’re thinking about hiking the Appalachian Trail, you’re in good company! The world’s longest hikers-only trail attracts thousands of people each year, even though about one in four people attempting a thru-hike (beginning to end in one attempt) complete the entire trail.
Since the trail’s completion, around 15,000 people have hiked the entire AT. There are plenty of excellent AT hikes you can complete in a day, a weekend, or several weeks without making the commitment to thru-hike the entire trail!
While the majority of this article is focused on thru-hiking the AT, the tips included here can be applied to hikes of almost any length. There is no set-in-stone method for how to hike the Appalachian Trail, but if you plan your trip around your particular hiking style, you will be off to a great start.
Choose a Direction and a Start Date
The AT follows a route that is approximately 2,200 miles long, but the actual length of the trail can vary year to year due to trail remodeling and re-routing. The southern terminus of the Appalachian Trail is located at Springer Mountain, in Georgia.
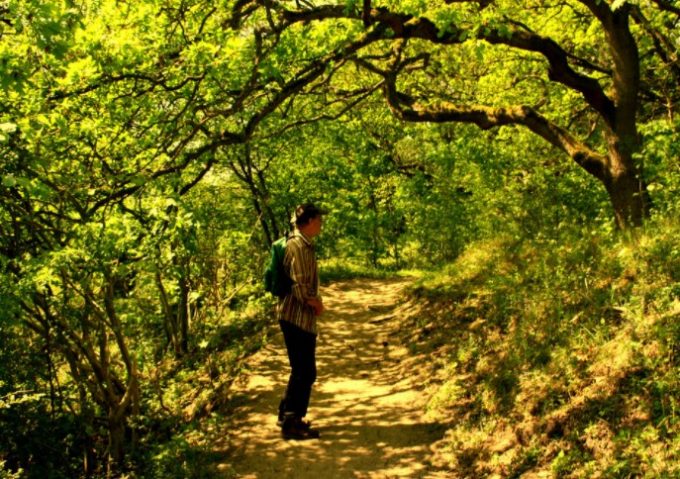
However, many hikers begin their journeys by starting eight miles away at Amicalola Falls State Park and completing the AT approach trail. Almost ninety percent of people start their thru-hiking endeavors at the southern end of the AT and hike north through fourteen states to the northern terminus at Mt. Katahdin, Maine.
Because space in trailside shelters is limited and heavy campsite use can wreak ecological havoc, it can be wise to choose a less popular date to start hiking the AT in order to avoid overcrowding on the trail. The most popular start date is April 1, but March 1, March 15 and the first day of spring are also very popular start dates.
If you can, start hiking the trail on a weekday instead of a weekend to further avoid overcrowded campsites and shelters. However, the major factor that determines hikers’ start dates is the weather. Starting too early can mean a higher chance of encountering wintry weather, so snowshoes and other traction gear can be helpful.
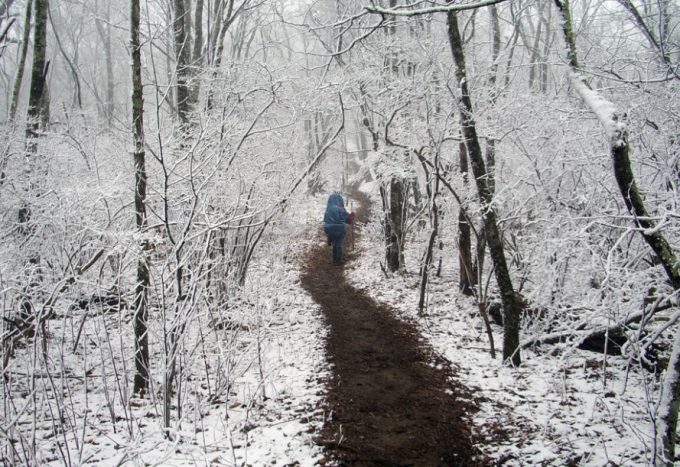
However, for northbound hikers, starting too late can mean treacherous weather at Mt. Katahdin in October. No matter when you start hiking in the spring, it is still important to be prepared for winter weather because snow can occur into April through many parts of the mountains, especially at higher elevations in the southern Appalachians.
The average thru-hiker takes 165 days to complete the trail, though this varies drastically from person to person based on ability and weather.
Gear up!
The most important part of your trip begins before you ever hit the trail. Being properly prepared for the hike is essential for an enjoyable, safe trip. The key is finding the happy middle ground between carrying too much heavy gear and being underprepared for the trip.

Because you will be backpacking the trail, having a pack that is too heavy and cumbersome can make you miserable. On the other hand, being underprepared can be dangerous if you are missing the necessary gear. There are plenty of lists published online and in guide books that itemize your thru-hike gear in detail. But there are some gear items that every thru-hiker needs.
A Pack
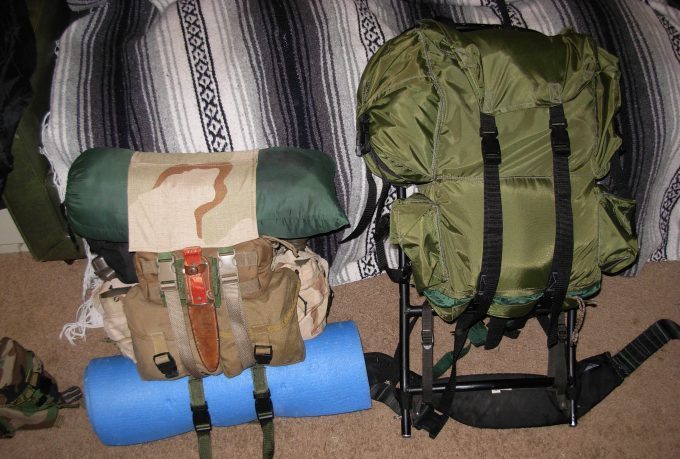
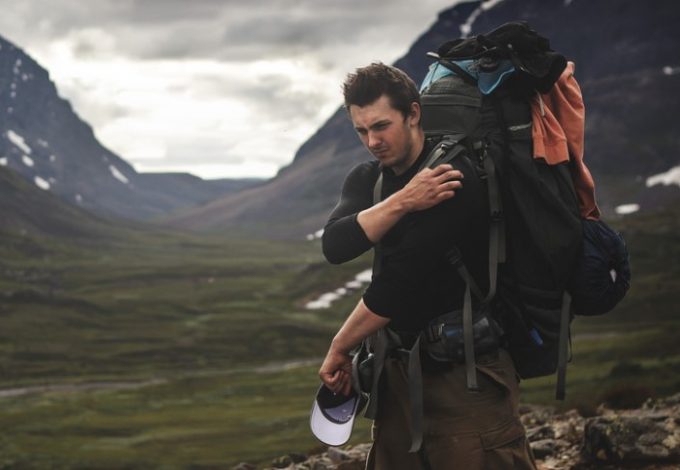
Most thru-hikers carry packs that range from 45-65 liters in volume. Having a pack that fits you properly can ensure comfort on the trail. Be sure that your pack fits well around the hips and torso. You can also bring a pack cover to keep the rain off of your pack and help keep your belongings dry.
Shelter
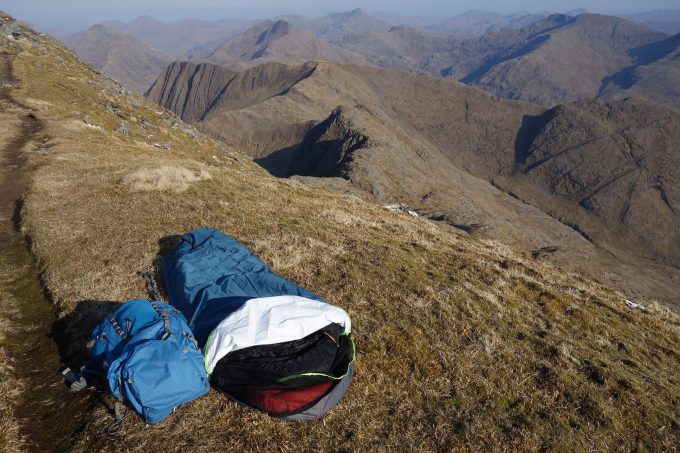
Along the AT, there are constructed shelters at an average of every eight miles. Sleeping spots in these shelters can be used on a first come, first serve basis. Most people bring a tent along for nights when shelter spots are unavailable or you would rather sleep in your tent. See our review of the top tents for your needs.
Other people carry a bivy sack or hammock instead of a tent, which reduces weight but offers less space and protection from the weather.
Sleeping bag and sleeping pad
While bags rated for lower temperatures are generally heavier, they can vastly improve your comfort for chilly spring and fall nights. It’s best to choose a bag that is rated for 15 degrees Fahrenheit for a balance between warmth and weight. Sleeping pads can be inflatable or made of foam to be attached to the outside of your pack.
Water purification device and water bottles
When it comes to drinking water found along the trail, it is definitely better to be safe than sorry! Tablets, pumps or purification straws vary in their levels of water treatment, but it’s a necessity to avoid gastrointestinal misery in the woods.
There are a variety of options for reservoirs for water storage ranging from hydration bladders to water bottles; choose what works best for you. For our review of the Sawyer filter, read our article on this for information.
Shoes
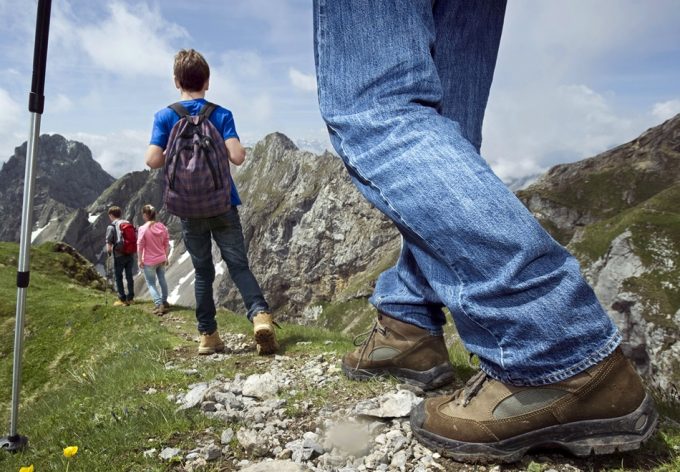
This is where doing some pre-trip practice hikes will really come in handy! Ill-fitting shoes can be the bane of your existence on the trail. Most hikers opt for a pair of hiking boots with ankle support for the trip, but others choose trail running shoes instead because they are more lightweight and quick-drying.

You can even do a combination of both! Blister care is important along the trail, and taking along moleskin, duct tape and Band-Aids can help with covering pesky blisters before they become a real issue. This being said, there is a whole group of barefoot hiking enthusiasts and the entire AT has been completed by intrepid shoeless souls.
Clothes
An overabundance of clothes is often the number one thing that gets sent home by thru-hikers with heavy packs. You definitely won’t need fresh clothes every day, so keeping a few essential items on hand is the objective. Bring clothing made of synthetic or wool material, which will hold up better to the sweat and moisture of the trail than cotton. Read our review of the top layers clothing to prepare yourself in any environment.
Good socks can help prevent blisters. You won’t want to overlook an insulating layer such as a down coat, which can be packed down into a tiny stuff sack and still keep you very warm. Also, a rain jacket or poncho is a great addition to your trail wardrobe. Keeping a dry set of clothes is very important to avoid hypothermia and discomfort at night.
Other essentials
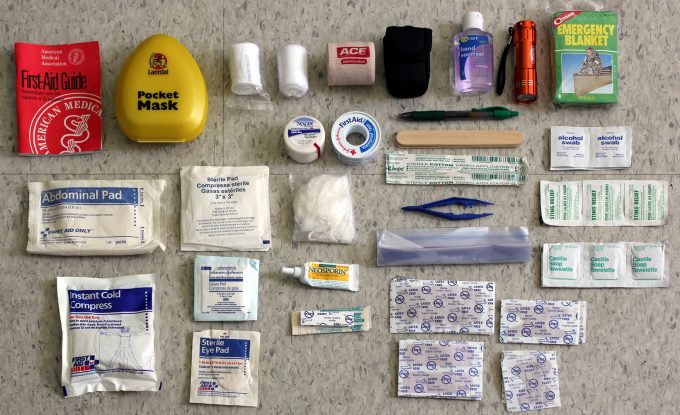
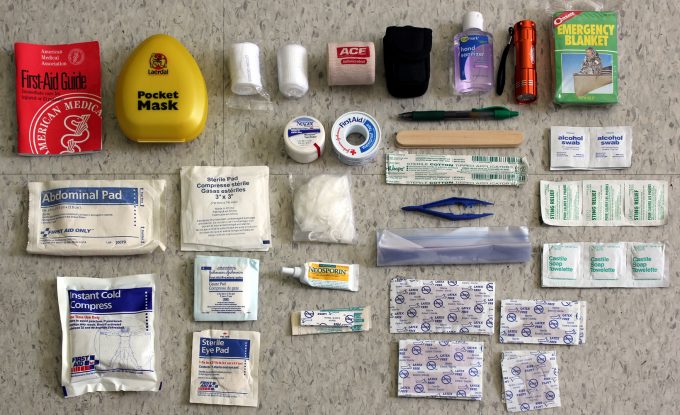
A trail first aid kit! Ibuprofen, a small toothbrush, and toothpaste, antibiotic cream and wipes are some commonly included items. Keep it down to the essentials to save weight. Additionally, a trail guidebook is an excellent resource for planning routes and journeys into town to restock on food and supplies.
Other great items to consider bringing: a headlamp, a trowel to dig holes for waste, a phone, rope to hang food from bears, and a camp stove.
Training Pays Off
Certain stretches of the AT are pretty rugged and lack flat areas. Doing some training hikes before you depart can really pay off once you get on the trail. Training hikes can help improve your physical and mental stamina as well as allow you to get used to how your gear and shoes feel.
Stretches of uphill terrain for miles can be taxing on anyone, but a good attitude pays off more than extra physical stamina does. Of course, pre-built stamina definitely helps! Everyone hikes at a different pace. In 2016, Karl Meltzer set the new speed record for the AT, completing the trail in 45 days, 22 hours.
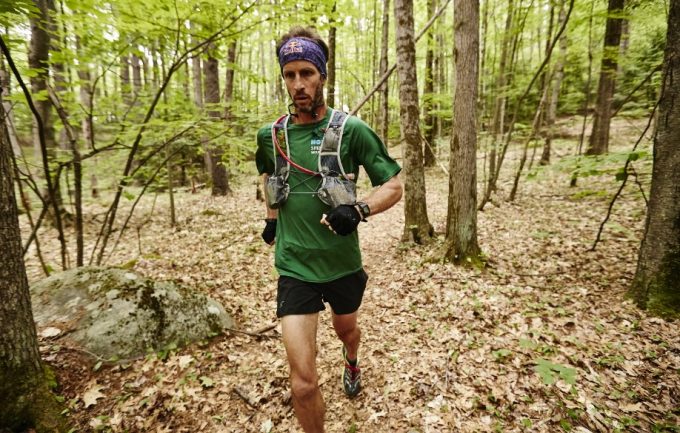
If you haven’t been doing much regular long distance hiking, take it easy for the first few days to build your stamina. Soreness will happen, but avoid shocking your body with the sudden increase in workload; this can result in injury.
Meal Planning and Restocking Food
The typical AT backpacker burns over 5,000 calories each day. Like clothing, though, excessive or heavy food can be the culprit behind a heavy pack. Try to prioritize lightweight food that has a high nutritional density and is high in calories but low in water content.

Freeze dried foods allow you to rehydrate food such as pasta and sauces later on with water rather than carrying heavy canned food. Fresh fruits and vegetables are a trail luxury, but they are best eaten on the first day on the trail so that they don’t go bad (plus they are heavy!).
The most important thing, though, is to pack foods you LIKE! If you don’t enjoy oatmeal in the comfort of your home kitchen, you probably won’t be inclined to make it on the trail. Same goes for cooking fancy meals. You’ll be tired at the end of the day, and sometimes quick, easy foods are the way to go. For our guideline on how to choose the right camping stove, see our earlier article on this.
As you pack, plan your meals day by day with your next restocking time in mind. It can be smart to pack an extra day’s worth of food in case injury or weather sidelines you for a day. While you don’t want extra weight to carry around, going a day without anything to eat would be worse.
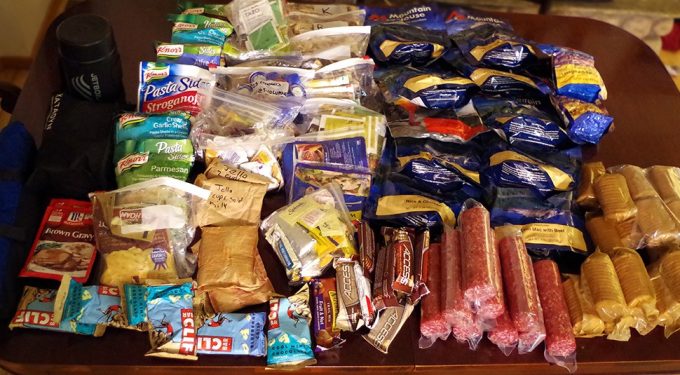
Many hikers send boxes to themselves addressed to local post offices in towns they will be passing through. Address your package to:
Full Name
c/o General Delivery
City, State, Zip
You will need to show your photo ID when you pick up the package and write a return address on the box as well to avoid mishaps. Guidebooks are very helpful with planning restocking options.
Many post offices in towns that the AT passes close to have extended hours during the summer hiking boom so that you can pick up packages even on Sundays. One thing to consider is mailing your package via Priority Mail, which allows you to forward packages that are unopened without any further charge.
Many hikers use a combination of restocking boxes and local shopping to refresh their supplies. In addition to food, hikers mail themselves changes of clothing, new footwear (the average thru hiker uses 4 to 5 pairs of shoes during the hike), extra batteries, and toiletries such as razors or restocks of toothpaste.
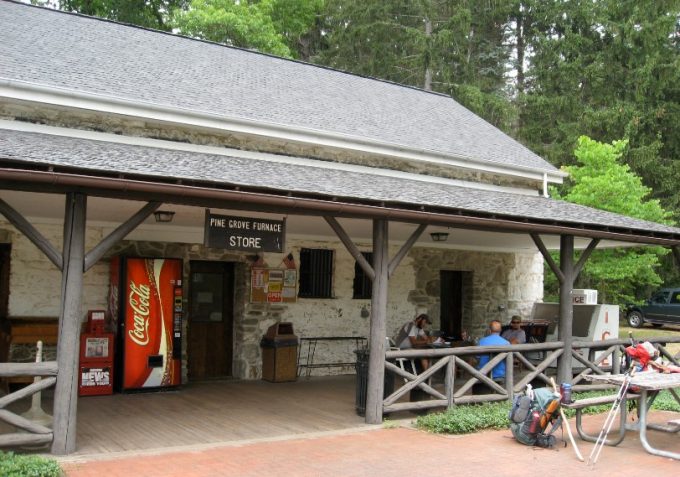
One tactic that many thru hikers use is a bounce box, which is continually forwarded to locations further down the trail. A bounce box typically contains extra supplies that the hiker decided not to bring on the trail for that stretch or items that are only used from time to time, such as phone chargers.
Besides planning for food restocking, water is a constant concern. During dry periods of time, a good rule of thumb is to top off your water containers whenever you get the chance, because water sources can be unreliable.
There are numerous springs and streams along the trail for much of its length, and most of the shelters are located near a water source and have signs that direct you toward it. Guidebooks are a great resource to help you find water sources. Once again, it is important to treat your water to avoid contamination by microorganisms.
Leave No Trace!
To keep the trail clean and healthy, hikers work together to espouse the trail ethic of leave no trace camping. Fully detailed recommendations can be found online for any trail situation. Discarding of human waste is an important one, as that will inevitably arise during your time on the trail.

Catholes for feces should be at least six inches deep and at least 200 feet away from water sources. 200 feet translates to roughly 70 steps by an adult. Many hikers carry a lightweight trowel to dig holes, but rocks and sticks can also be used.
Leave no trace includes, but isn’t limited to, proper waste disposal and cleaning up your trash (although those are certainly both important!). The environment around the trail is heavily used and fragile. Stick to established campsites when you can.
They’re usually obvious because of the lack of vegetation and the presence of a fire ring. Use campfires in moderation. The fuel you use for your campfire (sticks and branches) are homes for small wildlife and plants and their decay is helpful to the forest ecosystem.

The old adage “leave nothing but footprints, take nothing but pictures” applies to natural and cultural phenomena you might find along the trail. Cool rocks, Native American artifacts, wildflowers, mushrooms, and wildlife all apply. Basically, just use common sense and leave a place as beautiful as you found it!
Safety and Regulations
One of the great things about the AT is that it is structured to let you go at your own pace without worrying about excessive itineraries and paperwork. The AT is maintained by local chapters of the Appalachian Trail Conservancy, which is an excellent resource for further hike planning.
You don’t need to register to hike the trail, but be prepared for the cost of the hike, which averages $3,000-$5,000. Most of that money is spent in towns at motels and on food restocking. The length of the trail is marked by white blazes on trees or signposts, but the trail is easy to follow for most of its duration.
It’s important to know the regulations of various areas you’re passing through while on the trail. The trail passes through Great Smoky Mountains National Park in Tennessee and Baxter State Park in Maine, both of which require reservations for camping overnight.
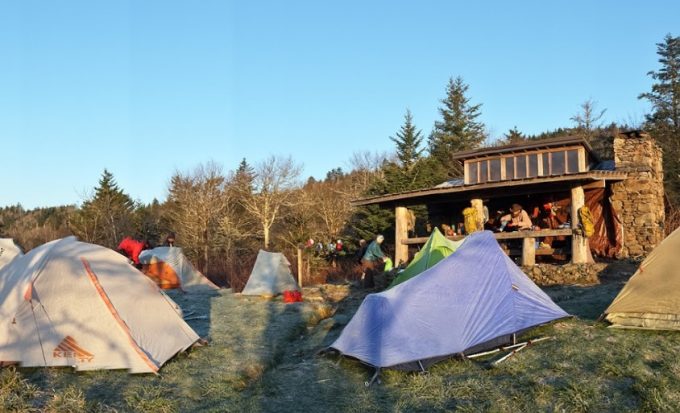
Shenandoah National Park and the Smokies both require permits for backcountry camping. Check with the parks’ offices ahead of time as different rules apply to AT thru hikers. The most common safety concerns you could encounter on the AT are related to exposure and dehydration.
Even if you don’t feel thirsty, make it a point to stop and drink water. It’s easy to become chronically dehydrated because your body often needs more water than you feel thirsty for. Bringing along some electrolyte powder and eating salty foods can also help combat dehydration.
Heat exhaustion or heat stroke is another hazard of the trail, especially during long days in the heat of the summer. Symptoms of heat stroke include extreme fatigue, headache, and dizziness. Be sure to stay hydrated and rest if need be.
If symptoms progress into heat stroke, where your body loses its ability to regulate its temperature, then you will need to seek immediate medical attention. Hypothermia, where your core body temperature falls and you are unable to regulate body temperature, is a serious danger during cold nights and winter months of the hike.
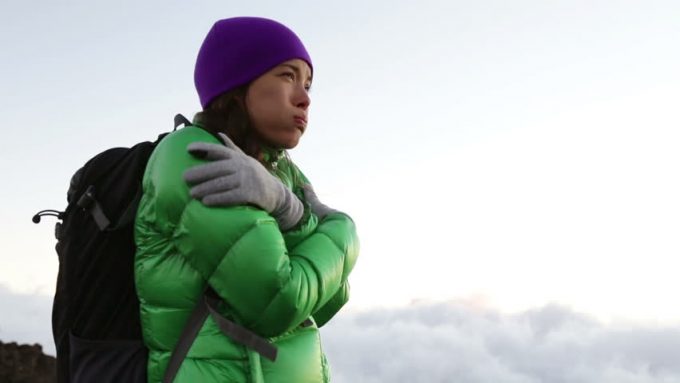
Always have dry clothes on hand, especially for sleeping, because wearing wet clothes in cold conditions can cause you to lose body heat more rapidly. Hypothermia is something that is important to keep in mind because its symptoms often go unnoticed until it is too late.
A smart safety precaution to take is to let loved ones know your approximate itinerary and check in with them regularly. Some hikers bring along a cell phone, which can be used as a GPS, notebook, flashlight, etc. Much of the trail has decent cell service so it can be good to bring a phone in case of emergency.
When it comes to being safe around other people, trust your gut. If a situation seems suspicious, do something about it. For the vast majority of people, the trail is a safe and welcoming place, but it is always important to keep your wits about you just as you would anywhere else.
You Can Do It!
One of the most challenging aspects of hiking the AT is the time commitment. Many people have completed the trail by hiking it in sections, with the benefit of getting to enjoy different parts of the trail during their optimal times of the year.
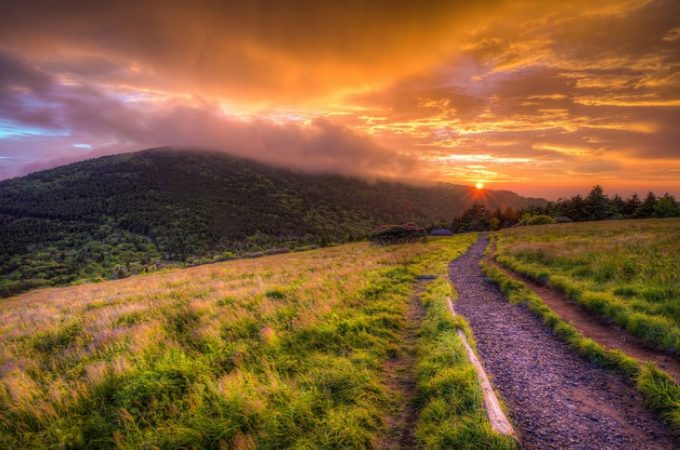
If you feel like something is holding you back from hiking the AT, you can find inspiration in the many amazing people who have completed the trail regardless of age or their circumstances. Hikers have brought their young children along on the trail. An 86-year-old man hiked the AT. So did multiple hikers who are blind.
Their stories are great to look up for some trail inspiration! The Appalachian Trail means something different for everyone. While all thru-hikers cover the same 2,200 miles of terrain between Georgia and Maine, no two experiences are alike. Once you set your mind to doing it, it will definitely be worth it.

