How to Repair Leather Hiking Boots: Make Them Last Longer
Knowing how to repair leather hiking boots is a useful skill that will save you both money and emotional loss. The first benefit is fairly obvious, fixing your shoes means you won’t have to buy new ones as often, but perhaps the second advantage is a little less clear.
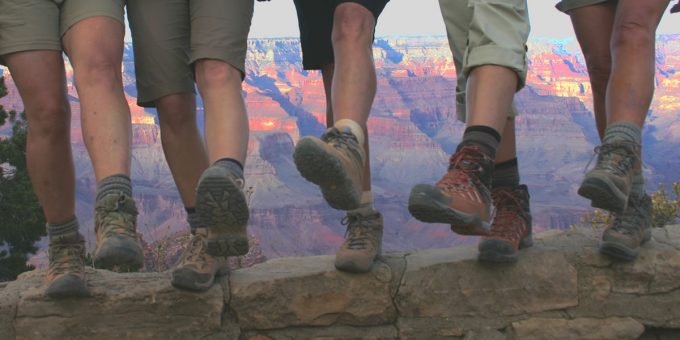
Well, for those of us who hike often and in unique locations, it is not uncommon to develop a nostalgic attachment to our shoes. Every time you lace them up you might be brought back to that epic hike you did in Peru or that unforgettable journey to the bottom of the Grand Canyon. Or, maybe you have just had them forever and associate hiking with these shoes.
See also: Best Vegan Hiking Boots: Maximize Trail Time, Minimize Impact
Whatever the reason, realizing that your hiking boots are damaged and might need to be replaced can be a traumatic experience. Luckily, though, repairing them is not so difficult. In general, the main things to repair are the leather and the soles.
Depending on the extent of the damage, fixes can be quick and easy, or they can be involved processes that require patience and some skill. We are going to go over a few of the common repair processes so that you can have an idea as to what they entail so that you can think twice about tossing your shoes the next time you notice they are damaged.
The Importance of Maintenance
Before we discuss the different ways to fix your shoes, let’s take a moment to review what you can be doing to save you this headache down the line. Like anything, regular maintenance of your boots is important to both prevent major damage to your boots and to make major repairs less frequent.
Probably the most important thing you can do in terms of maintenance is to clean and treat your boots. Leather is waterproof, but if it gets covered in mud or gets wet, it can crack when it dries up, which can mean serious damage and the need for repairs. See our must-read article on how to effectively waterproof your boots in no time!
So, if you use your boots in a rainy or muddy environment, make sure to clean them after every use. If you don’t have to deal with these elements, you can probably get away with cleaning after every few uses. Either way, this is an important step that you shouldn’t skip over.
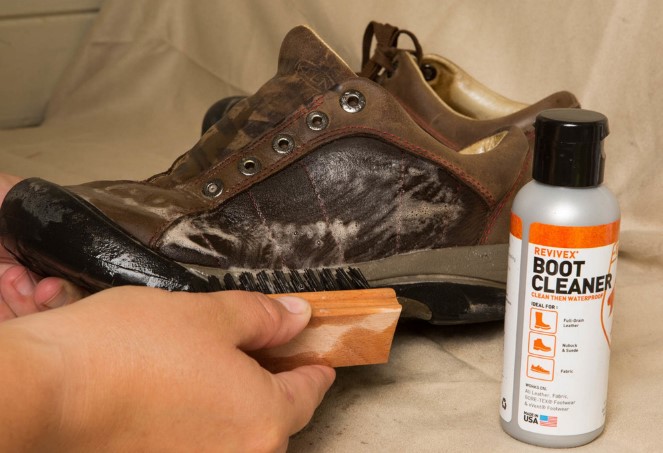
Here is a quick outline of how to clean and treat your boots:
- Remove excess mud or dirt. Using a soft brush or towel, gently knock off any caked on mud or dirt.
- Lightly clean. With a slightly wet rag or towel, scrub the boot clean to remove any more dirt from it. It is important to not use too much water on the rag as this could do more damage. If some of the dirt is being stubborn, you can use some saddle soap or a middle dish detergent to help get the shoe entirely clean.
- Let dry. After removing the dirt and wetting the boot, let it dry for a few hours. It is important to not use any heat source such as a hair dryer since this will dry out the leather and make it even more prone to cracking.
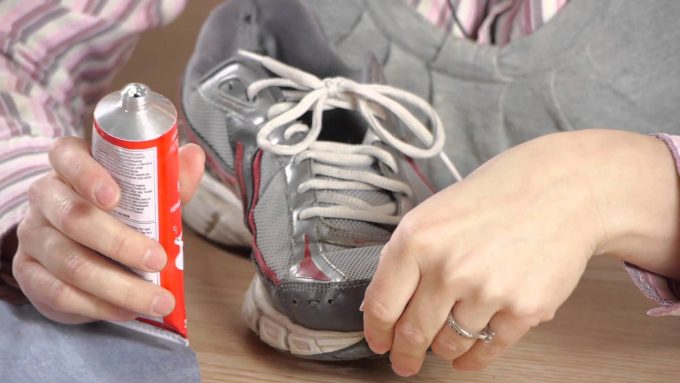
- Apply treatment. Use a natural treatment such as neatsfoot oil or leather creams and a soft rag to gently apply the treatment. Make sure not to use too much so as to saturate the leather, but enough to evenly apply the cream or oil to the entire shoe.
Sole Repairs
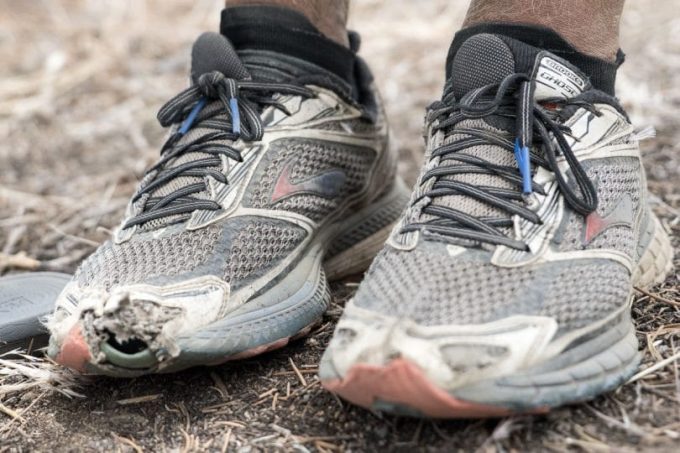
Regular maintenance of your leather hiking boots is essential, but no matter how much you keep up with cleaning, there are some things that simply cannot be avoided. One thing that can happen to your boots is that the sole can separate from the leather. This needs to be taken care of for two reasons.
One, if you leave it, it will only get worse with continued use and before you know it you might find your shoe without a sole, which is essentially impossible to repair.
The other reason to fix up the sole as it recedes from the shoe is because this imperfection can cause water to enter the shoes, which defeats the purpose of leather shoes and can also cause serious discomfort out on the trail. There are two different ways to repair the sole as it peels away from the shoe, depending on the type of boot you have.
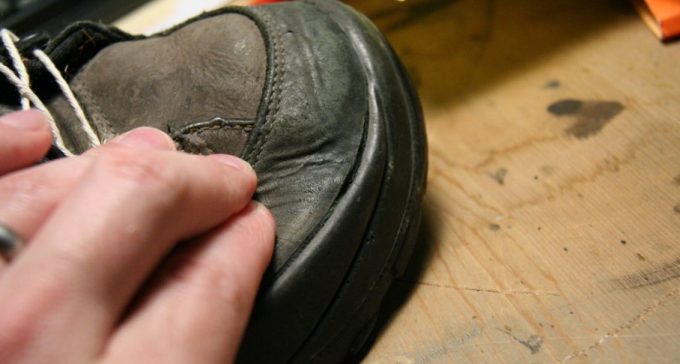
Protective Rubber Strip
This repair is fairly simple, but can only be done if you have a protective rubber strip between the leather and the sole. This is in contrast to the extended sole, which means that the sole is folded up over the shoe and attached to the leather. This is a bit more complicated and will be discussed next.
However, if you don’t have this and you notice that the separation only exists between the leather and the protective strip you are just a few very simple steps away from fixing this defect. Here are the steps:
- Clean the rubber and leather. You should follow the steps outlined above for cleaning boots, but you do not need to treat the leather this time. It is important to make sure both the leather and the rubber are completely dry before moving on to the next step.
- Glue the rubber to the leather. You will want to use superglue or something equally as strong that you know will hold against leather. Simply apply a small amount inside the gap where the rubber and leather have broken apart. Be careful not to overaply as this may lead to slow drying times and an ineffective seal.
- Hold in place and dry. Once the glue is applied, simply push the leather and rubber together and hold them firmly in place for a few minutes. There is no rule as to how long you need to hold it, but longer is always safer. This will ensure a tight and complete fit and will prevent you from having to repeat this later on.
That’s it. It is a fairly straightforward process that requires few materials and can be done in a matter of 15-20 minutes. It is important to perform this repair as soon as you notice the imperfection, though. Failure to do so will mean more involved and costly repairs down the line.
Extended sole
The other type of sole repair you might need to do is with extendinged soles. An extended sole means that the same material that is used for the bottom of the shoe is simply extended and then folded up to form the seal with the leather.
Repairing a broken seal is not the same process as for shoes with protective rubber strips, and it is actually quite important that you do not use glue, as it will not hold and will allow for further damage to the shoe. Here is a quick outline of how to make this repair:
- Clean the leather and rubber. Same process as above. Make sure there is no dirt and that the shoe is good and dry before proceeding.
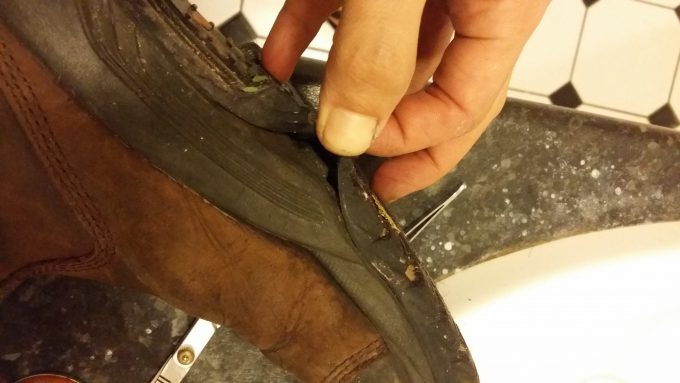
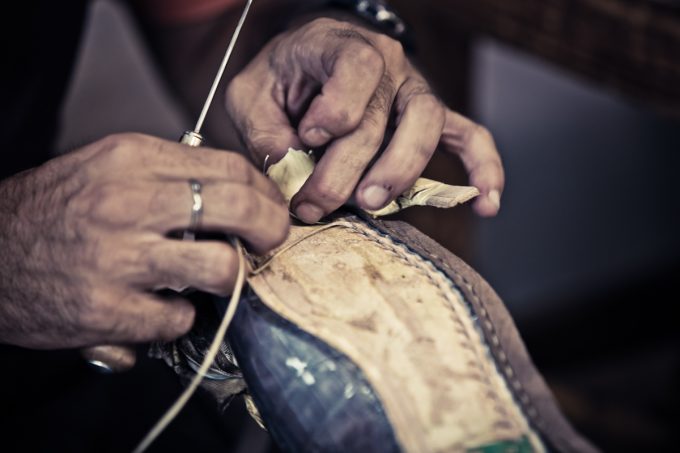
- Sew leather where needed. Many overextended soles are attached with thread below where the seal is made with the leather. If this is broken, you will need to get in there with a needle and some strong thread to reattach the leather and the rubber. If this has not happened, you can be thankful because your repair process will be a bit smoother.
- Glue rubber. For this, use special sole repair glue instead of superglue. It will help protect the seal better and will stick longer.
Again, that’s all there is to it. The only real challenge here is trying to get a needle into what can be an impossibly small space, but with a little patience, you should be able to patch up the leather and get your shoes back in tip-top shape.
Fixing cuts in the leather
Another thing that can happen to your leather hiking boots is a tear. This can come from contact with a sharp rock, or if the leather is dried out, significant use can cause the material to rip. Fixing this is important is it will help maintain the waterproof quality of the leather and will also protect the overall integrity of the material.
If you allow cracks or tears to exist, dirt and mud will work its way inside and this could cause a further breakdown of the shoe. Repairs can be easy or a little more challenging, depending on the extent of the tear. We will discuss the two different options.
Surface level tears
These are cuts or tears that haven’t made it all the way through the material. If this has happened, you will want to take care of it, but know that the process will be much simpler. In fact, all you really need to do is clean out the inside of the cut or the tear and then apply some glue.
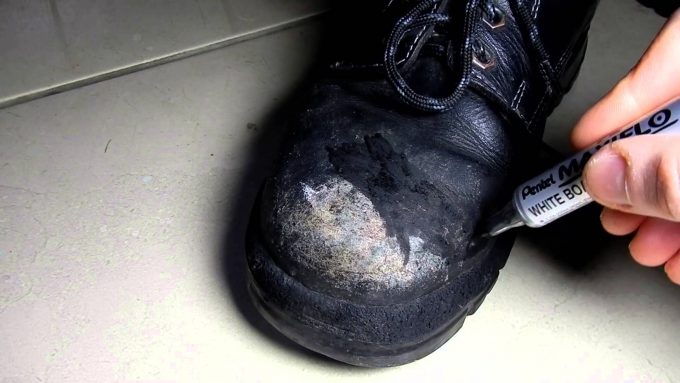
Once the glue is in place, hold the material together so that the bond can set and the leather can join together. That’s pretty much all you need to do. This isn’t necessarily a permanent fix, so keep an eye on the shoe as you start to use it again. Also, following a solid cleaning and maintenance regimen can help prevent this from happening.
Full tears
If the cut makes it all the way through the shoe, the repair process is a bit more extensive. Here are the steps involved in repairing this type of defect:
- Clean inside and outside the tear. By now, this should be almost automatic. Follow the same process for a normal cleaning and make sure the leather is dry before beginning repairs.
- Sew the leather back together. This is the tricky part. You will need to get a small needle that can fit inside the tear and then sew the leather together as close to the bottom of the tear as possible. Make it as tight and as strong as you can.
- Fill the gap with seam filler. Once you sew the leather, apply a seam filler to help regain the waterproof capacity of the shoe. This is a very important step. If you skip it, it will be like you didn’t fix the shoe at all as water and dirt will be able to easily make there way into the shoe.
- Apply glue. Once the seam is filled, apply some leather glue like in any other repair process to help close off the tear.
This process may seem straightforward, but it can be a bit of a challenge, especially if you don’t have experience sewing or the right needle to get into such a small space. If this is the case, you could consider bringing your shoes to a professional repair shop.
For not too much money they will do a nice job and you can be 100 percent sure that the tear is fixed. If not, a little practice with this method is all you really need.
Replacing Soles
A lot of people don’t know you can replace soles on your shoes. Most of us assume that once the sole gets worn down or it starts to work away from the shoe, we need to get new shoes. Well, this is where the emotional component we talked about earlier comes into play.For some people, losing their favorite hiking shoes is simply an unacceptable sacrifice.
For others, the expense of replacing shoes might be too much. Fortunately, replacing the soles on your boots is not actually as hard as it might seem. With the right tools, a few hours and some patience, you can get your boots fixed up with new soles that will buy you many more years of use.
Here’s what you need:
- Razor blade
- Coarse sandpaper
- Nail puller
- Hammer
- Gloves
- Shoe repair glue
- Seam ripper
- Needle and thread
Once you have gathered the materials, follow these steps to replace the soles:
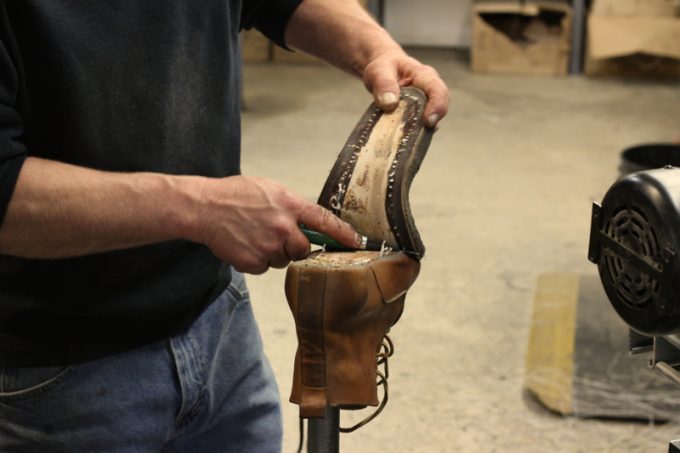
Step 1: Remove the old soles
Use the razor blade to gently break the seal between the rubber sole and the leather. Be careful not to cut the leather. Next, you will want to use your seam rippers to remove the threads attaching the rubber and the leather.
The last step is to use the nail puller to take out any sole fasteners on the bottom of the shoe. Once you have done all of this, gently remove the sole from the shoe.
Step 2: Clean
Now that the sole has been removed, you need to get rid of any glue residue before attaching the new shoe. The way to do this is to soak a rag in some acetone and to rub it along the parts of the shoe that have glue on them. If there are some parts that are difficult to clean, you can use the razor blade to chip away at the glue.
The important part here is to go slow and be thorough. If there is any glue left over it will be difficult to secure the new sole.
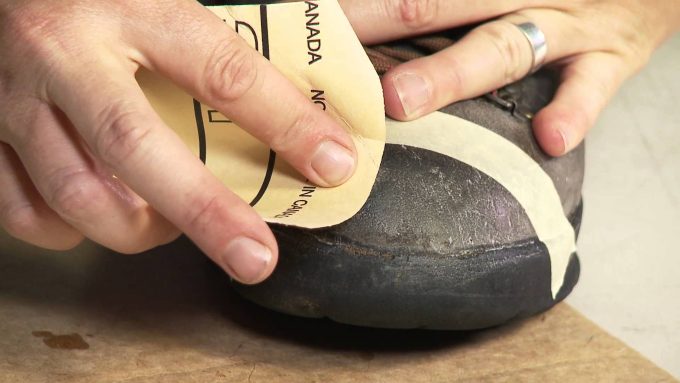
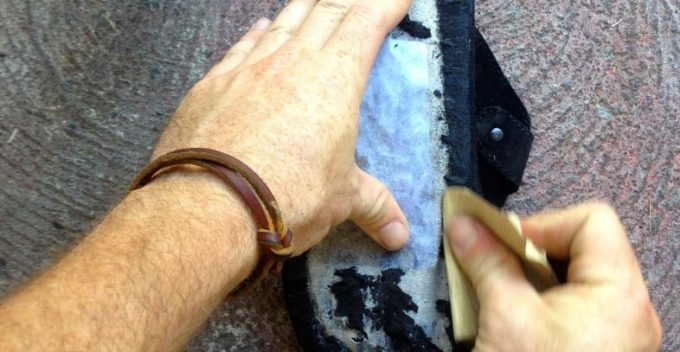
Step 3: Prepare Middle Layer
With the sole removed and the glue cleaned, you are now left with a bare middle layer. Envision where you will be attaching the new sole to the rest of the shoe and use the coarse sandpaper to gently rough up this surface. Do not go overboard, but the idea here is to create a surface that will be receptive to new glue.
Step 4: Attach sole and apply glue
Take your new soles and put them in place. Then with a toothpick or something similar, apply the glue evenly and then press the new sole against the shoe. It is important to use special shoe repair glue here since it is more durable and will hold stronger.
Once you have successfully applied the glue and secured the sole, turn the shoe upside down and use the hammer to pound the sole so as to make sure it sticks. If the new sole requires fasteners, now is the time to apply them.
And that is pretty much all there is to the process. Do one shoe at a time, and leave around an hour and a half for the task. After you do it one or two times it will become much easier and you can probably do it much faster, but until then, take your time to make sure you are doing a quality job that won’t need to be repeated after a few uses.
Get back on the trail
So there you have it. Broken hiking boots is no longer a reason to not be out on the trail. If damage gets severe, you may need to enlist a professional or consider buying new shoes, but chances are if you keep up with maintenance and take care of problems as soon as you see them, you won’t need to replace your shoes because of minor damage.
This will give peace of mind to those of us that are nostalgic about our boots or that don’t feel like breaking the bank for a new pair just because of a few minor tears or scratches. If you get good at replacing the soles of your shoes, chances are you may never need to buy a new pair ever again. How’s that for lifetime guarantee?
For insights and information on how to choose the right boots for you, check out our article on this.
What did we miss? Do you have any experience fixing your shoes that could help our readers better understand the process? Do you have any questions that weren’t addressed? Let us know so that we can help everyone make the most out of their shoes and avoid any that dreaded feeling of having to throw out your boots and buy new ones.