How to Pitch a Tent: A Step-by-Step Beginner’s Guide
Camping is a favorite activity among outdoor enthusiasts due to the sheer fact that it allows you to spend a few nights in nature. In order not to head straight for a disastrous night out in the open, it’s crucial you know how to pitch a tent properly. Organizing before the trip and ensuring you follow a step-by-step beginner’s guide should lower the chances of a major camping catastrophe happening.
Nothing beats the sight of a starry night high in the mountains– you relax gazing at the stars while inhaling the fresh smell nature has to offer. However, not all trips will be so peaceful; more often than not, you may have to deal with some cold rain and harsh winds. That is why it’s so important to have a dry and safe shelter where you will spend your night in.
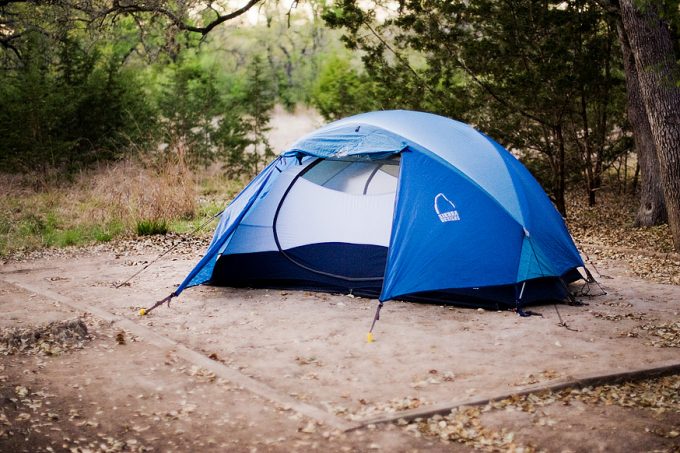
This is where a good tent comes in hand. For the first-time campers, pitching a tent may look like something extremely complicated – it is not the easiest activity considering camping.But before you give up and think of it as a mission impossible, be aware that everyone has been a beginner once and most likely as confused as you are. Given that you prepare yourself and pay attention to even the smallest of details, there’s no reason why you shouldn’t be able to do it.
Before the trip
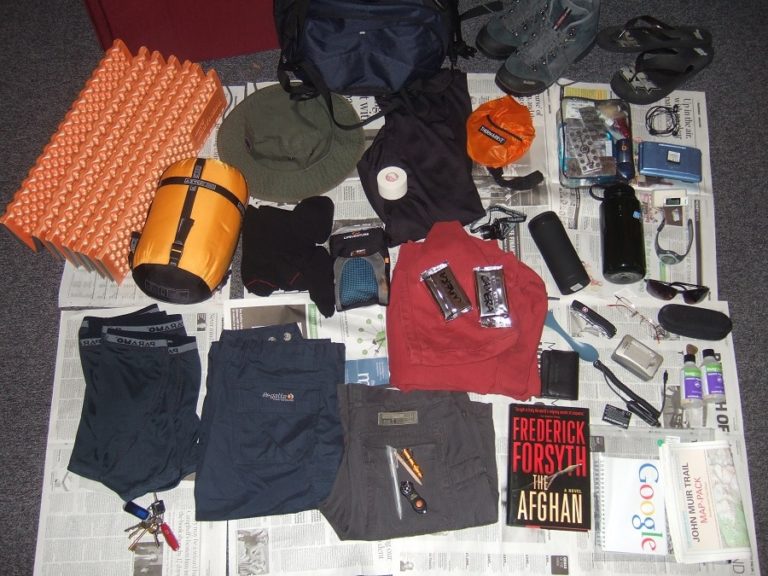
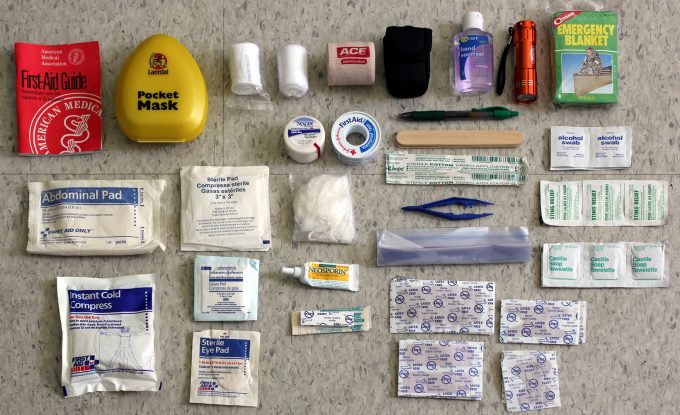
It is of utmost importance to do some planning beforehand. Create a list for your camping trip, confirming that you have everything you need all the way from food and medicine to necessary equipment. Taking all the equipment you will need to set up the tent is crucial – if you forget even one stake, you won’t be able to pitch your tent properly.
Your list of things needed to pitch the tent should look something like this:
- A tarp on which you will set the tent up;
- A tent;
- Tent poles;
- Tent stakes;
- A rainfly;
- Additional cords, stakes, and tensioners to attach the rainfly;

In order to be cheaper, some basictents may not include a tarp – make sure you get one if yours doesn’t come with itor the one included is not ofdecent quality. The tart is a must-have for both protecting the tent from the rough ground and offering you some additional insulation.
Another thing worth noting is that some tent manufacturers don’t include a rainfly nor the equipment needed to set it in place. The rainfly is a crucial piece of your camping equipment that is set over the tent and considering the fact it is waterproof, it shields you from rain and the wind.
You won’t always need the rainfly, but it may be a good option to set it up anyway – you never know when rain might hit hard during the night. If you’re a first-time buyer, doing the investment and buying a rainfly may be just worth it and save you some money in the long run.

Even though your tent might come with a manual saying the tent is ‘easy to use’, it may not be the wisest to test that theory out in the wild. Carefully study the instruction manual that came with the tent and bring a copy with you – never set out without one because you don’t know when you might need it.
Then, take some time and try to assemble the tent at home first – this way, you will be doing it without the additional time pressure of having to set it up quickly. Even if you don’t fully erect a tent in your backyard, it would be nice to check where all the main points are. It wouldn’t quite be the trip to remember if you are trying to find where that pole goes in the semi-dark while a chilling wind is bashing you from the side, right?
After you carefully inspect the equipment and ensure it is in the proper condition – meaning there are no holes in your tent, nothing is ripped nor worn out and all seams are tight in place – you can pack everything.
On the campsite
Before you proceed to actually pitch the tent, take some things into consideration as to create the perfect campsite.
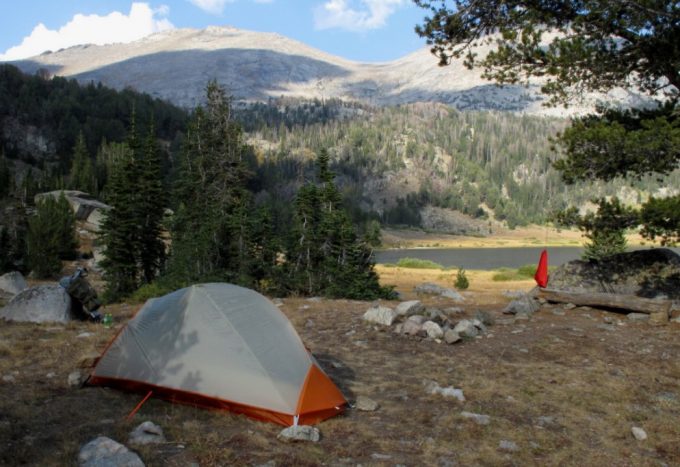
Find the right spot
It may look simple enough – you just pick a spot and set your tent there. However,practice has shown that it’s not as easy as it sounds. It is extremely important that the spot where you pitch your tent is as flat as it can be. If there are any rocks or branches on the ground, make sure you put those aside before putting the tarp on the ground as they may rip through it.
Look for spots under trees – those will offer you some natural protection from rain and wind to some extent. Trees can also prove useful when it comes to offering some much-needed shade in the summer. But don’t forget to check for any broken tree limbs – they can pose a deathly threat in case they break off and fall on you or your tent.
See also: Backpacking 101: What You Need to Know To Have a Great Time
A good advice would be to opt for spots that have already been used and cleared-up. Those are rather easily noticeable on popular camping destinations and it means they successfully serve their purpose. You also help preserve nature by doing this – all camping activities on that ground will be kept in a short circle and vegetation won’t be ruined unnecessarily.
Stay away from water
Even if you have a top-notch professional tent, the rule goes that you should tend to stay away from water as much as possible. Choose a higher spot than the rest of the area and avoid setting your tent in a hollow ground – it will become a swimming pool if it starts to rain.
Also, always set your tent at least 200-300 feet away from any source of watereven if it’s only a lazy spring –it’s for the best to avoid any unpleasant surprises when it comes to water.
Check the direction of the wind
Your tent and your tent poles, no matter how durable, can easily break and leave you without a shelter if not set correctly. In order to have your tent stand up to the toughest winds, place it in a way that the side with the strongest pole is facing the wind. Adding a rainfly will improve the wind resistance.

A small hill on one of the sides of your camping spot might act as a natural windbreaker and prevent the wind from hitting you hard.
Be aware of wildlife
Even if you chose the ideal spot, take a look around. If you see some bee hives or a lot of animal droppings on the ground, maybe you should reconsider your decision and move your tent somewhere else.

Most animals should be scared of you, but bears might be attracted to the smell of food and bee hives may attack even on the slightest sign of disturbance.
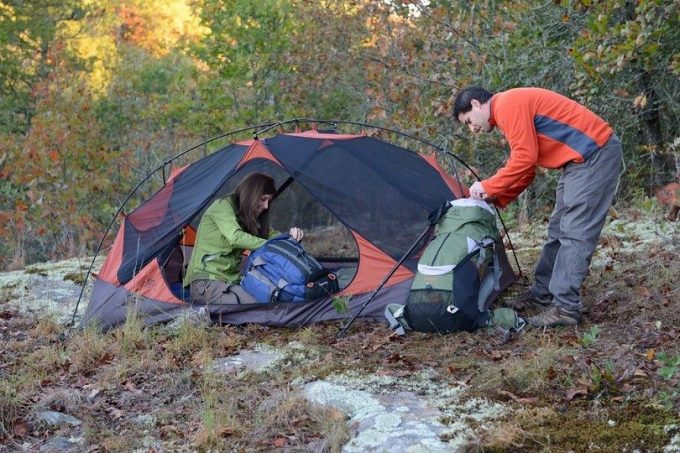
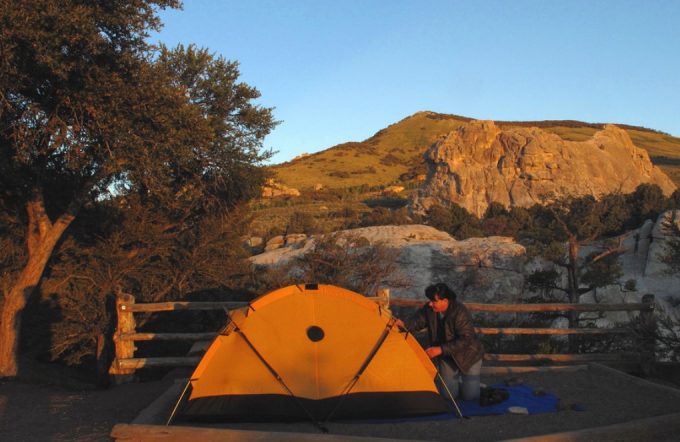
Pitching the tent
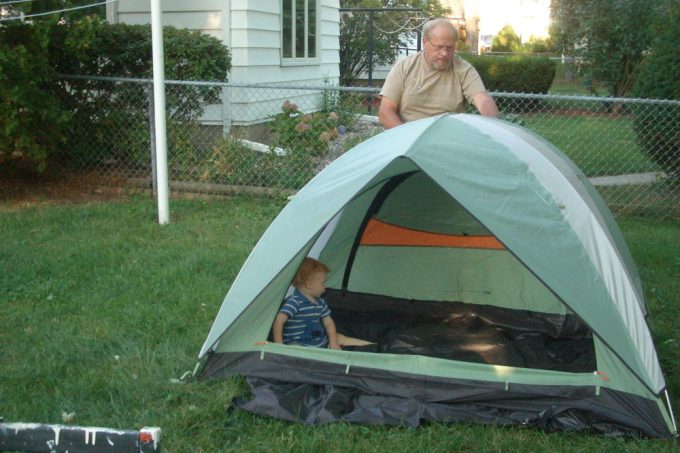
Once you’ve made sure all of the conditions are appropriate, you may start pitching the tent. It would be good if you had an extra pair of hands to make the process easier.
Unpack all of the equipment
This means you should take out everything you’ll need to assemble the tent and lay it out neatly in front of you. This way, everything will be within reach and you won’t lose time rummaging through your bag.

Lay the tarp on the ground
The tarp should be put in a way that resembles the basic shape of the bottom part of the tent. Some think they would maximize the protection if the tarp edges are slightly exposed around the tent but this is a big mistake; if it happens to rain, your tarp will act as a water container and start accumulating water.

The best way to set it is to fold it so it’s a bit smaller than the surface of the tent and no edges are visible.
Lay out the tent on top of the tarp
Make sure you’re laying your tent on the bottom side. Flatten it up so you can see the corners of it clearly. Then, locate the door and the windows of the tent; after taking into consideration the wind direction and the sun, rotate it in whichever way would be most suitable for you.
Connect the tent poles
The tent poles are usually packed in sections so they are easier to carry. Before inserting them in the frame, you will need to assemble them. Most of the tent poles should be color-matched but if they’re not, check your instruction manual to see how to connect them properly.

Insert the tent poles
This is the most time-consuming task and it might prove like a wise decision to do it before the sun sets –the natural light will be more than helpful in this case.
- Inspect the frame carefully and locate the eyelets on the corners and the pole slots.
- Start sliding each pole through the right eyelet on each corner.

Note that some tents might have clips that are attached to the pole rather than slots so don’t get confused – just clip them on the pole. While it is true each tent has a different frame and thus comes with different sets of instructions, the basic tents have two main poles that form an “X”.
Raise the tent
It would be helpful if you have a partner when it comes to this particular step. After the poles are in, they will start to bend and give shape to the tent – your shelter is almost ready! Slowly raise it up. Be wary that some minor adjustments may need to be done, such as straightening up the poles or pulling the corners apart.
If your tent comes with any other specific component, this is a good moment to make sure it is used.
Stake the tent to the ground
Locate the flaps on the corners of the tent and use the metal stakes to fixate your tent to the ground. Some prefer to hammer them in a bit, so considering carrying either a small hammer or just use a rock. But don’t hit too strong if the ground is too hard – some tent stakes might bend easily!

Add on the rainfly
The rainfly goes on top of the tent. You will need additional cords known as guylines and additional stakes and tensioners to set and attach the rainfly to the ground.
- Attach the guylines to the rainfly. Each rainfly should come with loops where you can attach your guylines.
- Stake the guylines to the ground. Depending on the length, opt for the furthest spot away from the tent. Try staking them at an angle that is the closest to 90 degrees. Even though it’s best if you do it at a 90-degree angle, that can’t always be achieved unless you have a firm object nearby, such as a tree.
- Adjust the tension and be careful not to rip the rainfly. Even though it should be taut, don’t put too much tension or you might rip the rainfly. Don’t forget to check the condition of the rainfly consistently through the camping trip and make any necessary adjustments.
However, please make sure you read your instruction manual, as each rainfly might come with different set of instructions.
Move your things inside
Your tent should be up and ready by now and you can start enjoying your camping trip!
Taking extra caution
It’s always a good idea to be on the safe side of things and keep yourself as informed as possible, especially if you’re a beginner. Once you’ve set up your tent, there are a few other things you should keep in mind.
Pay attention to the guylines
People have been reporting that they’ve been frequently tripping over them. Not only you can rip them and thus ruin your shelter for the night, you can also harm yourself. Some cordsmay come with fluorescent designs so they’re easily noticeable.
However, it is a well-known trick to hang a piece of clothing or even a bandana on them so you won’t forget where they are.
Look for tents with additional rainfly clips
Some tents offer additional clips on the roof so you can attach the rainfly on the tent as well; they are a bit pricier, though. This will make for an even better protection and a minimum chance of leakage. Check out our instructions on how to seam seal a tent for more details and options.
Don’t let the tent and rainfly touch
Nor you should touch them yourself if it rains because water will start seeping through them. They should be close to each other but not touch – if they do, reconsider what might be wrong. You can adjust the rainfly using the guylines but avoid touching the sides from the inside or out.
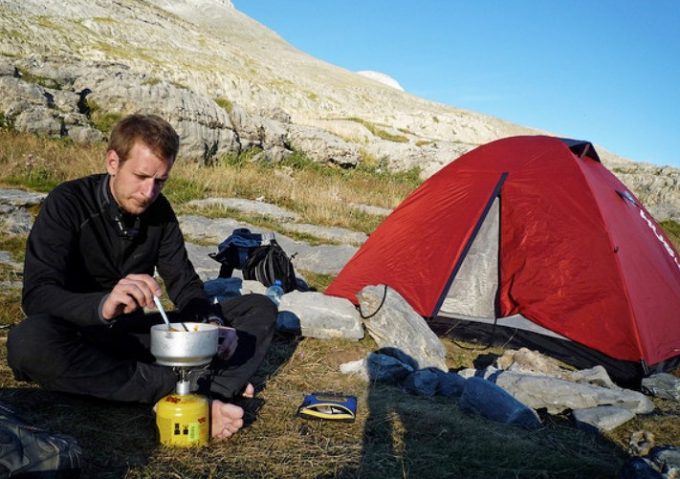
Don’t cook in the tent
It may be for the best to always opt for a separate cooking area outside. Cooking in the tent is a generally bad idea and not only because of the food smell getting stuck inside – sometimes even a small spark is enough to set the tent fabric on fire leaving you without shelter.
Another threat is the limited ventilation, which means that carbon monoxide might get trapped inside and lead to potential choking. Last but not least, animals may be attracted to the smell of food – keep your food away from your tent, usually somewhere higher.
Be smart in organizing your camping area
This means that your sleeping area should be well separated from your cooking and toilet area and not close to the campfire. Put some thinking into it and pitch your tent upwind of those two areas, keeping any unpleasant smells out of your way. Some people prefer to bring an additional rainfly and create a sheltered cooking area with it.
Don’t leave trash and debris
After your camping trip, don’t forget to check the campsite and the condition you’re going to leave it in. Remember that nature doesn’t belong to people – people belong to nature. Look for any debris you might be leaving behind and pick it up. Leave the camping spot the same as you’ve found it.

Before going home
In order to pack the tent, you should start doing everything in a reversed order, meaning that you start off by taking down the rain fly first and ending with the tarp at last. Don’t pull anything too strongly nor apply too much force – you might end up damaging your equipment.
After you’ve taken the tent down, take your time and pack it the same way you did before the trip. This is done mostly to ensure that your equipment will be back safe and in one piece.

If weather conditions allow it, make sure you ventilate the tent before taking it down. In case it’s raining and you have to pack quickly, don’t store it wet at home. The first thing you need to do when you get back is to clean and dry the tent before storing it for a longer period.
By making sure you follow instructions closely, you are guaranteed to successfully pitch your tent and enjoy your camping trip! For more tips on how to choose the best family tents for you and your loved ones, see our article on this.