Fire Building Techniques: How To Start a Fire While Out in the Wilderness
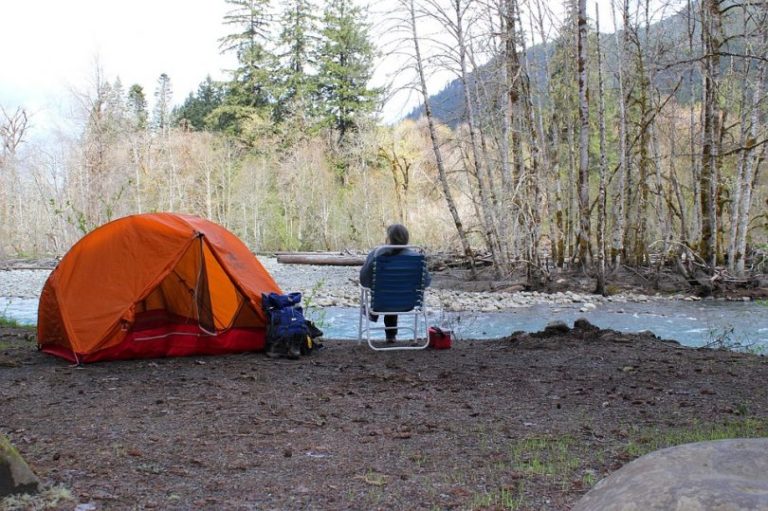
If camping is your thing, then you probably know nothing beats the feeling of seating around the fire at night. However, you’ve probably struggled to start a fire more than once – that part can definitely be tricky! But did you know there are a few simple fire building techniques you can learn?
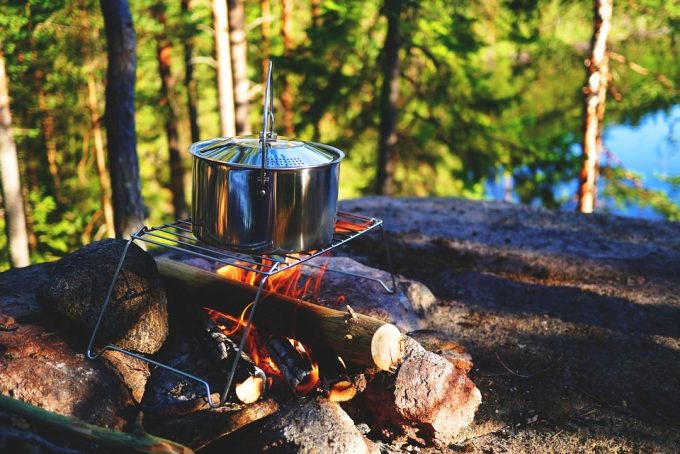
Knowing how to start a fire quickly should be useful, especially after a long day hiking. A good fire will not only keep you warm, but it’ll also allow you to cook some decent food on your trip. What’s even more, it might even save your life in a case of emergency!
That’s why we did our homework and went over a few basic techniques every outdoor enthusiast might find useful. On top of that, we’ve also shared some tips with you about making different types of fires, each suitable for a different thing! Keep reading on to find out more.
Things You Will Need to Start a Fire
Any fire requires three things to continue burning: heat, oxygen, and fuel. How the ratio of those three elements is controlled determines the kind of fire you end up with.
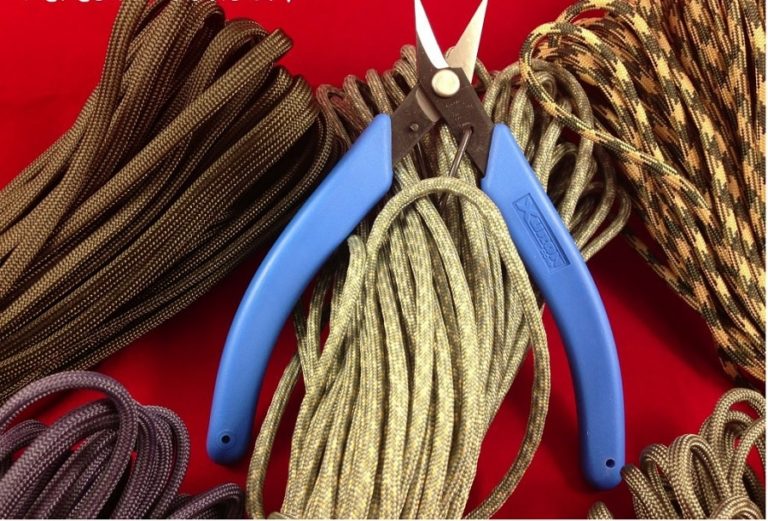
A Ferro rod, Vaseline coated cotton balls, and a fixed blade knife should be what most people consider a minimum to start a fire while outdoor. You can also compound that by adding a saw or an ax which reduces the amount of labor input exponentially.
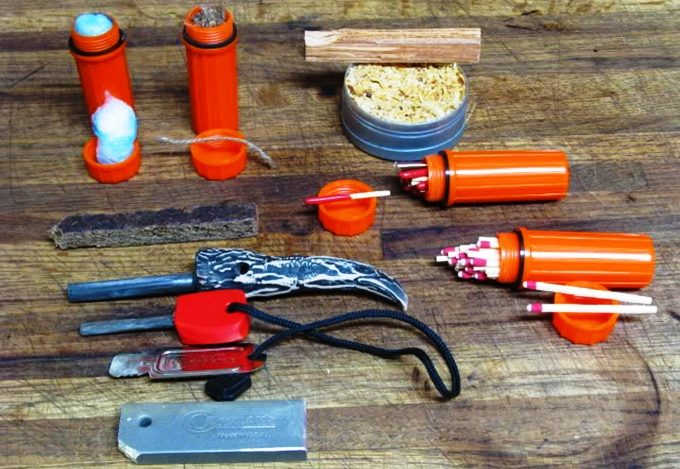
Another important element you will require is dry firewood. You can improvise by collecting dry cranky twigs that have fallen on the ground.
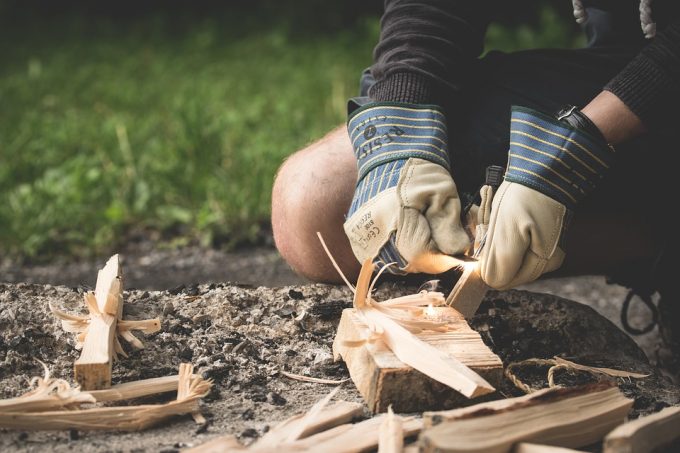
One of the readily available and efficient sources of tinder in the wilderness is dried grass. You can also whittle a tick of feather from a sliver of wood that is very dry. Try to come with stuff that resembles industrial firewood when processing your wood. This will go a long way in exposing the dry center to the fire while exposing the wood to multiple angles through which fire can catch.
Things to Use in Bad Weather
At times of bad weather, you will have to work extra hard to find wood that will be dry enough to burn. The following things should be great when building a fire in bad weather conditions.
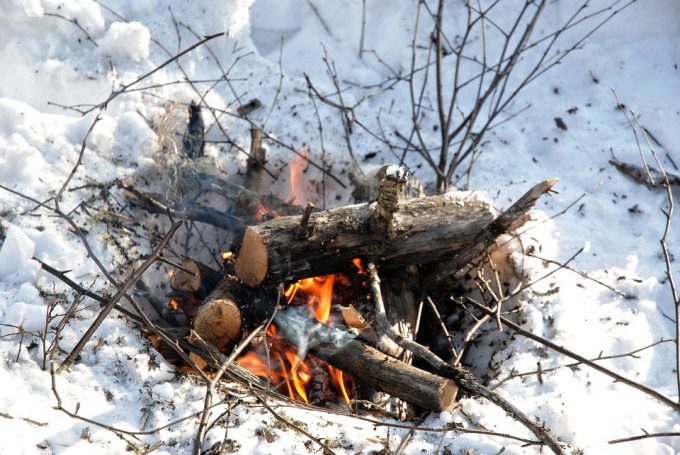
During snow weather or heavy rain, look for dry wood in dead trees and branches that are still standing. An ax or a saw will assist you cut them into manageable sizes. A large knife or an ax will help you split the logs accessing the dry wood inside.
Start by Creating a Fire Bed
It is crucial to think about your safety and the safety of those around you every time you are creating a fire. It is critical that you use the designated fire area in your camping site.
However, you will have to make your fire site whenever you are camping in a rugged area that does not have designated fire sites. Your place of choice should be strategically away from bushes, trees and other plant materials that may ignite.
Ensure that the fire site is on bare earth and remove any form of vegetation beneath it and in particular dead grass. Rake away any plant material or dig if you cannot find any bare ground. Dry bark, grass, and even branches may catch fire very easily.
You can go ahead and make the fire bed only after the designated area has been cleared. Don’t forget to place three to four inches of dirt above it.
Fire Building Techniques
Here a few fire building techniques that you may find useful on your next camping trip.
Hand Drill
One of the simplest methods to use friction to start a fire is the use of a hand drill. However, it is quite difficult to maintain high speeds since you only use your hand to rotate the spindle.
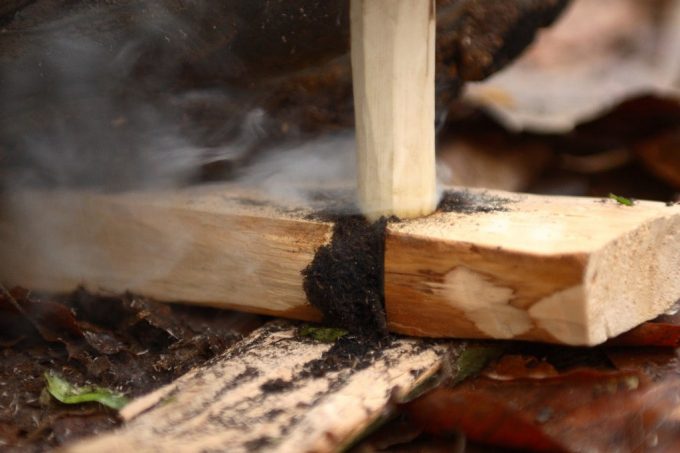
This technique works best during the dry seasons – just follow the steps below.
- First step: on your fire board, cut a notch that is V-shaped and then use a knife tip or a rock to create a small depression that is adjacent to it. To catch the ember, put a bark piece under the notch.
- Second step: place two feet long spindle in the depression and use the palms of your hands to roll it while maintaining pressure. Roll your palms in quick succession down the spindle. Continue with the process until the tip of the spindle glows red where an ember is formed.
- Third step: deposit the ember into the bark by tapping the fireboard. Go on and transfer the fireboard to a tinder bundle and using a flute or your bare mouth, blow it into a flame.
Two man Friction Drill
A better job of maintaining the pressure and speed required to form an ember can be done by two people as compared to what an individual can. This can be achieved using the friction drill string variation. The first step is to have one individual exerting pressure to the drill downwards while the other uses a shoelace or a thong to rotate the spindle in a burst of speed.
Fire Plough
This technique produces its tinder by out pushing wood particles ahead which help in creating a fire after the friction.
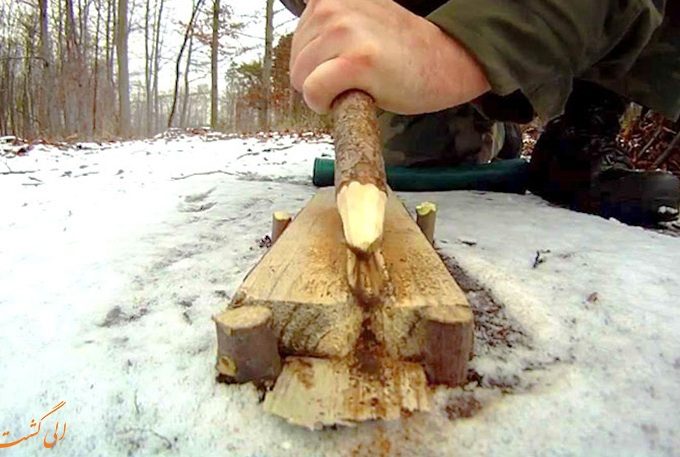
- The very first step is to carve a groove in the fireboard made of softwood. Go on and rub or plow the tip of a shaft that is slightly harder up and down the groove.
- Dusty particles of the fire board will be pushed out by the friction which, as the temperature continues to rise, will ignite and create a fire.
Pump Fire Drill
This ingenious pump drill makes use of a fire wheel to generate friction which is essential in starting any fire. The flywheel and crossbar are made from a hardwood tree.
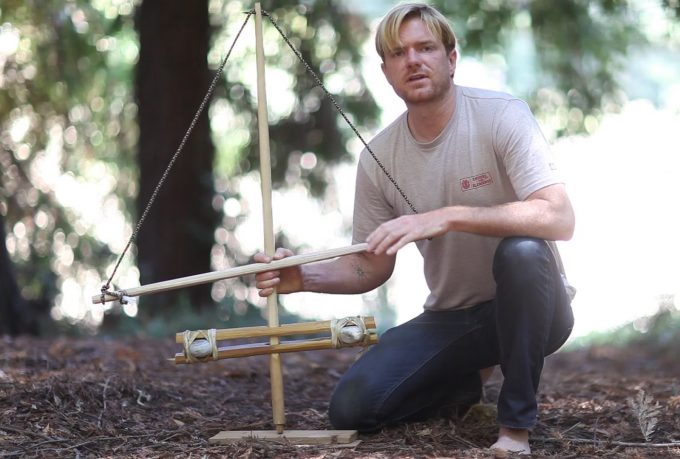
However, as in the hand drill, the fire board and spindle are made from softwoods.
- The first step is to create a hole in the rounded piece of hardwood’s center and fit the spindle tightly by forcing it. Choose the wood for your crossbar and create a large hole that will freely slide into the spindle.
- The second step is to have the crossbar attached to the top of the spindle using a sturdy shoelace or a thong made from leather.
- The third and final step is to wind up the flywheel in such a way that the thong or sturdy shoelace twists in a circular motion around the spindle. Continue to press down until the momentum created rewinds the crossbar in a direction that is opposite. Repeat the process until a glowing ember is created by the friction.
Bow Drill
The bow drill is the most efficient method of maintaining the pressure and speed necessary to create a coal of all the friction fire starting techniques. It is also the easiest friction method to master and be very good at.
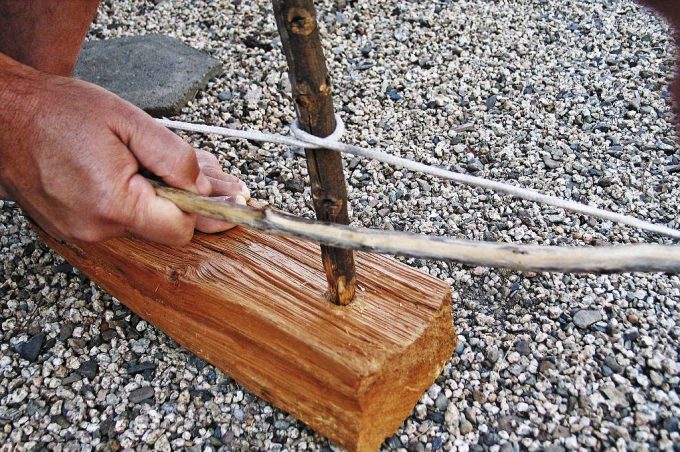
The key to success is having the right combination of the spindle and fireboard. Experimenting with various types of dry softwoods until you come up with the best is always key. One of the most critical things to put into consideration is that the drill should be a bit harder than the fireboard.
- The first step: create a notch at the edge of a round hole dug into the fireboard the same way you would for a hand drill. Affix the string loosely to a bow made of the stick which can be from any wood stout.
- The second step is to place a wood drill end into the round impression which should be the size of your thumb’s diameter. Using a socket which should be a stone or a wood block, bear down on it with a hollow ground onto it. Proceed to hold the drill in the bowstrings loop and then saw back and forth vigorously until a coal is produced by the friction of the spinning drill.
- The third and final step would be to find a bird’s nest and drop the glowing coal on it. Proceed to use your hand to lift the nest and blow it lightly until it catches fire.
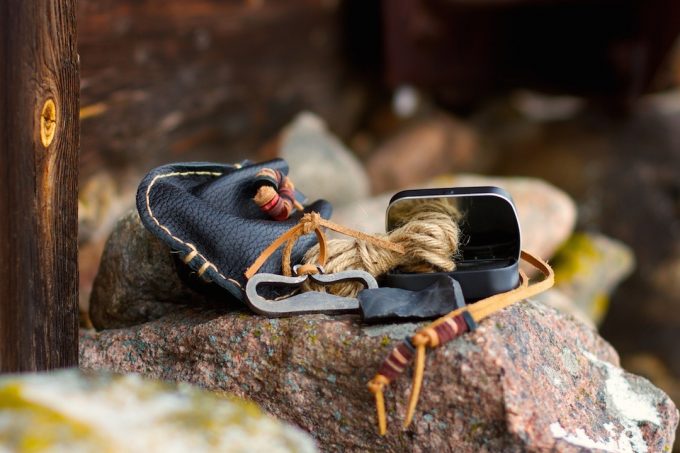
Flint and Steel
Using a softer steel to strike the harder flint will always produce sparks that eventually flame your fire. It is easier to use the steel and flint steel kits provided with the curved steel striker.
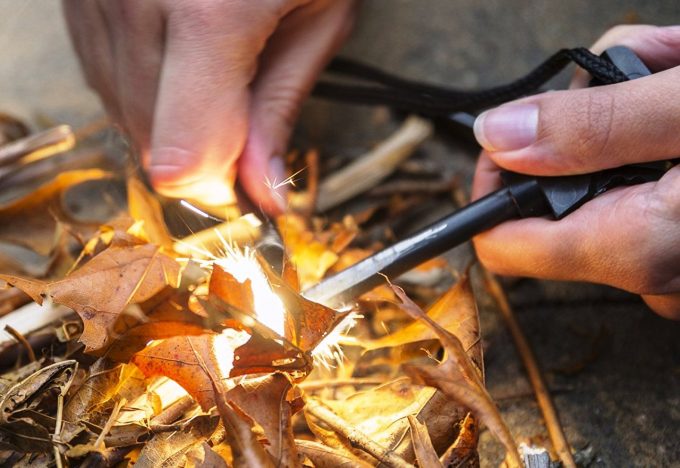
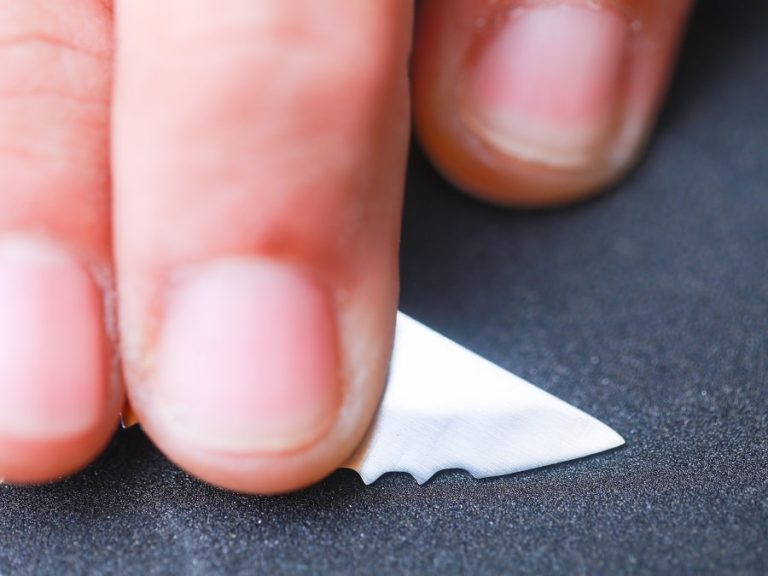
You can also use the back of a carbon- steel knife blade to produce sparks as it is very hard to produce sparks from a stainless steel knife. Other tools that will work include an ax or an old bastard file.
- The first step is to grasp a shard of quartzite, flint or any other hard rock between your forefinger and thumb with a protruding sharp edge in distances of one or two inches.
- The second step is to get a char cloth that is homemade or a lump of birch tinder fungus and clamp it tightly under your thumb while holding the piece of flint. Strike a blow against the flint’s edge while grasping the end of the knife blade, file or the striker in your other hand with wrist motion in quick succession. Strike the flint near the blade sharply while holding the head where the steel is harder if you are using an ax. The steel will produce molten sparks which will fly off and will be caught eventually by the char cloth’s end causing it to glow.
- The third and final step is to fold the cloth carefully into the tinder nest and blow on it gently until it catches fire.
Magnesium and Steel Tool
The other option available is the use of magnesium and steel tool. This method has the benefit of eliminating the need for tinder fungus or char cloth as the shavings of the magnesium element flame at very high temperatures for a short period.
- The first step: shave a pile of magnesium flecks using a striker or a knife blade into a nest of tinder.
- The second step is to use the scraper or the back of a knife blade to strike the edge of the steel tool and direct the sparks into the tinder.
- The third and final step is to blow on the tinder gently when it starts to smolder until it bursts into flames.
Rock striker
When starting a spark-based fire, the striker is an ideal tool, and for best results, it should be made of flint. You can also use quartzite which is hard enough to ignite sparks from steel and is commonly found whenever you can’t get your hand on flint.
- The initial step is to closely identify the quartzite by the many fractures on the surface that are crescent-shaped.
- The second step is to point out a quartzite boulder that is discussed or flat shaped and chip off an edge by dropping the quartzite against a larger rock. You should take note that oval or round rocks are much more difficult to break.
- The final step is to use the flake broken from the quartzite boulder which is usually sharp enough to use a knife or a striker. You can also break the boulder again if you can’t find one that you like.
Various Types of Fire and How to Make Them
Here are a few types of fire that you may want to start in the wilderness.
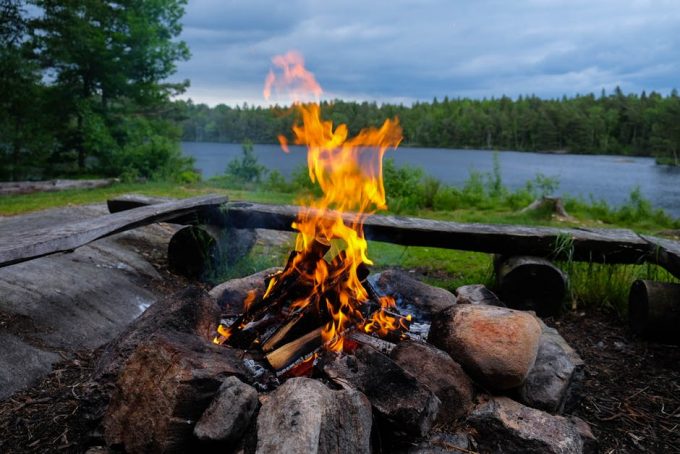
Log Cabin
A log cabin type of fire should burn continuously for longer periods of time. A log cabin type of fire lights up easily and quickly from a kindling structure or a tipi built inside it.
These are great methods of creating bonfires quickly and efficiently or creating a campfire that doesn’t require plenty of attention while you’re doing other camping chores or preparing food.
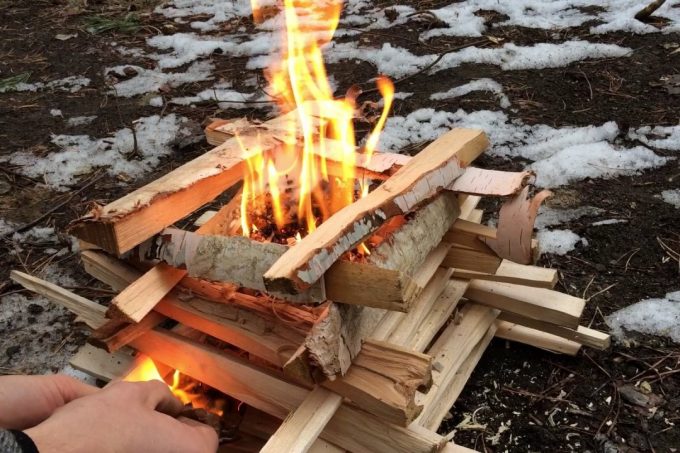
For the fire to continue burning for a long time, use the thickest logs of firewood and reduce the sizes as you go up the cabin. You can also minimize the circumference into a structure that looks like a pyramid if you need something that lights up faster.
Tipi
This is the most effective and simple method to start a fire anywhere. You will make use of the tipi that is made from kindling to start most of the other types of fires. You should use the smallest most exposed and driest pieces of firewood when using a tipi to get the fire burning.
To start the fire, either place your tinder in the tipi’s center or light the tinder first before scooting it in. When arranging the firewood, it is paramount to leave a space to insert the kindle otherwise known as a “door.”
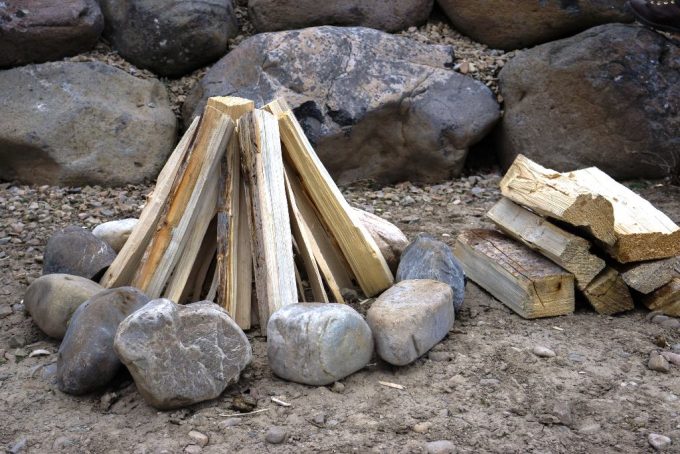
To start with, have enough firewood on your tipi to get the fire blazing for longer periods of time which you can add with time depending on how long you want the fire to burn. It is, therefore, a learning curve; start with small tipis and work up to bigger ones as you may deem appropriate.
It will be easier to build a tipi by having a pole or a forked branch in the ground which will act as your tipi’s center pole. From the branch foundation, you can stack up as much wood on your tipi depending on how big you want the bonfire to be. When you acquire experience with time, you can even build the entire stacking before lighting the fire.
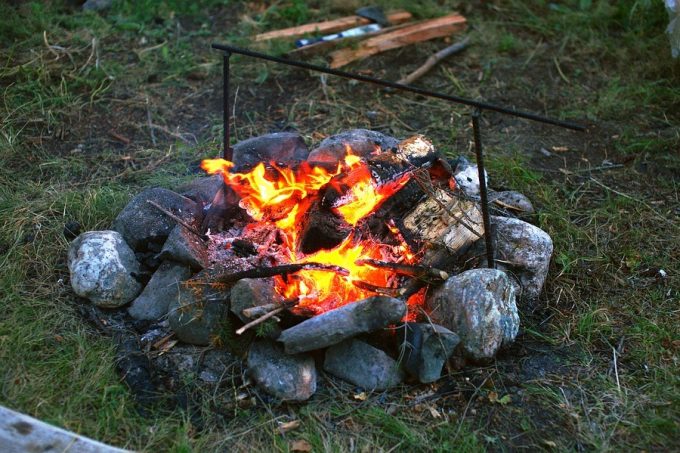
Star
The star is the favorite to use in a fire pit or for all-night fires. You can use the solid tipi fire at the center to get going and proceed to put logs in the fire in three to five points.
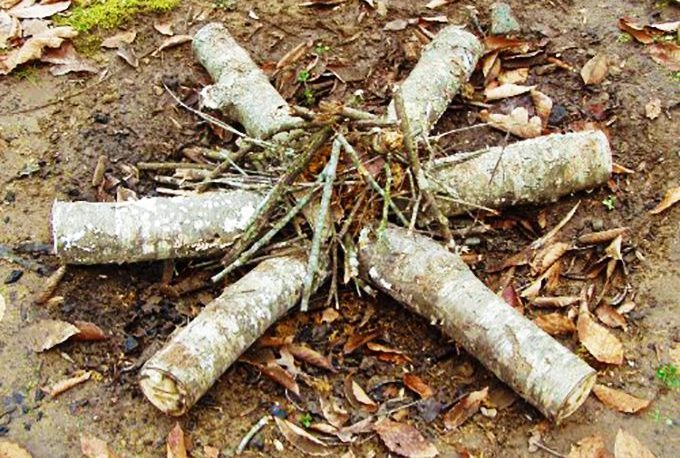
Slowly and carefully push the logs in further apart as they continue to burn down. You can also dig a hole and construct the star to have a maintenance free fire as the logs of wood will slide downwards as they continue burning on their own. This will work equally well in the fire pit on your deck or out in your backyard.
Platform
Do you need a nice bed of charcoal to cook on? If yes, you can make a solid log cabin that resembles a pyramid with the biggest logs at the bottom and logs the size of your hand wrist at the top of the cabin. Proceed to start a fire at the top of the pyramid and let it burn downwards through the larger logs which in turn become a thick bed of hot charcoal.
This style is popularly known as the “Upside down” fire when you use more and larger logs of firewood for its ability to continue burning for longer periods of time unattended. Again, the most fundamental concept is to put the largest logs of wood at the base and scale up to smaller ones and proceed to start the fire at the top.
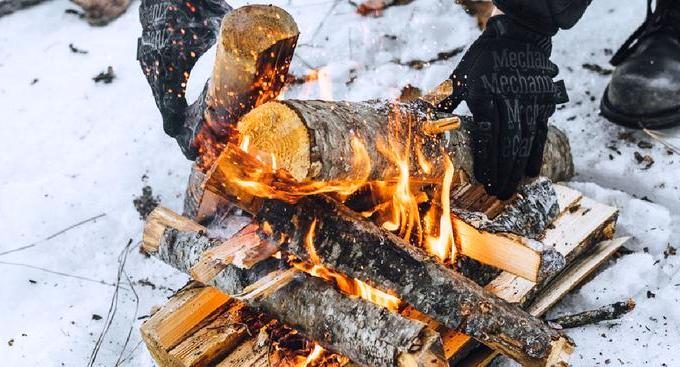
With time, experience sets in and you will be able to determine the sizes at every level effortlessly. You will also with time be able to create a fire that will burn all night on its own unattended. These procedures can be quite difficult to get going.
Final Thoughts
There are multiple ways in which you can start these different kinds of campfires, and most of them should come in quite in handy. The most important thing here is to find a method that you are completely comfortable with and practice.
Go on to build a style that is accustomed to your needs at any given outdoor activity. After you are done and want to move back to the city, please remember to put out the fire and clean up. This will reduce the risk of a wildfire and keep the environment clean.
We hope that given the fire building techniques we have highlighted above, you will make an informed decision the next time you want to start a fire while camping.