How to Make a Walking Stick: Get Your Staff Ready in no Time
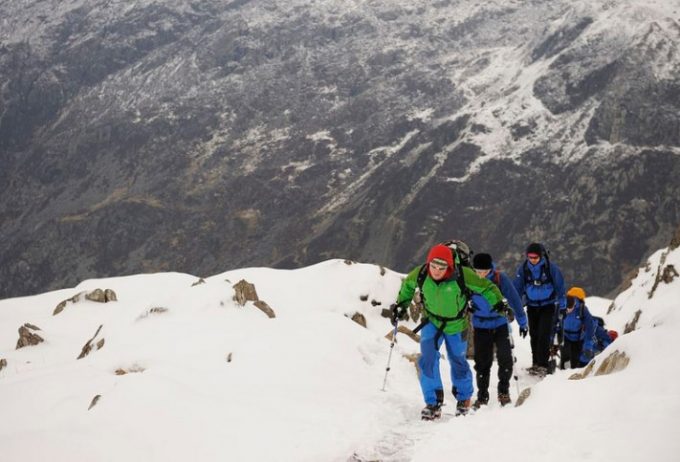
Everybody likes to hike, but there’s nothing like a good base to support yourself on, and that’s why you should know how to make a walking stick. Many people might take this pretty lightly, even scorn at the idea, thinking it’s enough to just pick a long enough tree branch from your path, and walk with it.

However, things aren’t that simple. In fact, having a bad pole or stick may even burden you, and you’ll walk slower. So if you want to keep your balance and cover more ground faster, here’s what you should do:
Get your hands on a good stick
Making a walking stick starts with getting your hands on the best piece of wood you can find. That means you should search the area and keep an eye on the following characteristics:
Size
This depends on how tall you are. Your instinct might be to choose something that reaches a bit above your waist like your hand does when it’s bent at the elbow. But for maximum comfort and a good grip, get a stick that reaches your armpit, that’s the proper length.
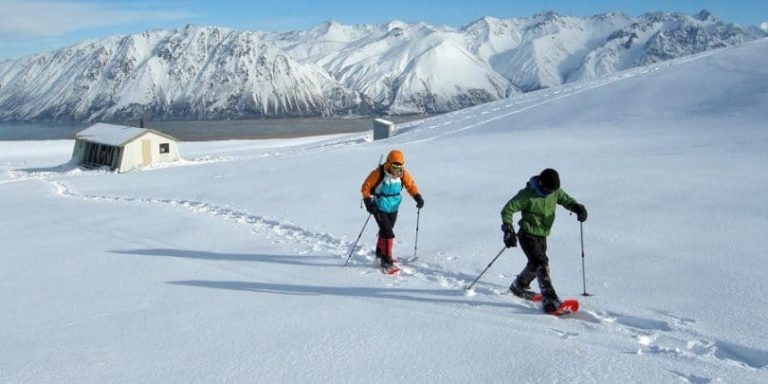
See also: How to Walk: A Step by Step Guide to Improve Posture and Walk for a Living
When it comes to diameter, pick something that fits well in your open palm. Don’t get something too big, or it will make your hands hurt. Conversely, getting a smaller diameter makes the walking shaft easy to fall off your hands, making you more prone to blisters especially if your hands sweat.
Some other popular online sites that show how to make your own DIY walking stick argue that it’s better to choose a tree limb that’s as tall as you, because:
- You can err during the making process.
- It’s better to have a longer stick to count on if you’re going to be hiking for longer periods of time.
If you’re not sure exactly what to choose, aim for a length of about 35 inches, that should cover all your basis.
Shape
The branch you’ll pick has to be pretty straight. It can bend a little, sometimes flexibility is a plus, but it shouldn’t already be curved.

Resistance
It’s better to get a stick that’s hardwood because you can rely on its sturdiness, it makes for a great grip and you can use it easier. The typical choices you might stumble upon in the wild include:
- American chestnut.
- Ash
- Aspen
- Basswood
- Elm
- Maple
- Sassafras
The type of wood you’ll choose is particularly important because you need to be able to cut it easily. You should do your cuts when you find bends or curves, in order to get a sturdy grip. Plus, that also makes it look great.

Basically, your walking cane should be:
- Stiff
- Strong
- Smooth
But there are other ways to getting your cane ready, some even include using green wood.
Yes, we know we’ve said dead wood is best, but that’s only if you don’t have the tools and time to prepare the green wood. So for this complicated job, you would need to dry and cure the stick with melted wax, which takes considerably more time.
Age
When it comes to this characteristic, middle-aged is better. Your options are:
- Getting a fresh branch from a green tree. Don’t do that. It will breakfast, and you don’t want to be hurting the trees and destroying nature.
- Getting a fresh branch but from the ground. This is definitely what you should do. It’s strong and sturdy enough, and you’ll be sure you can rely on it.
- Getting an old branch, from the ground. Don’t pick a piece of wood that’s obviously fragile and damaged. If it has holes in it, or if there are insects crawling out of it, you should definitely stay away from it, or it will break at the first step. The worst thing that can happen, though, is getting something like termites or ants in your backpack or in your home.
Location
The location is also important for getting the best wood for making a walking stick. Let’s not just suppose you’re hiking through an area with a temperate climate. You could even be in the desert, and still require a good staff to help you, which is why you should get a cactus trunk if the law allows.
The general rules are:
- Don’t take branches from private or public properties, like parks.
- Don’t cut or take branches from protected trees.
- Get only dead branches.
- In some areas, you might still be allowed to cut tree branches, but only if they’re low enough on the ground so that they can cause accidents.
- You might also be allowed to cut tree branches if they cluster the trail and bother the hikers.
- Don’t cut saplings.
Cut the branch
Once you’ve gotten the best sort of wood for your cane, you should now start the DIY work, by cutting it. Follow these steps for a perfect trim:
- Stand up straight.
- Bend your arm at the elbow, in a 90° angle.
- Grab your stick and hold it in your hand.
- Make sure the stick is roughly parallel to your body and perpendicular to the ground.
- With your other hand, make a mark on the stick that’s 2 inches over your fist.
- If you want to add the finishing touches with an interesting sort of carving, mark more than 2 inches above your fist.
- Use a saw or a knife to cut the staff. Be sure to ask for help or assistance if that seems too difficult for you.

Methods for other purposes
The thing is that even if you’re interested in a DIY walking stick, you might want to give it to someone else, which is why you should use other methods to determine a good length.
For a friend
If you know the person you’ll give the walking staff to ask them to bend their arm at the elbow. Measure that distance to the floor, and add a few inches to the final length.
The only thing is you should remember your tape measure before starting to look for a good piece of wood.

For retailing
If you don’t know the person, cut the branches in different sizes. Less than 55 inches is generally for kids, so you should aim around 60 inches in height for most adults. You can even cut a few that are more than 65 inches if you have taller clients.
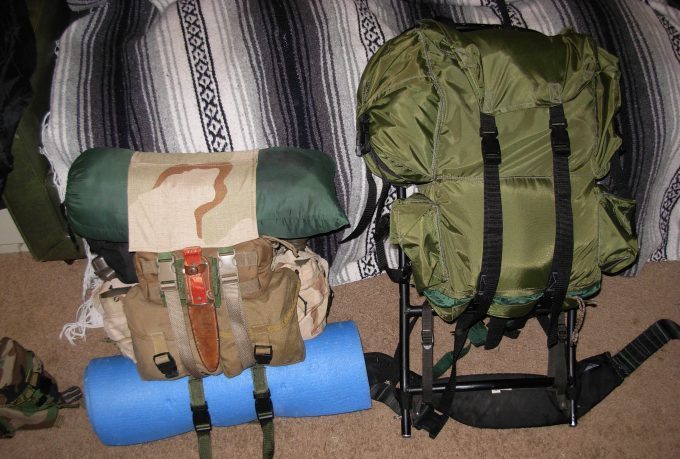
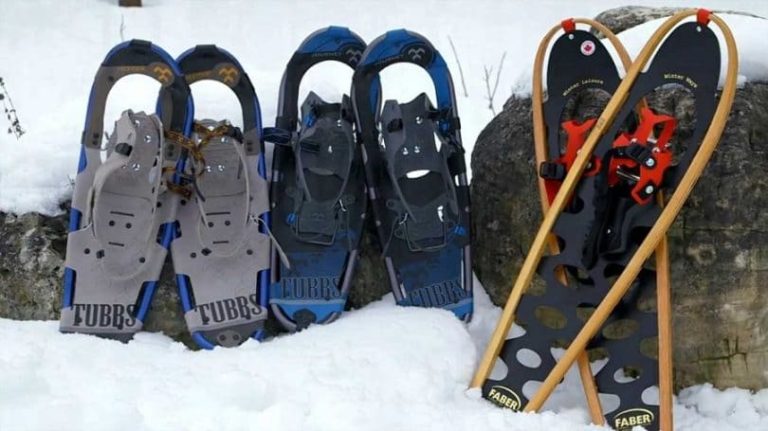
For a complete list of mountaineering gear that you need, see our earlier article on this topic.
Start whittling
There are different preferences when it comes to whittling or rather leaving the bark as it is on the staff. So when you’re making a walking stick it’s all up to you, depending on:
- How much time you have to complete your task.
- The length of your hiking trip.
- Who the walking pole is for.
- Why you need it (e.g.: for fun, looks or for actual support).
Obviously, if you have a lot of time and you’re taking an extended hiking trip during which you’ll walk from sunup till sundown each day on rough terrain, you’ll probably want a nice finish and a sturdy grip. So in this case, whittling the bark off your stick is best.

Even if you choose to skip this step, you’ll still need to do some minor whittling in the form of removing any bothersome twigs your stick might have.
In order to get this job done, follow the steps below:
- Get your hands on a reliable whittling tool, like a plane.
- Get rid of any big twigs or nodes your stick might have.
- Start carving off the bark.
- Your job is done when you’re able to see the wood grain seeing as your stick might have more than one layer of bark to whittle.
Tips for a better whittling job
- A plane is good especially if your DIY walking stick is a project you’ll complete at home, but if you’re outdoors a knife will do just fine.
- When choosing your tool, a comfortable use should be your top priority.
- A good rule of thumb is to start with the biggest protuberances and then the smaller ones.
- Whittling is best done with very short and fast strokes. If you’re using long and careful strokes, you’ll end up cutting too much into the actual stick, instead of just getting rid of the bark.
- A proficient whittling job takes a lot of time and patience, so prepare yourself with that.
- You should never whittle towards your body because that increases the risk of cutting yourself if you hit a bump. That’s particularly difficult to manage with the short and fast motions required by whittling.
- If you’ve never done this before, it’s wise to look at a few online videos that show you exactly how it’s done. Getting the help of someone who’s got a knack for woodwork is even better if you’re new in the whole DIY business.
- Remember to keep your legs further apart when you’re whittling, so the knife doesn’t accidentally hit them.
Allow the walking cane to air dry
As we’ve said before, a middle-aged sort of wood is better when it comes to getting your hands on a good walking stick. Literally. That’s because it’s still young enough to be easily trimmed and whittled, while also being old enough to provide the much-needed support.

However, this support can only be obtained if you’re willing to put in the extra hours (or rather, weeks) and let your stick air dry. The contact with air will eliminate the water molecules inside it, making it more rigid and able to withstand your weight for longer.
What you should know before you let your stick dry
There are a lot of things to consider before deciding how long the drying time should be. Though a couple of weeks is what most wilderness experts recommend, some going as much as a month, take into account:
- The type of wood you’re using. Harder woods need less drying time.
- Weather and humidity. A hot, arid weather requires less drying time than a humid season with lots of rains.
- The time you have. Of course, the less time you have before going on your hiking trip, the less you’ll leave the stick to dry.
- Your purpose. Not using your walking pole for very difficult journeys allows you to reduce the overall drying time too.

However, you shouldn’t be too glad if your stick dries up extremely fast because that can make it brittle and able to break easier.
The steps you need to take for a good air drying entail avoiding the possibility of your walking stick becoming too brittle. So:
- Rotate it frequently so a different side is exposed to air.
- Secure it with metal clips to a bigger piece of wood so it doesn’t curve.
- If the weather is really hot and parched, with lots of wind, bring your cane inside.
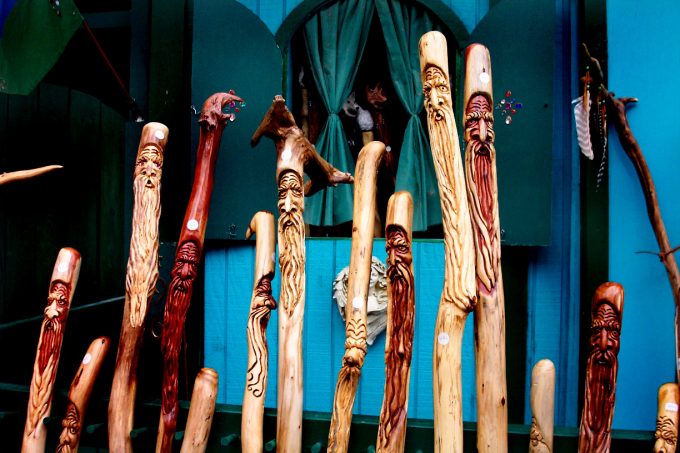
Customize your stick
The finishing touches you can add show your personality and imagination, but they depend on your dexterity. Some DIY walking sticks look really professional, with tops that have astonishing human or animal faces sculpted.
Since you need to have the right tools and skills for that, we’ll tell you what easier customizations you can do with a simple wood-burning tool, like:
- Your name, if you want people to know who the cane belongs to.
- Your significant other’s initials, if you want others to know who you love.
- An important date, if that brings up memories.
- The name of a special place, if that motivates you during your hike.
- Simple geometric forms, like circles, squares or triangles mixed together for an outlandish look.
- A spiral groove for a comfortable and practical grip.

Either way, if the plan of having a decorated top backfires, you can always cut it off. That’s if you’ve cut the stick a little bit longer, as we’ve advised earlier.
Protect your work
This is done through the processes of staining and sealing, which aren’t mandatory. However, if you want your walking cane looking its best and also lasting for longer, you should definitely consider doing this by following the steps below.
- Use a coarse sandpaper to get rid of bigger protuberances.
- Use a fine sandpaper to smooth out your stick completely.
- Clean out the remaining sawdust.
- Put some paint thinner on a piece of cloth and rub the stick with it.
- Apply the first coat of wood stain by following the instructions.
- Allow the stain to dry for 10 to 12 hours.
- Use the fine sandpaper to smooth out this layer of coating.
- Wipe your stick with a piece of clean cloth.
- Repeat the process a couple of times for increased durability of the coating.
- Get the sealing part done by applying three layers of clear urethane coating.
- Use fine sandpaper between these applications too.

These steps require some extra care for your safety too, so remember to:
- Work with your windows open so you don’t get intoxicated by the vapors.
- Put on gloves so you don’t get toxic paint on your hands.
- Put on safety goggles because the fumes might damage your eyes.
- Cover your mouth and nose for additional protection.
You can also check out our easy guide on DIY backpacking gear to for your reference.
Add the grip
As we’ve said before, you can carve your own grip very easily. But if you’re not comfortable with doing that, you can buy one to apply after you’ve added the protective layers.
The best grips on the market are made from materials like:
- Leather.
- Twine.
- Nylon.
- Rope.
- Adhesive wrap.
- Grip tape.

To put on the grip, follow these steps:
- Wrap the item you’ve bought around the stick, where you’ll hold your hand.
- Secure the grip with small nails, so you don’t crack the walking stick.
- Make a hole at the top of your stick.
- Insert a piece of cord or leather through this whole.
- Tie this fabric into a wrist loop for a more secure grip.
Cover your base
Once the top part is finished, you should also consider protecting the other end of your walking stick. Since you’ll use this for lots of walking, constantly shoving it into the ground it might crack or split if it’s not well protected. Even if it doesn’t get damaged by constant use, weather and time might still take a toll on the base of your walking cane.
If that happens you should follow these steps:
- Clean the bottom of your stick with a rough sandpaper.
- Use a finer sandpaper to smooth it out.
- Trim it out a bit if you can’t repair it otherwise.
- Add a protection for further use.

The best protections are easy to add, using tools and equipment you have around your house like some wooden dowels and epoxy glue. Some ideas include:
- Rubber caps.
- Rubber stoppers.
- A piece of copper pipe.
What will your walking stick look like?
With all that being said, we’ve limited our instructions to making a walking stick fast. Or at least, in a decent amount of time and with some simple tools you might even have in your backpack.

But even so, your walking stick might look completely different than someone else’s reading these instructions. Check out our informative piece on how to choose the best walking sticks for your next adventure.
So tell us more: what sort of wood are you going to use? Will you add some complicated carvings? Will you do the staining and sealing? What sort of grip will you add? Do you think a base protection is a good idea? Have we missed something in this article? The comments are right below!