DIY Hiking Backpack: How to Make the Best Bag for Your Budget
Adventuring in the great outdoors is a pleasure that everyone should be able to enjoy – not just those with expendable income. Since good-quality hiking backpacks can definitely be on the more expensive side, there might be an alternative to that. Actually, you can always make your own DIY hiking backpack with all the essentials at a fraction of the cost.
Though a basic DIY pack may not bring all the comfort and convenience of a fitted, store brand product, choosing to make your own backpack is a great alternative for those who want to go hiking without breaking the bank. With a little elbow grease, you can add extra bells and whistles to customize your backpack to all your hiking needs.
If you are interested in learning how to sew a backpack, we can help. The following article will help prepare you for designing your perfect backpack and provide step-by-step instructions to help you get started. In order to create this project, you will need basic sewing skills. But before you even get out your sewing machine, there are a few variables you might want to consider.
Planning For Your Perfect DIY Backpack
First things first! Let’s see what we need to get started.
What Type of Backpack Do You Need?
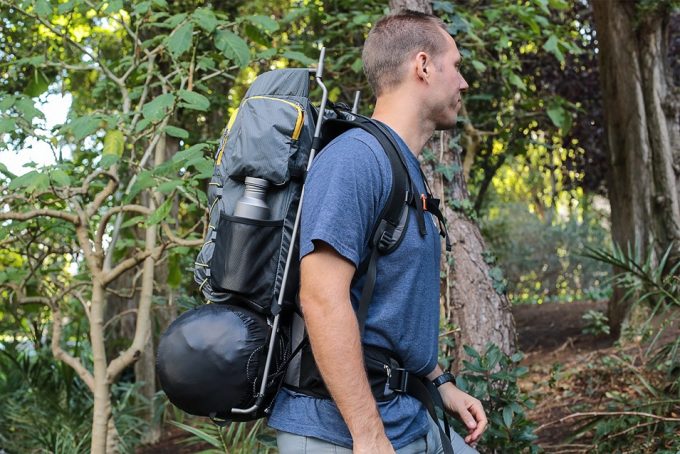
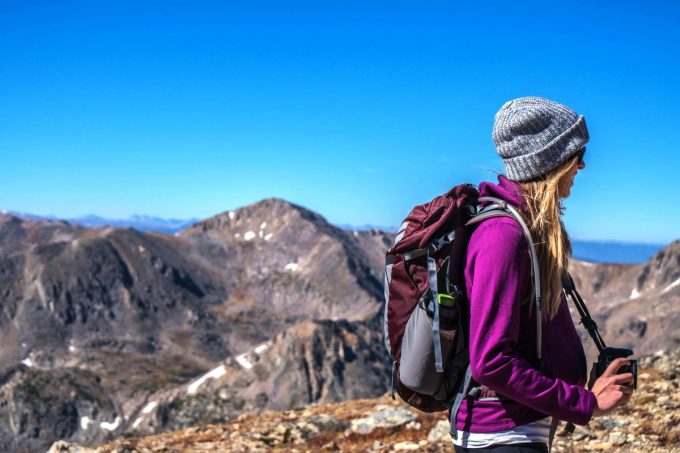
Before buying any materials for your homemade backpack, you will need to have a good sense of what type of pack you are looking for. If your upcoming hiking adventure involves shorter, day hikes, you might require a smaller, simpler backpack. But if you are planning to go hike the Pacific Crest Trail, then you might need something bigger, more durable, and with more bells and whistles, all while still being fairly lightweight.
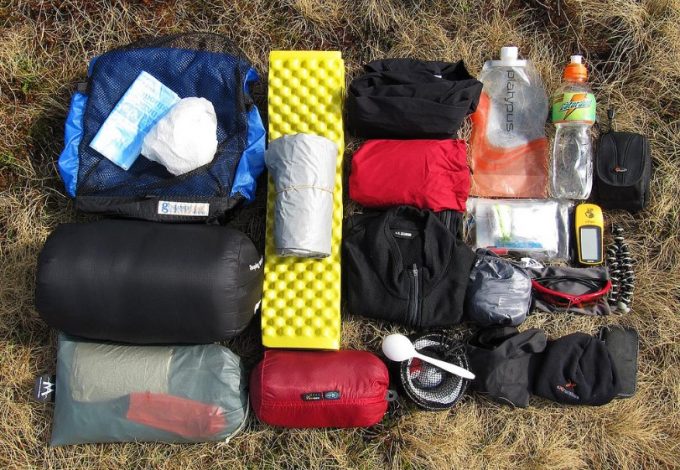
Selecting the right pack for your trip is really important. If you are planning a weekend expedition, you might only need a carrying capacity of 30 – 50 l, but if you are going on an extended adventure, your gear demands might require a backpack able to hold 50 – 80 l. Before designing your DIY pack, make sure to do enough research to know exactly what it is you are looking for.
That being said, one of the biggest mistakes that new hikers make is carrying too much weight. Carrying a few extra pounds might not seem like a big deal initially, but when you are hiking for days with steep elevation gains, it can all start to add up very quickly and tire you out. Especially when making your own backpack, you will need to be cautious about selecting lightweight materials.
A good piece of advice is to do your research to select a model that you are trying to replicate. Having an ideal model in mind will greatly aid your own creative process, so you are more likely to be satisfied with the result. Once you have your model, start looking around to see if any of the kind netizens of YouTube, Pinterest, or Instructables has produced patterns for a DIY version of this pack.
What Features Should You Include?
Now that you have a model for what type of backpack you are looking for, take a closer look at its specs and features.
Here are some features you might consider adding to make your DIY ultralight backpack comfortable and well-organized:
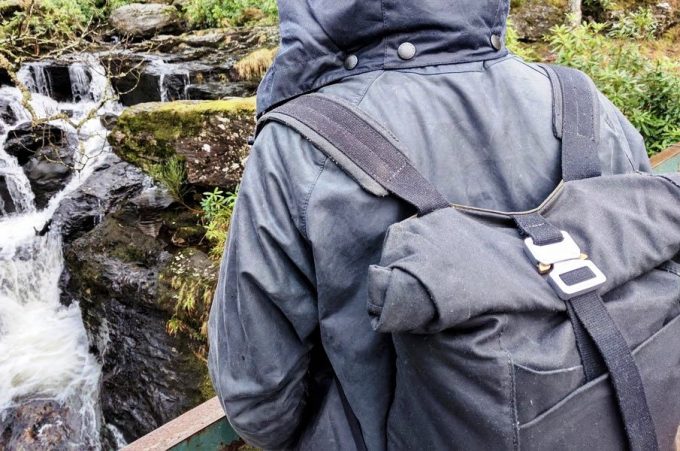
- Padded shoulder straps
There are a few places you will want to add extra padding to your pack. Your shoulder straps are one of them. If you do not want to go through the effort of creating your own shoulder straps, you can always choose to salvage a pair from an old backpack. If you’d like to create your own, consider sandwiching quarter-inch foam between the strap material to give your shoulders a little extra support.
- Padded hip belt
Another area you will want padding for your pack is around the hips. Most hiking packs have at least one set of straps with quick-release clips to help distribute weight evenly. To give your lower body more support and prevent chafing, having a padded hip belt can make your DIY hiking pack much more comfortable.
- Pockets
Who doesn’t love extra pockets? Besides the space available in the interior of your pack, you will likely also want to sew exterior pockets for extra storage space. Most standard packs have at least two pockets on each side (made of either mesh netting or ripstop nylon) capable of carrying a Nalgene-sized water bottle.
But the best part of DIY projects is that you can add as many pockets as you want! You might, for example, consider adding small zippered pockets to the front of the pack for your cellphone, sunglasses, or camera.
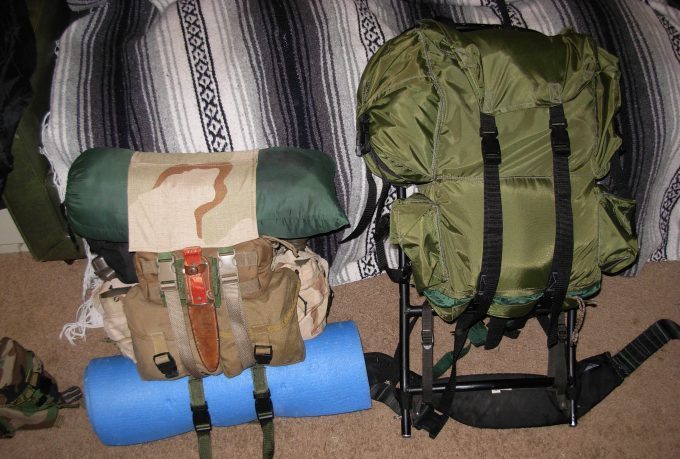
- Frame system
Backpacking frames typically fall into two categories: internal and external frames. Whether or not you need a frame system for your DIY backpack is really dependent on the demands of your hiking trip. This feature will add a little complexity to your pattern, but can be created rather cheaply using PVC pipe.
- Elastic cords
By crisscrossing elastic cord through small loopholes in the front of your pack, you can create a flexible storage space for coats, sleeping bags, or other awkwardly shaped items. To make this work, you will also want to purchase additional hardware (such as clips called “barrel lock cord closures”) that allow you to tighten and loosen the cords to adjust for different-sized items.
- Hydration ports
Though not strictly necessary if you have another method for transporting water, you could choose to add a hydration port to your DIY bag. This will only be necessary if you have purchased a soft hydration flask and a tube system that can transport water from the interior of the backpack to your mouth.
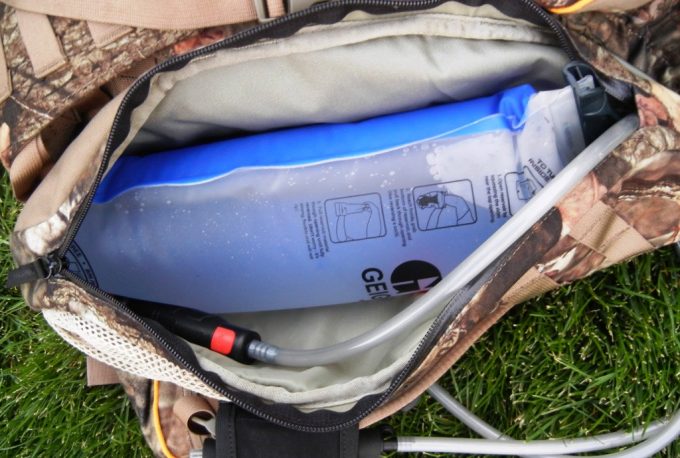
If you already have the flask and tube system (or would like to purchase one), then creating a small notch in the side of your pack is an easy addition to any DIY pack. However, we would suggest that you add a special section to the interior of your pack (made of waterproof material) to contain the flask and separate it from the rest of your items, just in case of any leaks.
If you aren’t confident enough in your sewing skills for all these bells and whistles, you can certainly choose to make a basic pack with only a few of these features. The next step will be to get together a list of required materials, so you can go shopping and then get sewing!
What Type of Material Should You Use?
There are a few common materials that most DIY hikers use to create their homemade hiking packs. In selecting the fabric for your bag, the most important criteria are: Is it lightweight? Is it durable? And is it waterproof?
All three of these criteria are important for creating a long-lasting hiking pack. The weight of the material matters for your hiking endurance, the durability matters since you will be exposed to a wide array of natural elements, and the waterproofing matters so your items don’t get soaked in case of any unexpected rain showers.
Two common fabrics used for backpacks are canvas (if made waterproof with treatment) or ripstop nylon. One popular fabric choice among DIY-ers is Cordura nylon, which tends to be more durable than other thinner varieties of nylon. While you want a fabric that is lightweight, you also want a fabric that will endure harsh outdoor conditions, rather than ripping the first time you brush up against a tree.
A few popular, creative approaches to this type of project include making a hiking backpack out of IKEA Frakta bags or out of duct-tape and PVC pipe. If you aren’t interested in sifting through the sea of textiles at your local fabric store, then these creative alternatives might be worth checking out!
Besides your fabric, here’s a list of materials and tools you might need to make your DIY hiking pack:
[mks_col]
[mks_one_half]
- A sewing machine
- Durable, outdoor thread
- Nylon strapping
- Quick release buckles
- Quarter-inch foam (for padding)
- Drawstring
[/mks_one_half]
[mks_one_half]
- Fold-over elastic
- Mesh (optional, for side pockets)
- Elastic cord (optional)
- Barrel lock cord closures (optional)
- Waterproof zippers (optional)
[/mks_one_half]
[/mks_col]
Once you have your basic plan in mind and have purchased your materials, it’s time to get started!
Step-By-Step Instructions
Here are the step-by-step instructions for a backpack that we believe might be easy to make and practical to carry around.
- Find your perfect pattern. You can either draw out your own (if you are confident in your sewing skills), or find a pattern more appropriate to your specific needs.
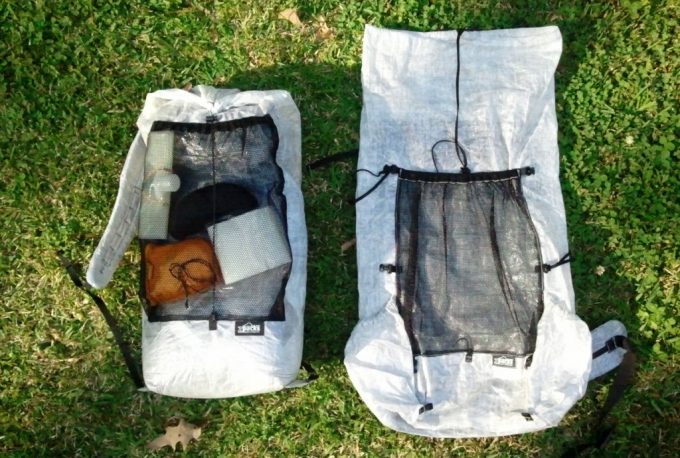
- Sketch and cut out your pattern. We recommend using a paper grocery bag. First, break down the paper bag so it is lying flat. Next, get out a ruler and pencil and sketch out the dimensions of each section of your pattern. Cut out each section with a pair of scissors. Regardless of what pattern you are using, you will need at least a few basic sections,such as the main body of your pack, as well as side pockets, shoulder straps (unless you are salvaging a pair from an old backpack), and a hip belt. It is also wise to set aside additional fabric for reinforcement patches.
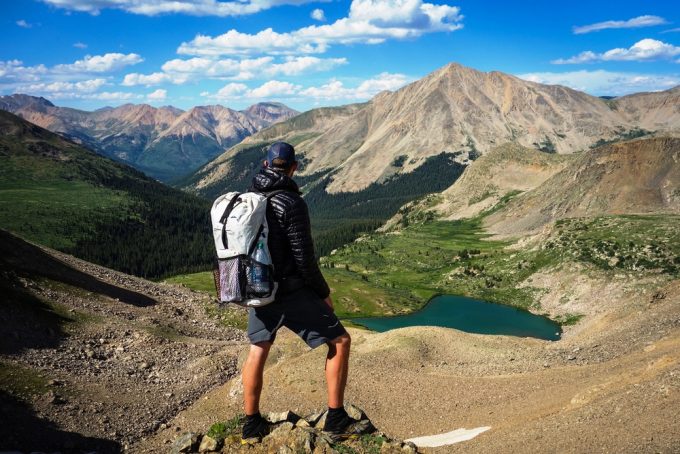
- Tape each pattern piece to your fabric. We recommend rolling pieces of Scotch tape and using them to adhere the back side of your pattern pieces to the fabric, for a cleaner, straighter cut. The pattern above uses Cuben Fiber fabric, but you could also try out Cordura for an alternative, ripstop nylon version.
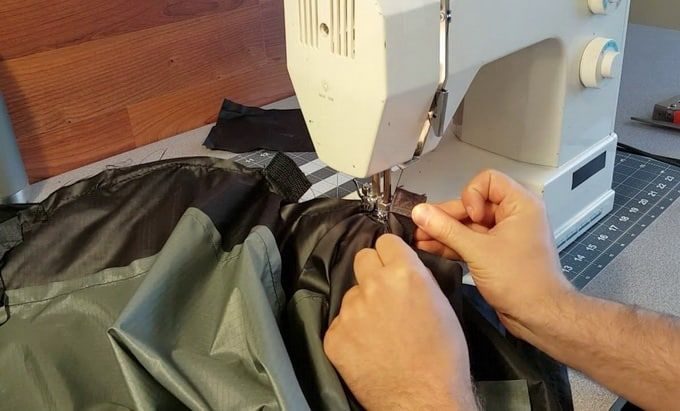
- Get your sewing machine ready. We recommend using a bigger needle and durable, outdoor thread. This way, your needle won’t break when working with thicker materials, and weak thread won’t cause your bag to fall apart while you are hiking!
- Start with the shoulder straps. To begin, fold the shoulder strap material in half width-wise, then insert quarter-inch foam in between both layers of material, and sew seams along the sides. For now, leave the top and bottom unsewn, until you are ready to attach this section to the main body of the backpack.
- Create your padded hip belt. If you would like to add a padded hip belt to your backpack, you can create this now. Similar to the shoulder straps, you will need two separate pieces for each side of the belt. For each side, fold your material in half, insert a layer quarter inch foam, and sew seams along each side.
You will need to leave a little extra material on the ends that attaches each side to the body of the pack. Finally, attach separate ends of a quick release buckle to each half of the belt, so you can strap the belt across your torso while you are hiking. - Create your side pockets. For this part of the project, you will need some fold-over elastic and mesh netting for the bottom of the pockets. First, fold the elastic over the top of the pocket edge and top stitch it down. The elastic will help the pocket flex to the size of your water bottle.
Then, shaping the pocket into a semicircle, sew the mesh netting along the bottom. The netting will prevent water from pooling at the bottom of your pockets.Leave one side of the pocket open wide, so you can attach it to the main body of the pack. Repeat for pocket number two. - Create a channel for a drawstring at the top of the body of the pack. Once you have cut out the main body of your backpack, you will need to create a channel large enough to thread a drawstring along the opening of the pack. This drawstring will be necessary to open and close your pack at the top.
To create this channel, fold over both corners of your main body panel, creating two small triangles. Sew these folded corners to the main layer. Then, fold twice along the length of the opening and sew a seam at the top, leaving space for the drawstring to run through. You will add this drawstring later. - Add reinforcement patches. Before sewing the body of the pack together, add an extra layer of fabric to the main stress points of the pack. You should add these patches to the places where the shoulder straps, hip belt, and pockets connect to the main panel. These patches will help prevent ripping
- Use mesh to create pockets for the front of your pack (optional). If you desire extra storage space, try cutting one or two rectangular pieces of mesh and sewing them to the front of your pack. We recommend encasing fold-over elastic along the top opening of the mesh to prevent the material from stretching out or ripping.
- Attach the hip belt and side pockets. Before closing up your pack, attach the hip belt and side pockets to the body of the pack using a zig-zag stitch. It is best if these two features overlap one another and attach at the same location along the side of your backpack.
- Close up the body of the pack. Turning the pack inside out, use a zig-zag stitch to sew half inch seams along the side and bottom of the bag. You might consider adding additional stitching to the bottom of the bag to make it stronger and more durable.
- Attach the shoulder straps. Use a zig-zag stitch for this attachment as well, to ensure that the stitching holds for optimum weight-carrying capacity.
- Thread drawstring through the top of the pack. Once the rest of your pack is complete, thread the drawstring through the top of your pack, and pull it tight to seal the top opening closed.
Voilà! Unless you would like to tack on some additional features, your basic DIY hiking pack is now complete.
See, that wasn’t so hard, was it? And you’ve just saved yourself well over half the cost of a brand-name hiking backpack. Congratulations!
Tips & Tricks
Here are a few other tips and tricks that might make your sewing experience a little bit easier:
Buy Extra Material
When purchasing materials for your backpack, consider buying a couple of extra yards of each material. This will help save you a trip later if you make any mistakes or need to make repairs down the road. You can also choose to use this material to create extra pockets or flaps if desired.
Slow And Steady Wins The Race
Be patient while working on this project. Sewing takes time, and it’s easier to make a seam than to remove a seam.
Slow and steady wins this race, so if you are worried that you are making a mistake, then stop sewing and double check your instructions before moving forward.
Practice With A Prototype Model
If you aren’t fully confident in your sewing skills, consider buying some cheap, flimsy fabric to make a prototype of your bag before getting started on the real thing. This will help you gain practice with the ins and outs of the pattern, so you feel more confident in approaching your final project.
Ask For Help From An Expert
If you know someone who has advanced sewing skills, don’t hesitate to get a second opinion. Asking for help might save you a lot of time and give you some new ideas for how to improve your backpack and customize it to your needs.
Enjoy Your DIY Hiking Backpack!
We hope our tips and instructions will help you create your dream DIY hiking backpack! If done properly, learning how to sew your own pack can save you hundreds of dollars on unnecessarily expensive hiking gear.
If you are interested in trying out a project like this, at the end of the line, what is most important is that you do the research to figure out what type of pack you will need for your trip, what features you want to include, and what type of materials will help you create a pack that is both a lightweight and durable.
We’ve provided suggestions for what we think works best, along with a set of instructions from a tried and true DIY pattern, but we’d love to hear about your own experiences making a DIY hiking pack. Have you made your own pack before? How did it go?