Backpack Repair: How to Fix Fabric Problems in Nature
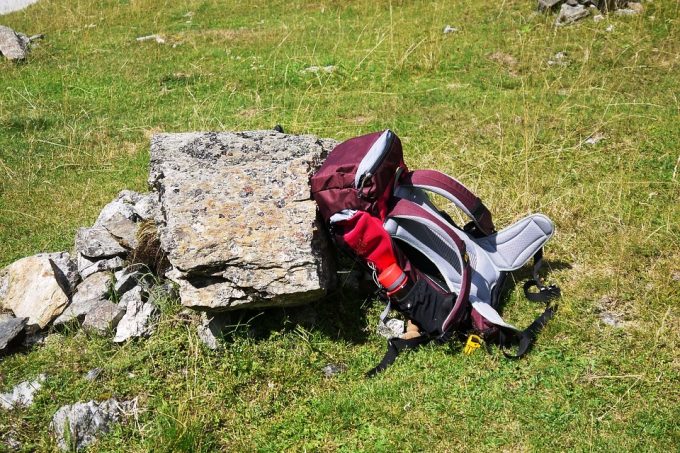
An adventure in the great outdoors can be a lot of fun, but it’s not all fun and games if your backpack gets broken, right? Some might think that a damaged backpack means the end of your trip, but it’s not quite like that. If you know how you can make a quick backpack repair and get on with your plans.
With a quick backpack repair, you’ll be able to continue the journey until the end like it was planned. If you’re skilled enough to make some real serious repairs, you can even use your backpack for a long time without having the need to get a new one. You’ll have a functioning backpack for the price of a new one.
We have experienced many situations in which we needed a quick fix to our backpack and in this article, we’re going to talk about them. We’ll tell you what’s worth repairing and what is not. We will talk about the fastest and the best ways to fix the damages on your backpack and its part. Follow up if you want to learn more.
What is Worth Repairing?
Sometimes, damage to your backpack can mean nothing, and treating it might cause more trouble than leaving it like that. Sometimes though, the damage can be so big that repairing will cost you more than buying a completely new backpack. It’s worth investing in something new and better if the repair costs you too much time and money.
Don’t Repair The Bottom
If you happen to be somewhere in the wild with no civilization insight, of course, you’ll do everything in your power to make your backpack useful. Below, you can read about some ideas of how to repair almost anything, but when you get home, it’s best to buy a completely new backpack.
The bottom of the backpack is the most important part of it. If it gets broken then repairing it means it will do the job for now, but it will get broken again soon. Since this is the most important part, you can’t let it rip off again while you’re hiking somewhere in the high mountains -risking to lose everything you carry with you, the food, drinks and basic supplies.
That’s why it’s not smart to repair the bottom if you have another option. Everything else can be fixed, but never make compromises with this part of the backpack. There will be situations when you simply won’t be able to get home if you repair the bottom of the backpack.
Bruises, Buttons, and Fashion Failures Are Nothing
It’s a completely different story with the things mentioned in the subtitle – don’t worry about bruises on the surface, broken buttons, or torn off fashion parts of your backpack. Unless you’re doing a photoshoot for a fashion magazine, you really don’t need a backpack that’s shiny and impressive. Yes, it’s good to have it like that when you first buy it, but after that, it’s simply irrelevant.
If these things happen, you’ll have no trouble repairing them since they are only surface damages. See below to find out how to do this – but never throw your backpack in the garbage and buy a new one just for this. Take care of your backpack, it’s a part of you when you go outdoors.
What You Need For Quick Repairs in Nature
You don’t need to carry a whole box of tools like you’re a mechanic in nature, but a few things might be useful not only for repairs on your backpack. You’ll probably carry a knife and this is the basic tool you must have if you plan to take care of the eventual damages. Another thing you’ll surely have on you is a lighter or matches.
It doesn’t matter what you prefer more, but you need something that will create light and heat. Lighters are heavier but more reliable and can produce more constant heat. You can burn with the lighter and when it comes to fixing problems on your backpack, you’ll need to do some burning too.
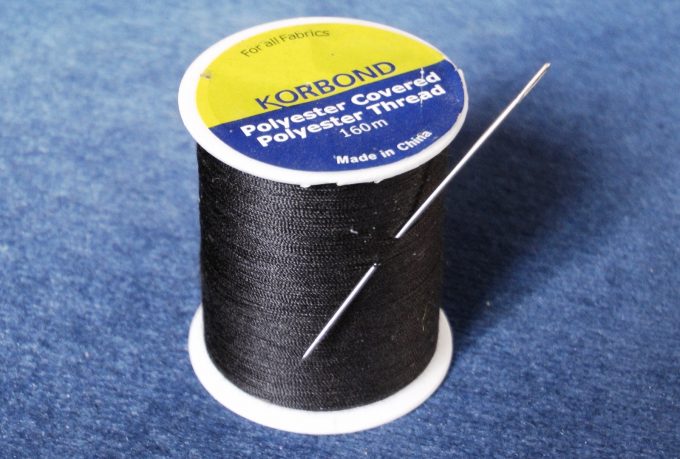
A thread and needle are something that might be most useful for damages to your backpack. Knowing a little sewing can literally save your backpack out there. Another tool that can help you a lot is pliers. Pliers are usually pretty big and heavy and not suitable for backpacking, especially if you plan to go lightweight, but you can find on the market all kinds of models – some of them being as light as a couple of ounces.
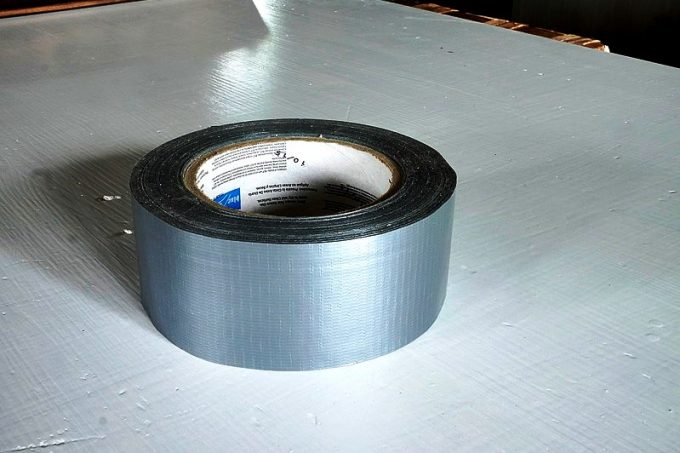
If you’re not planning to carry all kinds of tools, then one thing is literally a lifesaver when it comes to damages and fixing things on your backpack, clothes, tent, anything that is made of some kind of fabric. The glorious duct tape. Yes, it leaves marks and it’s hard to clean after it, but all holes, bruises, cuts, and other damages can be solved with the simple use of duct tape.
What You Need For Repairs at Home
Almost all of the things mentioned above are useful for treating problems of this kind at home too. The duct tape is still very useful, the lighter, the thread, and the needle too. The pliers that you use outside are okay for there, but at home, it’s better to get a bigger and stronger one – this will make your work much easier.
When you get home and begin fixing the problems on your back in peace, a very useful tool will be a pair of scissors. The knife that you’re going to use in nature and will make the job done, you’ll switch with scissors. They are more effective for most situations and it will be easier to cut the pieces you need to be cut off.
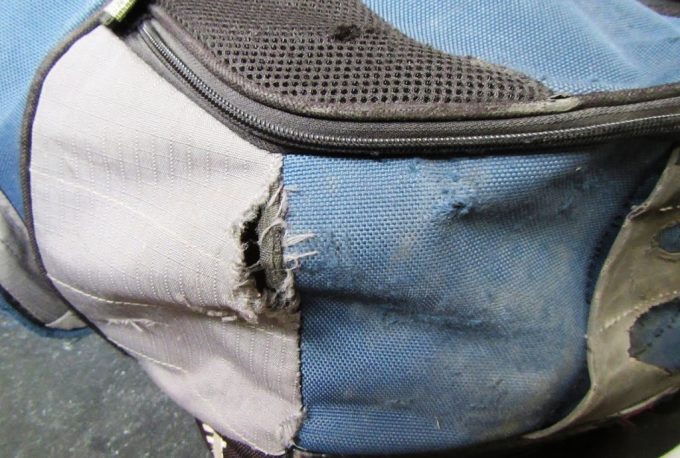
How to Fix Holes in the Backpack
If you happen to get a hole in your backpack, you must treat it right away. The best way is to have a thread and needle, lots of time and patience, or you can use a simpler solution at the moment – duct tape. Of course, this is only a temporary solution, but it is still a solution.
Duct Tape is Pure Magic
A good adventurer always goes ready in the great outdoors. A duct tape might not be an essential item, but it’s something that can come in handy in many situations – fixing holes being one of them. To make the best out of the duct tape in these situations, you need to have a spare shirt or some other clothing that you’ll use for fixing.
Cut two pieces that will be a little bigger than the hole you have in your backpack. Place one of the pieces on the inside part of the backpack and cover it completely with duct tape. This will make double isolation on this part. Then do the same thing on the outside part of the backpack.
This way you’ll have no problem until you get home and maybe even longer. Of course, you’ll be able to see the patch with the naked eye and if that doesn’t bother you, then just keep on going with it, but be sure that it won’t last forever and you’ll need to make a better effort and fix it well.
The bad part of the duct tape is that it leaves a mark after you take it off. It leaves parts of the glue it uses and the place becomes sticky and unpleasant. This can be removed with special chemicals and lot of patience. It will be hard, but not impossible – even though you’ll surely think it is for a moment.
Sewing is The Best Option
Temporary solutions are okay, but for a more serious approach, you’ll need thread and needle. If you carry some on you, you can make a stop on your trip and fix it on the spot. Most people, however, decide to find a faster and simpler solution, like the duct tape, and handle the problem later – preferably at home.
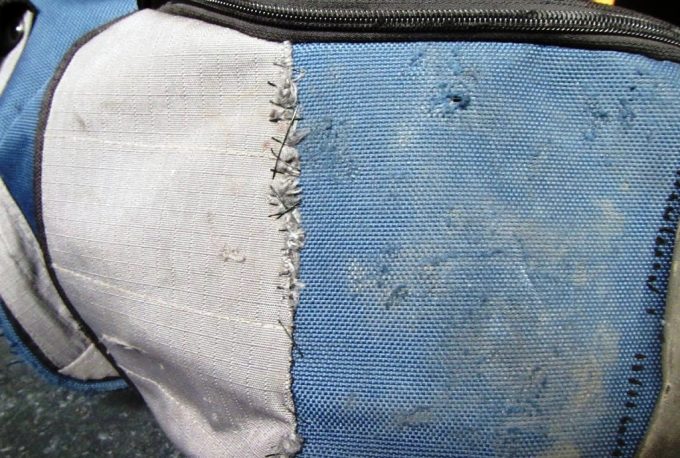
For best results, the sewing should be done with stronger materials. Thicker thread or – as many of us prefer – a fishing wire. The fishing wire is very thin, but also incredibly strong. Treat it just like a normal thread, place it through the needle, make a knot at the end and begin sewing the broken place.
Broken Buckles and Zippers
These things are often made of plastic and tend to get broken a lot. The perfect solution in these cases is to have a spare buckle or a zipper and the equipment to change all the broken parts, but who carries all these on their trips in nature, right? That’s why an alternative solution must be found.
How to Fix Broken Buckles
There is not much you can do when a buckle gets broken and you’re in the middle of nowhere. Plastic parts can’t be fixed or it’s very hard to be done. The best solution, in this case, is to simply switch one buckle with another that is less used.
For example, if some of the buckles for the shoulders broke, switch them with some of those for the hips. If there are some that are even less used – only better. However, if you think this is going to be an easy task – you’re wrong – you’ll need some tools too if you want to get the job done well.

Pliers, knives, needles and thread, duct tape, matches, are some of the things you might find pretty useful in this situation. You’ll have to do some cutting, burning, and other things to make the switch successful. This should be enough to get you through that adventure safe and sound and let you deal with the problem at home.
When you get home, you’ll have to do the same thing again. Buckles are pretty cheap and you can find them in the same store you can find backpacks. They are plastic, so they are cheap and you can buy plenty of them, even carry one with you the next time you go on a trip in case the same thing happens.
You’ll have to do the cutting and burning job all over again and place the new buckle on the place of the old and broken one. While you’re at it, look at the others and see if some of them look like it’s about to break. Chances are big that will happen since one of them has already broken.
How to Fix Broken Zippers
Carrying pliers when going outdoors can make miracles for broken pieces of your backpack. If your zipper gets broken and is missing a tooth, then you can’t make a real fix, you’ll need an alternative. Duct tape can help with zippers that won’t feel too much pressure on them, it will keep the place closed, but won’t take more pressure.
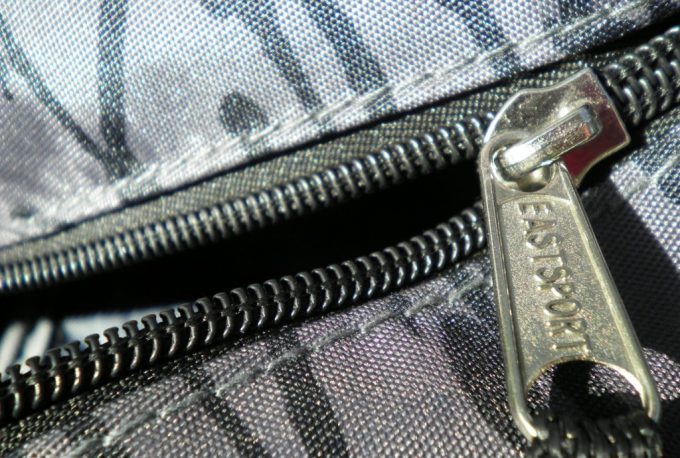
Another way is to sew the part of the zipper and then work on it more when you get home. Of course, sewing it will make the zipper completely useless, but if that’s the only thing that solves the problem – then go for it.
If the zipper is not so much broken, but only has a twisted tooth or one of the end part is not closing as it should, then the pliers will do the job. Use it to bend the teeth, but be careful not to use too much force and brake them. If the end parts are not connecting well, press the pliers to make them attach right.
If the zipper gets jammed, you’ll need something that will make the zipper slide again. For this, you don’t need force – no pliers or burning things like we did before. You’ll need a lubricant, or, if you don’t have any on you, a simple lip balm can help you. Simply place some on the jammed part and easily work with it until it gets going again.
Broken Buttons
There are not many backpacks with buttons that have important functions, there are more decorative or buttons used for pockets that might be important, or not so much. When a button of the backpack falls off, there is not much you can do, just like if it falls off your shirt.
Most of the time, you can only use alternatives like glue and risk not opening the pocket at until the end of your trip. You can also use the MVP among outdoors helpers – the duct tape and seal the pocket from the outside. The best solution, of course, is to sew it.
With thread and needle, you can make the broken button brand new. This is the thing you can also do when you get home to fix the damage permanently. Use the same button if it’s not damaged by a hit in something strong, like a tree or a rock – and sew it back to its original place. If the button is damaged too much, you’ll have to buy a new one – buttons are also very cheap, and if you can’t find the exact same type, you can use another that is similar with size and shape.
Other Problems and Solutions
When you’re camping, hiking, or mountaineering, and a sudden problem occurs, you have no option but to stop and start fixing. Sometimes – if not pretty often – you have no tools to do a good job and you have to make up your own ways to get the backpack in shape so you can continue the journey.
Sometimes you need to get creative. If your backpack gets damaged, and you have no tools, think about anything that might help you. That means, make use of nature and its products that are everywhere around you – trees, bushes, even the ground, and mud might help.
If a hole appears in your backpack and you have no duct tape or anything else that is useful, try to make an improvised fix with products directly from nature. Gather big and as strong as possible leaves from trees or bushes and place them on the inside of the backpack. Make a stronger patch by adding a few branches over the leaves and then place back in the backpack the things you’re carrying.
They will help the leaves and the branches stay in place and protect your belongings to stay inside. This is a pretty bad solution, but it might be the only one until you get to a place where you can ask for help. When you get some tools, use some of the ideas mentioned before.
Get in Touch With Nature
It can be very helpful if you know what nature can give you for fixing your backpack, but very often too, for surviving in the outdoors. Along with the trees, branches, and leaves, many other things can be pretty useful.
One of the things that might be harder to find, but still possible is the tree resin. It is a sticky material that can be used as an excellent glue in situations when you have none. The resin can be found on trees that suffered an injury – the trees produce it in order to help the parts of the tree heal. It is an excellent nature glue material that you’ll find most useful.
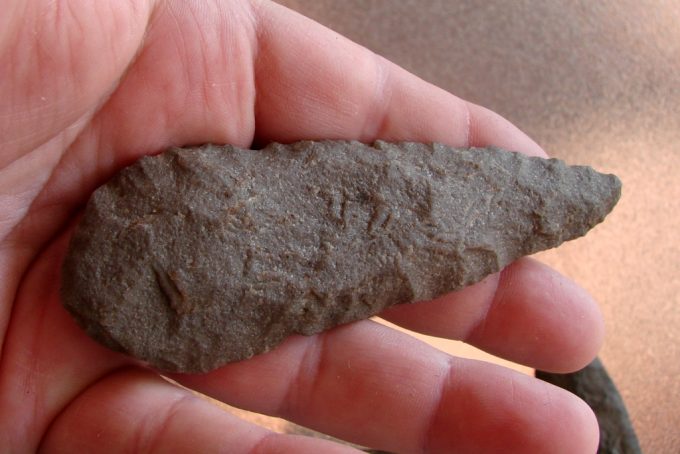
If you don’t have a knife for some strange reason, you can break apart one rock and use the sharper part as a tool to cut. Fire is also something you can produce out of nature, although it is something you’ll need to practice before. However, on sunny hot summer days, it’s amazingly easy to make a fire in nature.
Practically, everything around you in the great outdoors can be used as a tool to fix your backpack or any other fabric in fact. You just need to know the surroundings and think open-mindedly. No problem is too hard to be fixed, you just need a little experience, so even if you have tools, our advice is to practice from time to time – you never know when you will need it.
Pack it up!
The most important thing you need to learn from this article is that you should never ignore the damages to your backpack. Always treat the problem and make a quick fix if there is no option for a more serious solution. A broken backpack means you can’t continue your trip, or, if you do it, you might lose some of the things you carry and need.
The best way is always to be prepared and have tools with you. Spare parts too, but it’s only normal that you won’t drag another backpack full of tools and spare parts just in case you encounter a problem. However, it’s smart to carry small pliers and a needle if it is possible because with this many problems will be solved.
Do you know any tips and tricks when it comes to repairing your backpack on the go? If that’s so, leave us a comment and let us know!