Boot Sole Repair: Some Quick Boot Fixes And What You Need to Know
Your boots are probably among your most important pairs of footwear. Be it for your job or your outdoor hobbies if you’ve got a pair of boots having these break down can be among the worst things that can happen to you.
Having your boots break down on you in the middle of work is definitely going to be stressful, not to mention unsafe if you don’t happen to have a backup pair ready. If you’re out hiking in the mountains while on inhospitable terrain, having your boots give up on you can feel like a death sentence.
See also: Best Vegan Hiking Boots: Maximize Trail Time, Minimize Impact
Probably the most common malady faced by boots is a sole problem. This is why it’s important to know a bit about boot sole repair.
Whether your boots are meant for the strains of your work, or for going out deep into the wilderness, the purpose and nature of these pieces of footwear dictate that they be able to withstand a beating. However, no matter what brand or how expensive, strong, sturdy, taken cared your boots are, they will have a breaking point.
All it takes is the right amount of wear, the right amount of stress, under the right conditions at the just the right time. No pair of boots is indestructible. This reality is more than enough reason to have a backup plan for eventualities such as this.
Common forms of damage
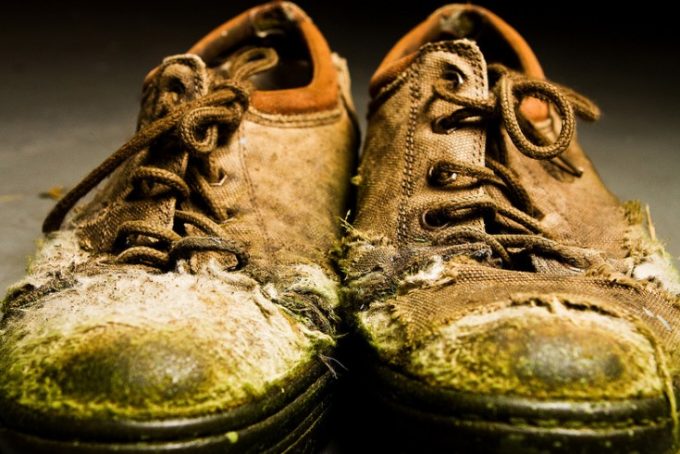
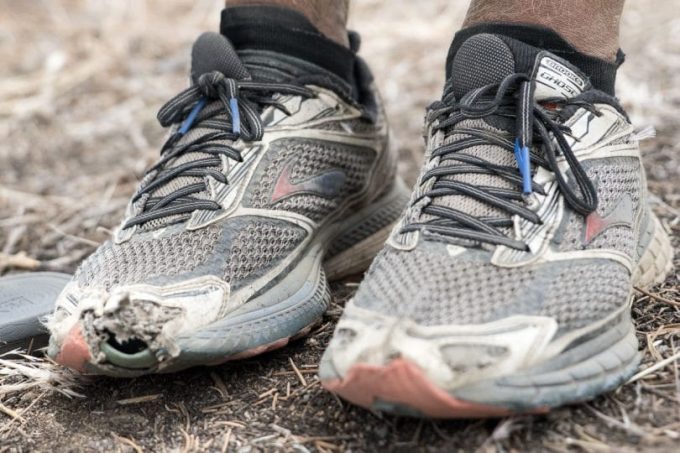
Boots undergo some pretty serious strain. If you put your bare feet through the stress that your boots go through, you probably wouldn’t be walking very much. There are numerous ways that you could put a hole through your boot, but below you’ll find the more common.
The sole that has been thoroughly rubbed down due to extended use and wear. Durability and use will factor in here. But you can notice signs and symptoms of this as you continually use your boots. Eventually, the boots’ soles will start to become thinner and thinner. A thoroughly thinned out layer will puncture easily.
This can happen because the boots’ soles were so thoroughly thinned out or if they are on the receiving end of a sufficient amount of force from a sufficiently hard object. Regardless, these types of damage won’t render your boots completely useless. There are short term and more sustainable solutions to these types of damage.
Quick-Fix Repairs
Now, if you’re in a pinch, way out in the wilderness, or off at a worksite with no pair of extra footwear, or even if you do have a spare set of shoes but still need the protection of your boots, you will need to be able to pull-off some first-aid on your boots. We’re going to recommend a couple of them below.
However, I will make a disclaimer that these are short-term solutions only. Don’t expect your shoes to be able to take a thorough beating after these fixes and not putting them through more thorough repairs.
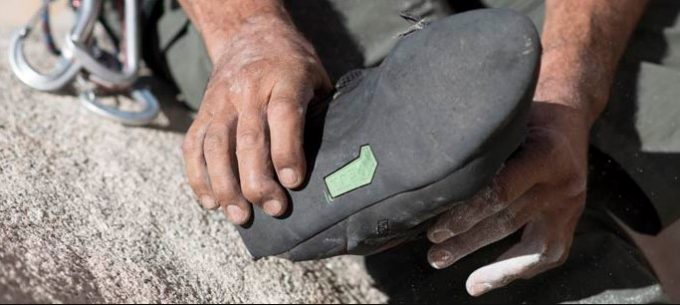
Minor Sole Tear
This is a pretty easy quick-fix solution and is also simple to execute. The materials are also compact and easy to acquire. It’s easy to have in your pack in the event of an emergency.
[mks_col]
[mks_one_half]
PROS:
- Easy to acquire (necessary materials are easy to find)
- Materials won’t be too bulky
- Simple to execute.
[/mks_one_half]
[mks_one_half]
CONS:
- Won’t last very long
- May feel awkward
- Not a replacement for a proper sole repair
[/mks_one_half]
[/mks_col]
What you need:
- Cheap bicycle tire repair kit
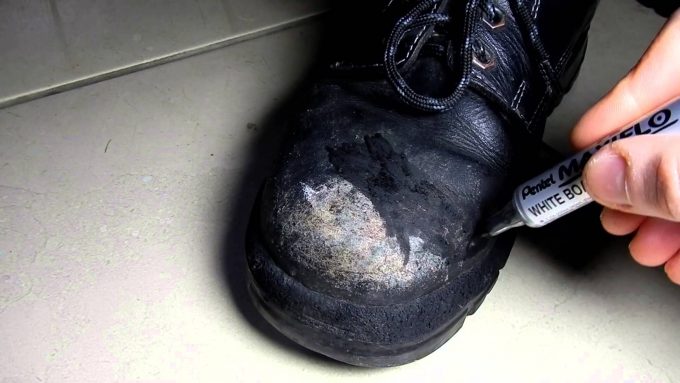
- Marker/Crayon/Coloring Material – bright color
Steps:
Locate the worn out area and be sure to identify the entire area. Next, you have to mark the entirety of the area with a bright color. This will allow you to keep track of the entire damaged area. (Surprisingly, this can be a bit tougher than it sounds.)
Portions of the torn up show might be concealed to a variety of factors, such as the angle you’re looking at it, the overabundance or inadequacy of lighting, and the fact that it can slide in so perfectly with the rest of the sole.
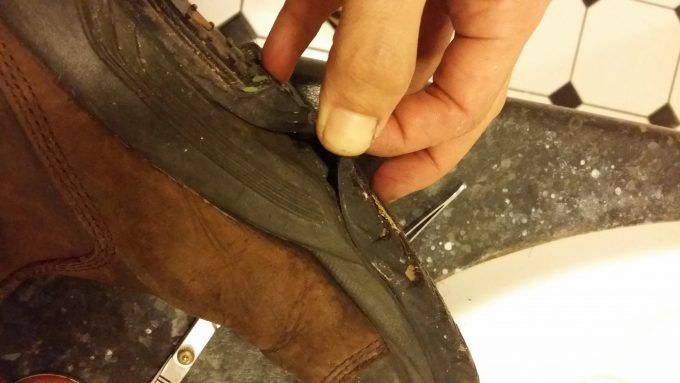
Once you’ve fully marked in the area of the tear, it’s time to pick out the patch that you’ll be using to cover the tear from that bicycle repair kit we talked about earlier. Choose one that covers a little bit more than the affected area that you marked earlier.
Set a generous amount of the adhesive to cover the entirety of the area affected. Most bicycle repair kits will be packing the adhesive as well. However, if you happened to buy a bike repair kit that is able to stick onto a surface on its own, then that should work well enough too.
Once you’ve set the patch onto the affected surface, you should let that settle for a couple of minutes. After that’s done, you should be able to walk around again without much ado. So you can keep moving towards your end destination or keep working for the rest of the day.
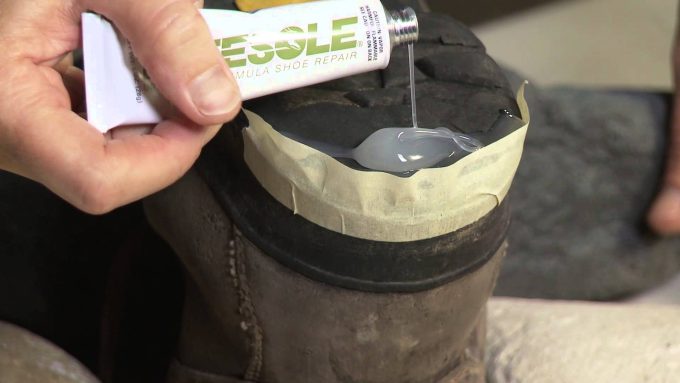
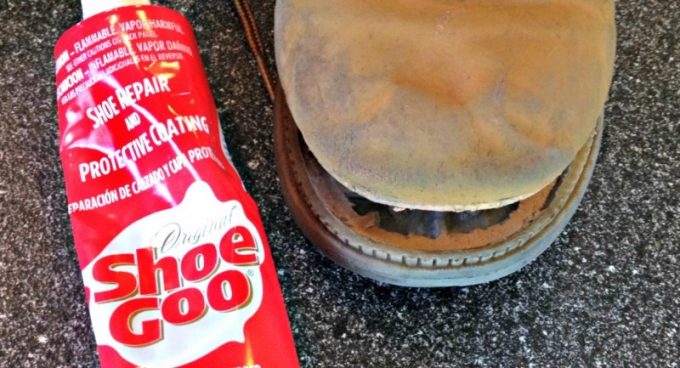
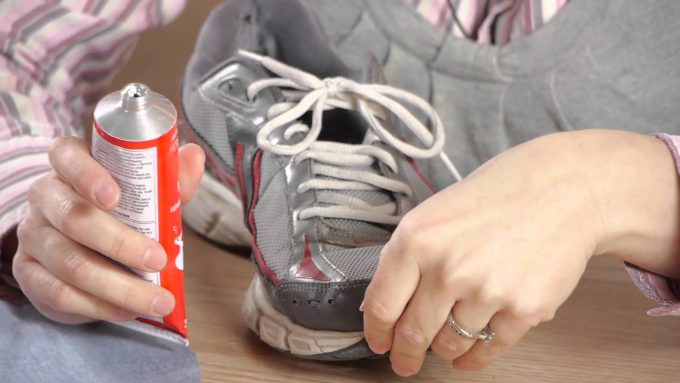
Quick Boot Damage Repair with Glue
This method covers a quick-fix method to keep your shoes in action within a day or two and you can’t afford to send it to a repair place just yet.
[mks_col]
[mks_one_half]
PROS:
- You won’t have to spend too much for this, probably just glue and a small cut of sandpaper. Nearly everything is pretty much standard gear for a camper.
- Can be done nearly anywhere.
[/mks_one_half]
[mks_one_half]
CONS:
- Not a long-term repair solution.
- Can take some time to pull off properly.
[/mks_one_half]
[/mks_col]
What you need:
- Pocket knife (small-ish survival knife)
- Hatchet
- Leaves
- Sandpaper
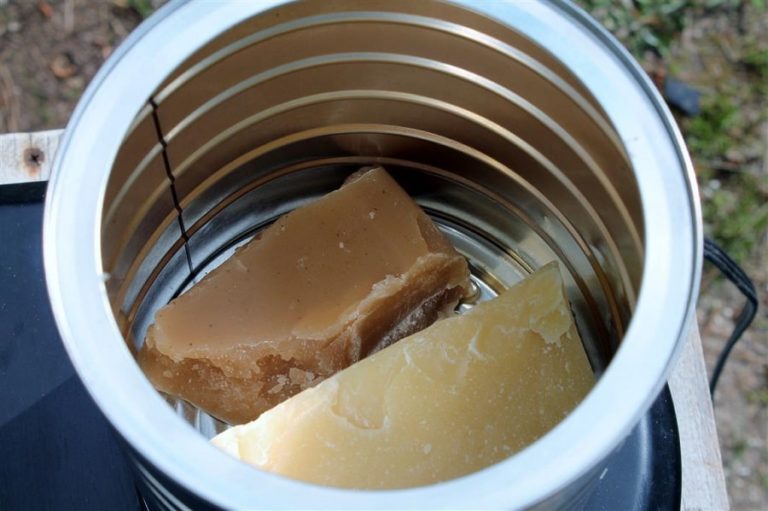
- Glue (Marine adhesive)
Steps:
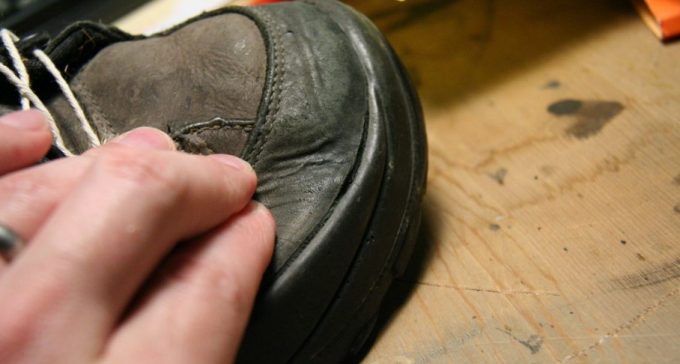
First, create a series of small channels and grooves into the top of the damaged portion of your shoe sole with your pocket knife. This will help you create an area to let in the glue in preparation for reattachment. If the majority of the sole is tattered, you will want to create a pretty wide grid pattern.
However, make it a point to avoid damaging cutting on the shoe’s sole in areas where there is no damage.
Second, squeeze in a bead of glue in the loosened portion of the sole. Push down on the sole so that it stays firmly on the boot. Tap it down with the back of a hatchet or rock. Smudge excesses of the glue that comes out along the sides of the damaged portion.
Note that marine adhesive is our recommended glue over the run-of-the-mill commercial glues for shoes. This is because marine adhesives are made to provide strong adhesion in varying conditions. If a boat uses the stuff to plug potential leaks, then your boots will probably survive by using them as well.
Third, check your boot for portions where the treads are worn. You should roughen those portions with sandpaper. This allows them to have a bit more traction. Alternatively, you can create a small grid with your knife to further improve this effect.
Your shoes’ traction is at its worst when its soles are flat and smooth. Definitely not something you want to have to deal with if you’re out working or traveling in the woods.
Emergency Boot Damage Repair
This is probably going to be as “Macgyver” as it gets. In the odd event that you or your buddies get a sole tear deep in unfriendly territory, this may be something that can help you out.

Quick disclaimer, this isn’t an ideal fix. This is just a suggestion for when you don’t have spare footwear and aren’t able to do better repairs out in the field due to lacking materials.
[mks_col]
[mks_one_half]
PROS:
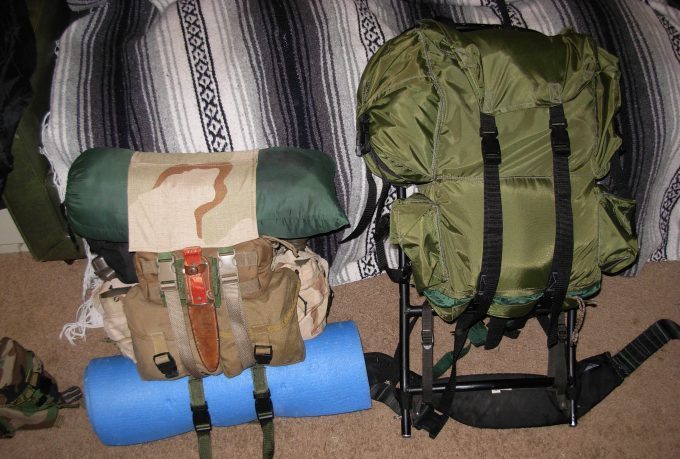
- No need to bring anything you wouldn’t normally bring to a camping trip.
[/mks_one_half]
[mks_one_half]
CONS:
- Having to do this means that you are in a pretty bad situation
- Not reliable.
- Only temporary
[/mks_one_half]
[/mks_col]
What you need:
- Knife
- Natural vegetation
- Glue (Shoe glue can help)
Steps:
If you do manage to do sizable damage to your boots while out in the field, the first thing you will want to do is to inspect the extent of damage. You should be careful to note that areas where damage is greatest.
Once you’ve done that, you will need to secure some sap (If you have a very strong glue with you, that’ll be much better) this is going to serve as your adhesive for the repairs. You can secure sap by scraping sap off trees with a bit of wood or bark.
From there, you will also need to get your hands on material for patching. If there’s a hole or a large tear you will want that closed before you move on. Choose soft bark like cedar. This will be able to provide your feet and the remainder of your shoes some support. To give you tips on how to choose the correct hiking boots, check out our must-read article for more information.
Lather on the sap (or better yet, glue) onto the damaged portion of your soles. From there you will want to fix the soft bark onto your boots. Let it dry for a while. Good glue will dry near instantly. Sap might take a bit longer.
Again, it’s important to remember that this really isn’t the ideal scenario. You’re still much better off applying more reasonable repairs on your boots. Still, if the situation calls for it, this method is a last-ditch strategy to get your boots to a minimum level of travel-readiness.
Long-Term Solutions
If you really love your boots and aren’t keen on purchasing another pair due to sentimental value or a lack of funds, there will come a point where you need to pull off major repairs on your boots.
DIY Solutions
In order to extend the lifespan of your beloved boots, you’re going to want to pull off more than just the band-aid solutions listed previously. One of the ways to get serious repairs done on your shoes is to pull off a DIY repair. Now, this isn’t for the faint of heart as it does take quite a bit of skill to execute properly.
If you aren’t confident with sewing soles and leather then this might not be the way to go for you. There are many types of repairs you can go with, but probably the most common one is resoling.
This is a blanket solution as it will pretty much take care of any sole-related concern you may have with your boots. (Also note that you can’t do this with all types of boots, you may want to gain the input of a cobbler before getting into it)
[mks_col]
[mks_one_half]
PROS:
- Long-term solution.
[/mks_one_half]
[mks_one_half]
CONS:
- Takes time and an investment of effort
- Takes a bit of skill to pull off very well.
[/mks_one_half]
[/mks_col]
What you need:
- Replacement Soles
- Acetone
- Sandpaper (Coarse)
- Knife
- Pliers(multi-tool)
- Replacement heel fasteners
- Waterproof shoe repair adhesives (Or marine adhesives)
- Rags,
- Waxed thread (heavy duty)
Steps:
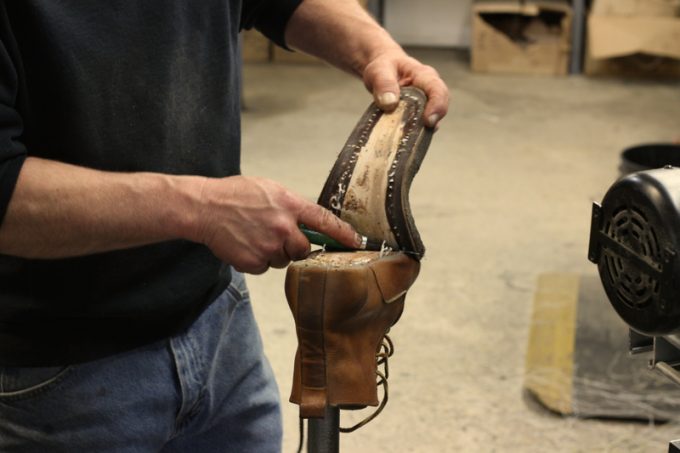
The first thing you’re going to have to do is remove the existing damaged soles from your boots. To do this, look for screws or heel fasteners on your boot. Remove them with a set of pliers or a screwdriver and set them aside for later. Once the fasteners are off pry off the rest of the sole with your knife.
When you’ve taken off the old soles, clean out the layer underneath (rubber) with acetone. The intended effect is to take off the old glue and debris. Apply the acetone with a rag and rub until the excess glue and debris are removed. If the shoes are sewn and the rubber layer is also damaged, they will have to be replaced as well.
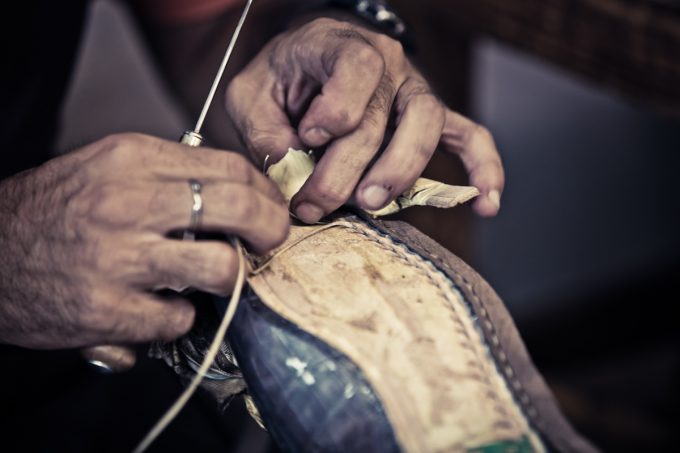
Peel of the rubber the same way you removed the sole. Put on a new middle layer by using a sewing awl with the heavy-duty waxed thread. Make stitches all the way around.
Next, you’ll want to use coarse sand paper to roughen up the inner part of the new soles and the rubberized layers. Be sure to remove all debris. Also, take extra care not to touch either the inner part of the new soles or the rubber portion. Body oils have a detrimental effect on adhesives.
Apply a liberal amount of adhesive to both sides and be sure to make it even. Be generous around the sides. Note that most tears and damage originate here. Check the manufacturer’s instructions for the soles. You can either wait for the adhesive to get tacky or you might have to put them together immediately.
Align your new sole with the boot and set it into place slowly. Begin with the toes and slowly work your way toward the heel. Curl and stretch the sole in place.
Lastly, you will want to set the boot on a flat surface. At this point, you will need to apply pressure on the boot. Pound on the sole with a hammer to achieve the desired effect. For the best possible effect, you will want to put a wedge between the sole just a bit in front of the heel.
Also, tie the boot in between a couple of flat boards for at least 24 hours. If you took out fasteners earlier, you can put them back in after the 24 hours.
Tips to Care for your boots
Prevention is better than cure. So we also want to mention a few good habits you can pick up to further extend the lifespan of your beloved boots.
Break them in – When you break in your boots, they become adapted to the mechanics and movement of your feet. This allows them to adapt to the feet they’ll be working with before taking the brunt of heavy use. This helps your boots last longer and helps your feet survive the use of heavy boots as well. Check out our piece on how to break in hiking boots for more insight.
So take the time to break in the new pair. Even if it seemingly feels comfy from the get go. You want to make the most of your purchase and give your feet the chance to adapt.
Regular Clean-Up – Once you’ve managed to get back from that strenuous trip or during the weekend after a tough week clocking in numerous hours at your work site, you will want to take the time to clean-up your boots.
Wipe the insides to remove salt from sweat as well. Be sure to clean up debris and mud. By doing this you can check out the boot for signs of damage and wear.
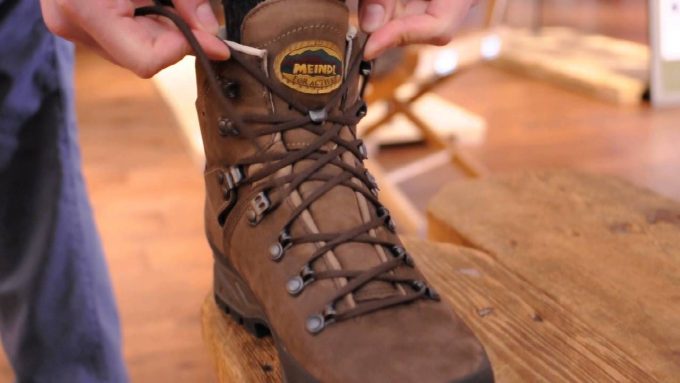
Unlace Regularly – Some folks have the tendency to just leave their laces on and never inspect them. This is not a good idea. Laces get torn up and damaged because they will endure a great deal of stress from keeping your boots in place. They will fray and tear.
You don’t want that happening while you’re in the middle of something important. So be sure to take off those laces regularly so that you can check the laces.
Apply Leather Conditioner – Some heavy leather boots will crack up when left alone. They tend to dry up if not cared for. To prevent this it’s important to apply moistening conditioner to preserve the finish of your beloved boots.
Step on and continue walking
Those were only a few of the potential fixes that can be applied to your boots. Taking care of your boots is by extension taking care of your feet and your wellbeing.
If your boots are in a sufficiently damaged condition they can’t perform their main function which is to provide you safety and mobility. Be sure to keep your boots in working condition.
To give you more tips on how to repair leather hiking boots to make them last longer, see our earlier article on this.