How to Make A Knife: Basics & Step-by-Step Knife Making Process
In today’s world, you definitely have more than one reason for having a knife. In the past, knives were the most recommended hunting tools as people used knives to kill and skin game. However, they were also used as weapons for defending against enemies and wild animals.
[the_ad_group id=”21″]
Now, if you think about it, our ancestors had no advanced methods and tools but they still knew how to make a knife. Even more, most of the knives used today are improvements on ancient models.
So, if you want to learn the ancient art of making a knife, continue reading.
Choosing Blade Steel Material
A knife’s quality is mainly determined by the material used. Customarily, knives were made of steel, but as knife making method evolved so are the materials. The knife industry is currently using different types of steel, such as tool steel, carbon steel, and stainless steel.
These steel materials are further classified into specific categories based on the individual properties. The properties that you have to consider when selecting blade steel materials are: hardness, strength, edge retention, ductility, toughness, wear & corrosion resistance, and manufacturability.
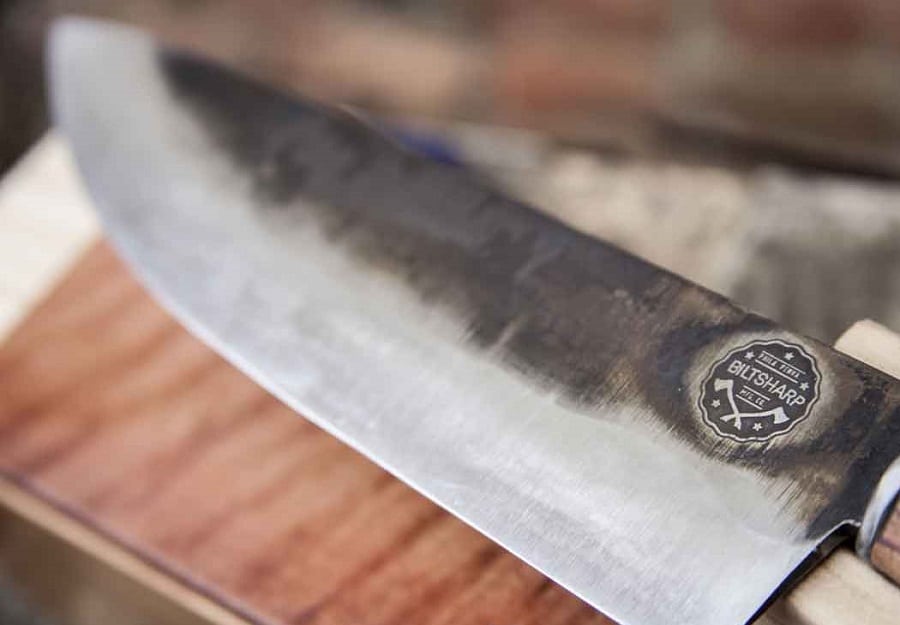
The most important properties that distinguish blade steels are ductility, toughness, hardness, and corrosion resistance. The best steel to use should be easy to change in shape by pressure, especially when drawing it out into the form of a knife.
The elasticity as well as the hardness of the steel material you choose should be remarkable. Its ability to absorb considerable energy before cracking should be outstanding. The material should be able to resist corrosion; you certainly do not want to create a knife that will stain your food every time you put it to use.
See also: How To Make A Knife Sheath: Step-By-Step Tutorial for Beginners
As a beginner, you should not use blade steel that needs you to be more experienced, and will require you to have a wider variety of specialized tools.
You should know that it can be challenging to heat-treat most of the steel materials in your home workshop. With that said it advisable to begin your knife making process with simple alloys, such as 1095 or 5160 steel. These steels are not stainless, but they are absolutely easier to handle than most of the stainless steel, particularly if you are new to blade work.
Recommended Blade Steel Types
O1 Steel: O1 is general purpose steel with a carbon content of 0.85 to 1.00%. It is resistant to abrasion and it has sufficient toughness along with extreme dimensional accuracy. The machinability of this material is exceptional. You can use conventional methods to form it in the hardened conditioned.
It is good on heat treatment. You have to preheat it gradually to 1200°F followed by 1450°F. You should thereafter hold it at the same temperature before quenching it with oil for ten to thirty minutes. You can shape O1 by heating and hammering at 1900°F and not lower than 1550°F.
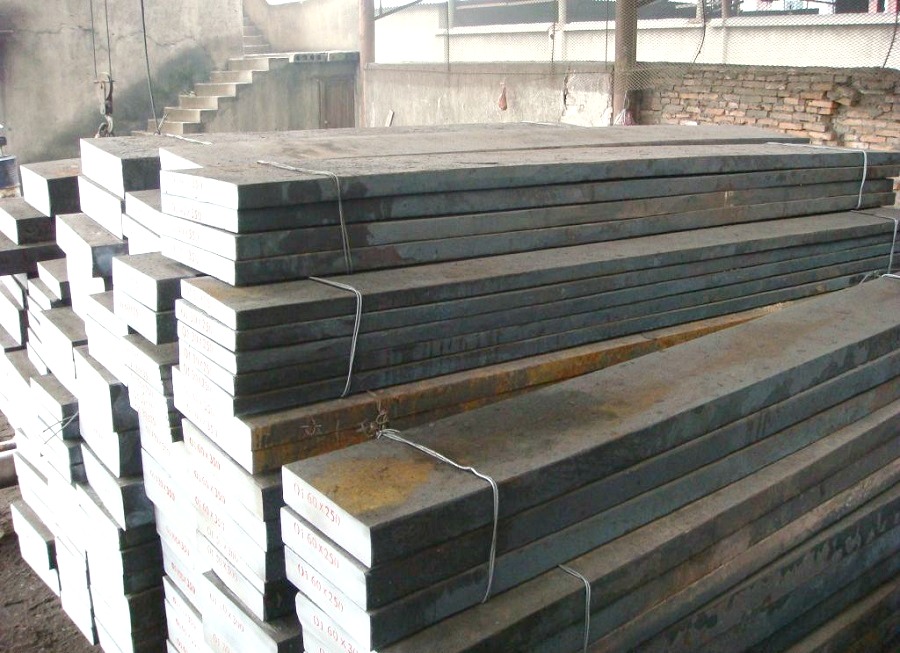
O2 Steel: O2 steel has a carbon content of 0.85 to 0.95% and it does show little size change during hardening. Its applications are similar to that of O1. The machinability rating of this material lies between 90 and 100% of that for water-hardening tool steels.
5160 Steel: This material has a carbon content of 0.56 to 0.64. It shows outstanding toughness as well as high ductility. You are advised to harden the material in oil. The quenching temperature of 5160 steel is 1525°F. You can temper it between 800°F and 1300°F.
You can shape 5160 by heating and hammering at a temperature that ranges from 2100°F to 2200°F. You can anneal this material by heating to 1450°F and then air cool.
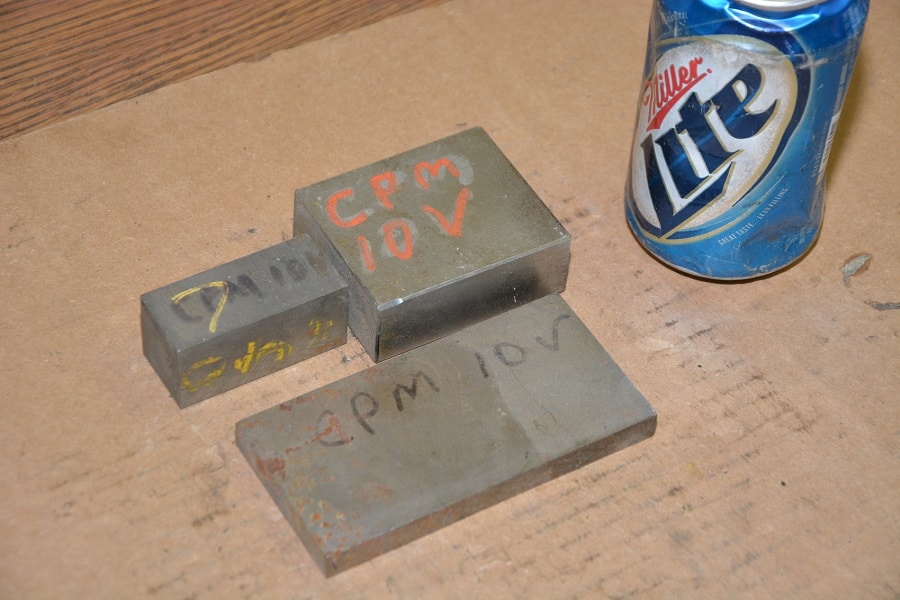
CPM 10V Steel: This is a high-quality steel material for a knife maker because its design is composed of a combination of properties. It has improved grindability with no reduction in wear resistance. You can do the grinding more quickly with less danger of damage.
It has increased toughness because it does not only provide greater resistance to breakage, but it also allows you to harden your knife easily. You are advised to heat treat this material at 2050°F for at least thirty minutes before quenching so as to achieve the best combination of wear resistance and toughness.
S35VN Steel: S35VN steel is a solid solution of carbon in alpha-iron that is formed when steel is cooled so rapidly that the change from austenite to pearlite is suppressed; responsible for the hardness of quenched steel.
This material is much easier to machine as well as polish when compared to other similar materials. It has a carbon content of 1.4% and a forging temperature of 2100°F. When annealing, you are supposed to preheat to 1650°F and then hold for a couple of hours before quenching. Machining and grindability of S35VN is easier when compared to similar material.
Knife Making Tools
- Anvil: This is a heavy block of iron/ steel on which you can shape your hot material into a knife by hammering. You should choose a model that weighs around eighty pounds and it should be stable with a perfect surface that will help you expand your knife making skills.
- Hammer: You absolutely need a selection of hammers. You hammer collection should include ball-peen hammers that range from 8 ounces to 36 ounces in weight. In most cases, you will be using the smaller models. However, at some point you will be required to use every hammer in your collection.
- Files: A file is very important when fine-tuning the sharpness of your newly formed knife after some serious sharpening on a belt grinder. You will need different types of files, including rat-tail files, triangular files, crossing files, half-round files and flat files. It is always important to ensure that all your files are clean and well kept.
- Drill Press: This is one of the most essential You can choose to buy a new drill press, but it will cost you. Alternatively, you can use an electric hand drill to do most of the drilling work. There are benefits of using an actual drill press. An actual drill press has a fixture in which the hand drill can be secured.
- Punches: You need a number of drift and center punches when making a knife. You need drift punches to move as well as set pins used in handle along with bolster attachment. You need center punches to make an indent in metal before drilling a hole. You should buy punches in sets, which should include some type of containment. This will be easy to access whenever you need a drift or center punch.
- Drill Bits: You most certainly need a collection of drill bits, such as from 1/16inch to 1/2inch. They should be contained in a case, in order for them not to be mixed up with other tools. You should always buy drills that are made of cobalt alloy high-speed steel.
- Grinder: You need a grinder for the finishing process. It provides your knife with the desired finish. There are two main types of grinders that you can use, belt and wheel grinder. It does not matter which one of the two you choose to work with, the final goal is the same.
How to Make A Homemade Knife
Step 1 – Prepare Your Work Area
You need a logical location for your knife making activities. To begin with, it should be away from the usual day-to-day household activities. Once you have decided on the location, such as your basement, you need to go ahead and access the condition of your working area before you can set a work bench.
You have to make sure that the place is well-ventilated. This is so since airborne particles can be a big problem. Access the noise level, because extended periods of unending noise can wear your neighbors out. Once you are certain your working area is conducive, you can go ahead and set the work bench.
Step 2 – Set the Workbench
A workbench is one thing that you need to set up by yourself. However, you can choose to buy a readymade model, but it may not match your requirements. If you are not good with measurements and structuring, you can always hire someone to do it for you. All you have to do is ensure that the woodsman you hire follows all your requirements as far as measurements are concerned.
Step 3 – Assemble Your Safety Gear
Safety first regardless of what you are making. Some of the most important safety gears that you need within your work area are protective eyeglasses and ear protection gear. The first thing that you should always remember to do when you step into your work area is wearing protective eyeglasses.
[the_ad_group id=”22″]
You need a heavy-duty apron, which allows you to move freely while protecting your clothes and body from spills and sparks. Wear protective shoes that will keep your legs safe from stray metal chips among other things. You should also cover your hair or wear a cap, if you have long hair.
Step 4 – Decide on Your Knife Design
Pick the type of knife you want to make and come up with some sketches. Then trace the shape of your knife’s blade onto a piece of cardboard and carefully cut-out a blade template.
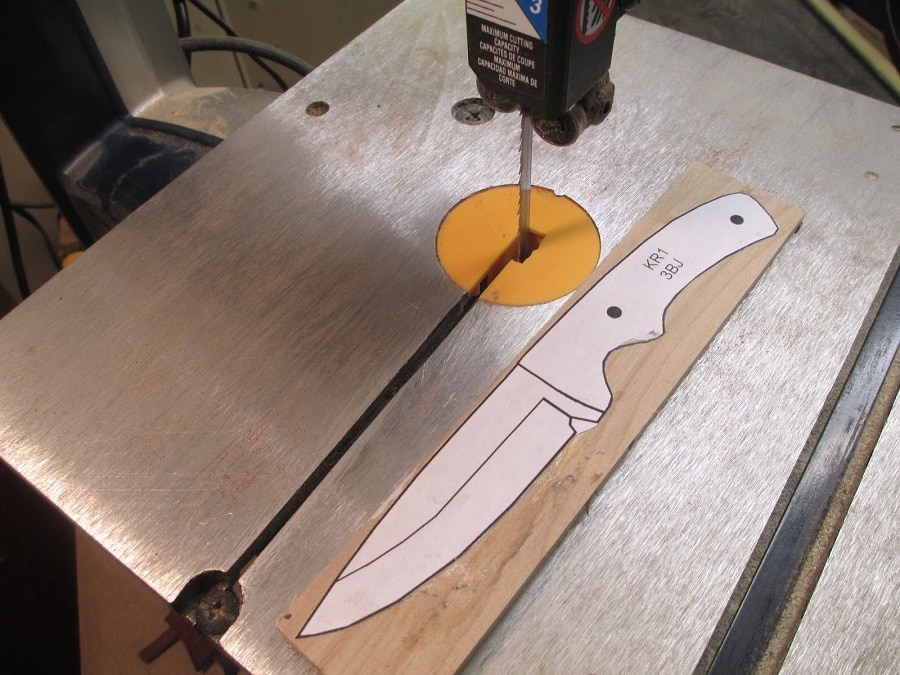
Make sure that the template resembles what you wish your knife should look like. You will use the template as a guide when forging the shape as well as the size of the knife. You cannot possibly guess the size of your blade at the forge, you need the template.
Step 5 – Choose Your Blade Steel
Choose a blade steel that is not only tough, but will hold an edge and is forgeable. You can consider the aforementioned alloy steels. The choice you make should factor in the following: wear resistance, toughness, hardness, and corrosion resistance. Make sure that you get manufacturer’s instructions for heat treating. You should not choose stainless because it has a very limited forging range.
Step 6 – Cutting Out the Blade
Start by cleaning the steel material; use a sandpaper to remove any rust. Then draw the profile of your desired knife. Use a cutting torch to cut the profile out of the steel. Make sure the line is about 1/8inch larger in all directions than the original profile. This space will be enough for the cleanup grinding.
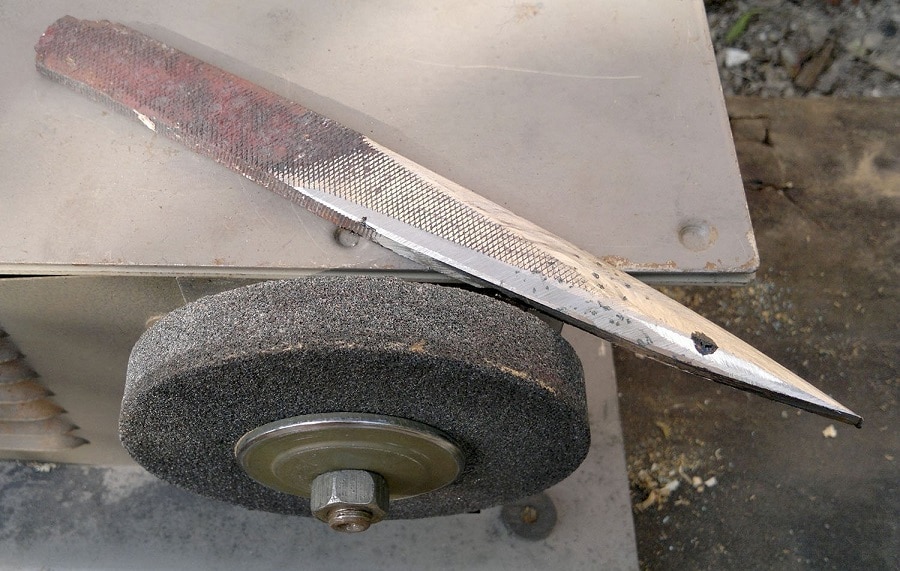
Once you have cut out your knife’s silhouette, you should go ahead and refine the shape.
Step 7 – Refine the Shape
Start the refining process by grinding off all rough marks left behind by the cutting torch. Make sure you grind in the finger grips, if your knife’s profile is inclusive of a molded handle. You should not just grind the rough parts. Use a pencil to draw them out and then do the grinding.
You should do the grinding with respect to the knife’s final shape. For instance, if it is a carving knife, then carve an imaginary shape while grinding.
Step 8 – Straightening the Blade
You should straighten the blade once you have achieved your desired profile after grinding. It does not have to be perfect, but the results should be satisfactory.
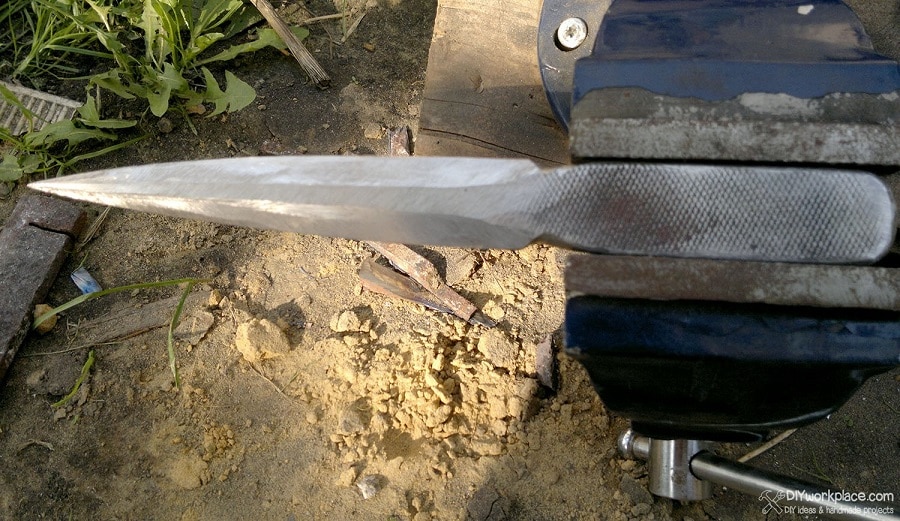
You will do the final straightening process when you are done with the heat treating procedure.
Step 9 – Refine the Half-Tang
You have to refine the half-tang (the narrow extension of the knife, which will go into the handle). Make sure the half-tang’s length is a 3/16inch drill. Then punch/ drill rivet holes in the tang. You should punch these holes with respect to the holes on the handle. Therefore, you will want to make the handle and complete its design at this stage.
Step 10 – Heat Treating the Blade
Once you are done with the blade, heat-treat it in a fire made of coal or charcoal. Place the blade on fire and bring it gently to hardening heat. Make sure you turn it more frequent in order to ensure the heating is uniform.
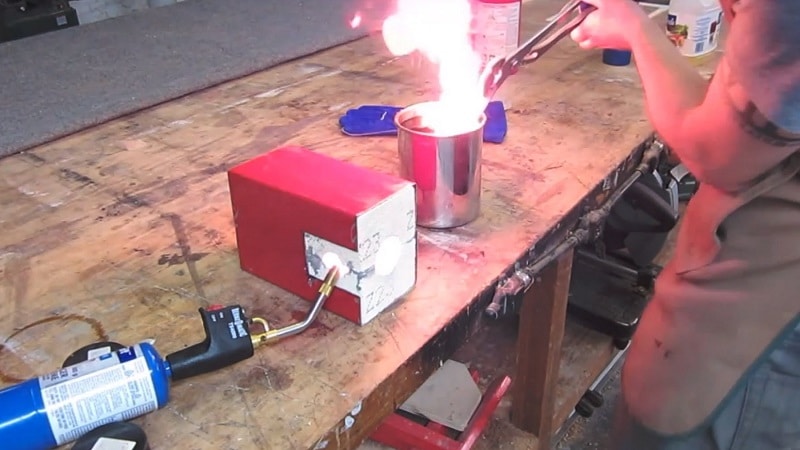
When the blade achieves the desired color, go ahead and quench it by placing the edge down in the proper medium.
Step 11 – Temper the Blade
Temper the blade once it is hardened. You can use oil, since it makes a uniform tempering medium. However, you will need a high-temperature thermometer to monitor the hotness. Temper the parts of the blade differently. The tang along with the top of the blade should be the toughest sections; the mid blade should be harder, while the edge should be the hardest.
Step 12 – Fit the Handle
Build the bolster, butt plate and finger guard. Then fit them correctly onto the half-tang to complete the knife’s construction.
In Conclusion
Making a knife is not too challenging, all you need is the correct information. Most people will shy away from this unique activity because of the hand work involved.
[the_ad_group id=”23″]
Someone may be worried that they might hit themselves with a hammer, but with a bit of attention you can avoid this.
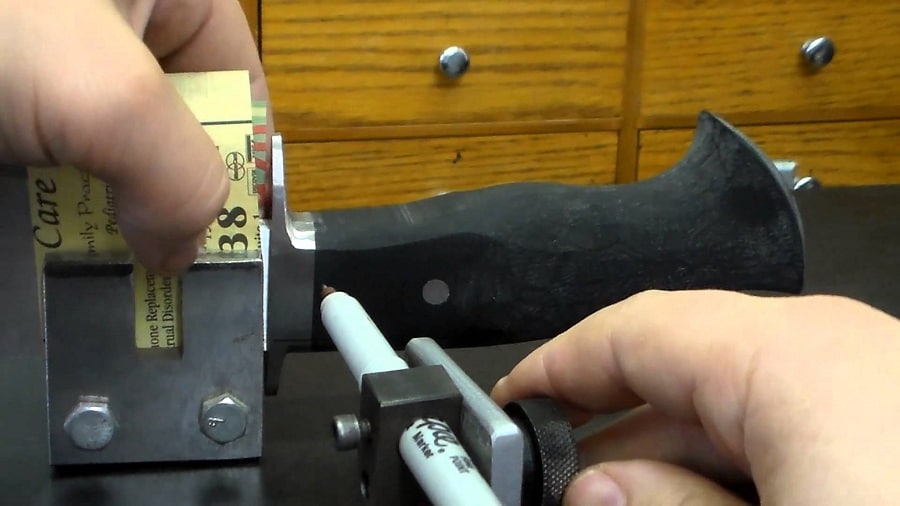
What you need to be successful as a knife maker is the knowledge provided in this article. The “how to” steps have been broken down to simplify the process and now, you just have to follow each step at a time. For instance, when sketching the knife’s profile on a cardboard, you should not do anything else but sketching.
Not feeling crafty? No worries. For the top hunting knife you can use for survival, see our amazing product reviews to give you more options.
Do you think we have missed any knife making steps? If so, please let us know in comments.



A knife is a tool that is necessary for any economy. On the shelves of the stores, you can find any knives for a variety of needs. It can be a knife for the kitchen, dining rooms, multifunctional or for hunting. Choose knife, to serve efficiently and effectively, not very easy. But almost every home handyman can make a homemade knife that will have the quality on a factory level. Thank you for the instructions!
You are very welcome, Justin. A knife may be a very simple tool, but it does go a very long way when it comes to usability and reliability.
An interesting article. But I have a few questions: is it safe to use such a knife? How to find a suitable steel the ordinary citizen? How to check its quality? The author is an experienced master, but I think It will be hard fo me to do. Also, I will need special tools.
Is it allowed by law to carry a knife like this?
Hi, Steve,
The answer to your questions will vary on which region or state you are in. For the material, there are a lot of providers of steel on major cities and counties, and some will even customize them for you. You can simply follow our guide and I am sure you’ll be able to make a knife you can call your own.