
Wilderness First Aid: How to Give First Aid in The Wilderness
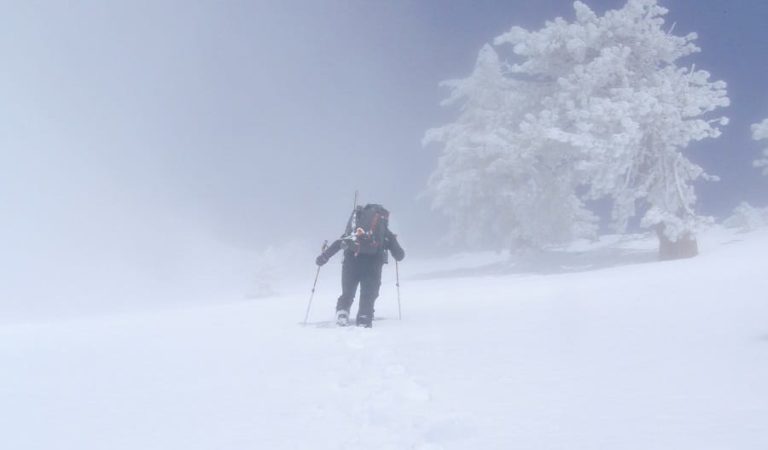
Wilderness first aid is the act of assessing an injured person and providing him or her with the required treatment while in the wilderness. If you don’t know it yet, wilderness is best defined as a wild and uninhabited area left in its natural condition.
This simply means there is nothing in the area, but vegetation, wild animals and all kinds of topographical features. That’s why you need to be fully prepared for injuries and medical situations when you are more than one hour away from help.
[the_ad_group id=”21″]
This kind of an environment can be hundreds or thousands of kilometers away from urban areas and the necessary medical help you need when injured. You must have first aid skills and equipment with you under the following circumstances:
- personal recreation activities, such as mountain climbing and camping;
- remote occupations, such as farming and foresting;
- and disaster strike, such as hurricanes, tornadoes, floods and earthquakes.
Wilderness Injuries
You need to be acquainted with the various injuries that can occur in the wild in order to know exactly what you need for your first aid gear when going into the wilderness. The most common injuries are: hypothermia, eye problems, head & neck injury, wounds, fracture and dislocations, heart attack, and shock.
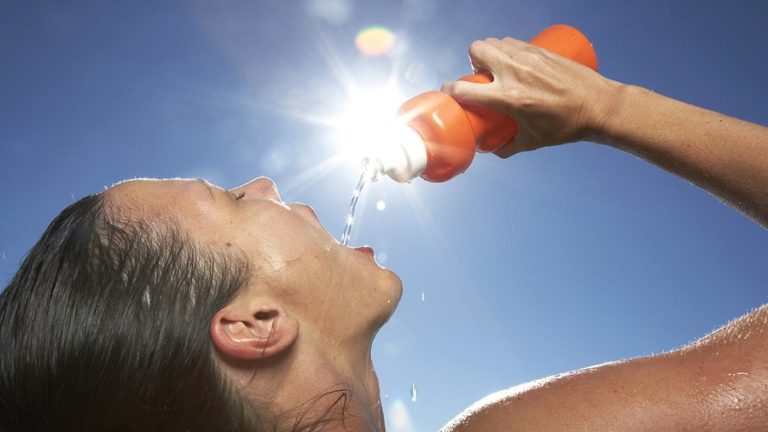
Hypothermia: This is a subnormal body temperature that is classified as mild (a core temperature of 82.4°F to 95°F), moderate (a core temperature of 82.4°F to 89.6°F), and profound (a core temperature of less than 82.4°F). The most common cause of hypothermia is environmental exposure. The various signs and symptoms are: drowsiness, lack of coordination, poor decision-making, shivering, and slurred speech/mumbling.

Eye Problems: They are common in the wilderness. Most of these eye problems are mild and you can easily treat them in the field. The first common problem is prolonged use of contact lenses.
The second one is dry eye, which is increased tear evaporation, usually in very dry climates, dusty/smoky environs or windy conditions. The third one is an eye infection, such as pinkeye and conjunctivitis, which are caused by transmission from another person, foreign bodies and injury.
Head, Neck & Low Back Problem: May occur as a result of the following: when you collide with a rock in the water after a fall; when you collide with overhanging vegetation, and when you collide with paddles and other camping or crew members. In addition, knotted and stiff muscles between the shoulder blades and in the neck are common on multi-day trips. Low back problem is associated with the flexing of the lower lumbar spine against its natural hollow-back, especially after kayaking.

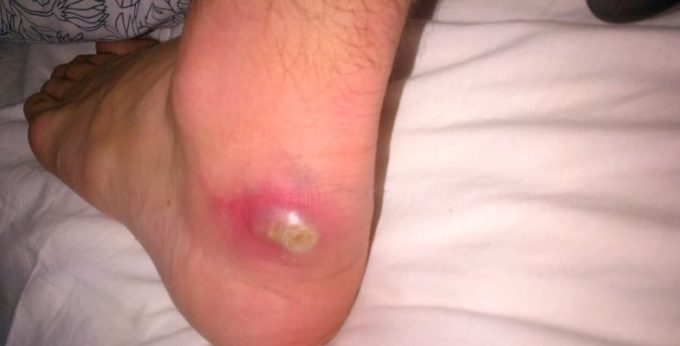
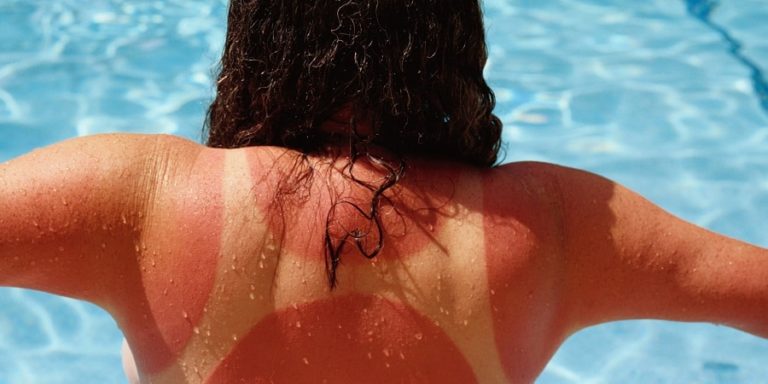
Wounds: There are many types of wounds that you may end up with while in the wilderness. The most common ones are: puncture wound (it occurs when an object penetrates your body and they are prone to infection); burn wound (tissue injury due to sunburn and heat); bite wound (an injury caused by a bite from an animal); abrasion (an abraded area where the skin is torn or worn off); and laceration (a torn ragged wound produced by a sharp object).
Fractures & Dislocations: This involves breaking of hard tissue such as a bone, and a displacement of a body part (especially s bone) from its normal position. Some of the common fractures and dislocations are: sprains (a painful injury to a joint caused by a sudden wrenching of its ligaments); dislocated limbs (associated with swelling and inflammation); and fracture of the arm, thigh & leg (associated with great pain).

Shock & Heart Attack: Shock occurs when you have an inadequate supply of oxygen in the body, due to decreased blood flow. Low blood volume can be caused by: dilation of blood vessels, severe dehydration and internal/external blood loss.
Low blood pressure can lead to a heart attack. The main symptoms of a heart attack are: extreme tightness/ pressure; shortness of breath; dizziness; rapid/ irregular heartbeat; confusion; excessive sweating; nausea; and vision problems.
The abovementioned injuries are some of the most popular ones that you can experience while in the wilderness. Knowing these injuries help you prepare a much consolidated first aid kit.
Items in The First Aid Kit
The contents of your first aid kit depend entirely on the type of activity as well as the location of the activity. As much as you want your first aid gear to carry a great number of items to make it more versatile, you also have to make sure it is lightweight and convenient to carry around.
The best gear is one that contains items that serve not only their intended purpose, but others as well. Here is a comprehensive list of the most important items your first aid kit should have.
Basic Tools and Protection
- Non-latex pairs of gloves
- CPR mask SOAP notes
- Pencil and pen
- Trauma shears
- Silk tape
- Rescue manual
Wounds Management
- Hemostatic agent
- Trauma gauze pad
- Sterile gauze rolls
- Sterile gauze pads
- Assorted band aids
Over-the-Counter Medications
- Triple-antibiotic ointment
- Antidiarrheal
- Diphenhydramine
- Acetaminophen
- Ibuprofen
- Aspirin
- Iodine wipes
- Cake icing, white
- Sting swabs
- Hydrocortisone
- Bismuth
Blisters & Burns
- Sterile hypodermic needle
- Packet/ gauze burn gel
- Tincture of benzoin
- Mole foam
- Blister pads
Orthopedic Injuries
- Safety/ diaper pins
- Triangular bandage
- Four-inch elastic ace wrap
- Two-inch vet-wrap
- 36-icnh SAM splint
Signal Gear
- Signaling mirror with lanyard
- Green light-stick
- Orange smoke signal
- Red aerial signals
- Waterproof ziplock bag
The aforementioned list provides you with the most important items that your kit should have. However, the size of the individual items and quantity depends entirely on how big or small you want your kit to be, especially when you take lightweight and portability into consideration.
[the_ad_group id=”22″]
If it is difficult for you to achieve a personal-prepared kit, you can always opt to buy a readymade one. When buying a readymade kit, make sure it has what you will need in the wilderness if you were to be injured or hurt.

You should go for a kit that is right for the money. It should have all the basics you may need in a compact design. It should be easily supplemented with respect to your knowledge and experience. The kit should have an extra room for packing extra things that you need and are not included. The supplies should be neatly organized.
How to Give First Aid in The Wilderness
First Aid Care for Hypothermia
Hypothermia is a life-threatening condition; therefore, you have to give first aid as quickly as you observe the signs and symptoms. The following are the step-by-step instructions that you have to follow.
Step 1: End the patient’s exposure to the cold by replacing wet clothes with dry, warm clothes.
Step 2: Give something warm to drink, if the patient is able to speak as well as swallow. Boil a cup of water and mix with a packet of Jell-O. Usually, the higher sugar content and warmth will go straight to the patient’s core and he or she will be warmed up faster.

Step 3: You have to actively warm up a patient who does not have the ability to safely speak or swallow. Do not attempt to warm the patient by hopping with him or her into a sleeping bag. This is so since your body only produces enough heat for yourself.
Step 4: Create a human burrito for the above situation. Lay out a waterproofed canvas on the ground. Then place two pads down on top of the waterproof canvas. Heap a minimum of three sleeping bags right on top of the two pads. Go ahead and place the victim inside the bag in a central position and wrap him/her in the waterproof canvas. Place hot water bottles at the victim’s feet and crotch and under the arms.
See also: Best Survival Blanket for All Weather
First Aid for Eye Problems
First aid care for prolonged use of contact lenses is easy
Step 1: Remove the lenses and rinse your eyes.
Step 2: Let your eyes relax for five minutes.
Step 3: Wear glasses instead of the contact lenses.
First aid care for dry eye
Step 1: Avoid rubbing your eyes, but blink more often and rest the eyes.
Step 2: Apply artificial tears every few hours for temporary relief.
Step 3: Wear wraparound glasses to reduce the drying effect of the wind.
Step 4: Avoid environments that might worsen the condition.

First aid care for foreign object in the eye
Step 1: Wear medical gloves.
Step 2: Pull down the patient’s lower eyelid to look at the inner surface while the patient looks up.
Step 3: Make the patient’s eye produce tears by gently holding the upper lid and pull it out and down over the lower eyelid. Normally, tears help dislodge a foreign object in the eye.
Step 4: Flush the patient’s eye with water to make sure that the object is flashed out.
First Aid Care for Managing a Dislocation or Fracture
Step 1: Follow the Danger-Response-Send for help-Airway-Breathing or DRSABCD. Danger implies that you check if there is danger to self, others and the patient. Response requires you to manage injuries and bleeding. Send for help requires you to ask another person to assist. Airway requires you to clear and open the patient’s airways. Breathing requires you to place the patient in a recovery position.
Step 2: Cover any wounds by controlling the bleeding.
Step 3: Make sure the patient maintains a stationary position.

Step 4: Immobilize the fracture or dislocation by doing the following: use far-reaching bandages to avoid movements at joints; support the limb by gently passing the strappings under the patient’s natural hollows; have the injured limb supported by a padded splint; ensure you immobilize ankle and foot when it comes to a leg fracture; and check to confirm if the strappings are too tight/too loose every ten minutes.
Step 5: Check out any warning signs of circulation loss to the patient’s feet and hands.
First Aid Care for Treating Wounds
First aid care for puncture wound
Step 1: All a puncture wound to bleed in order to clean the wound of debris surrounding the skin and help flush out foreign object and bacteria. You can encourage bleeding by pressing around the wound and not over it.
Step 2: Use soapy water, Apple cider vinegar and herbal antiseptic to cleanse the wound in order to prevent pseudomonas infection.
Step 3: Do not tape the wound, but use a warm compress of yarrow for twenty minutes every couple of hours until you are sure there isn’t any substance infection.
First aid care for burn wound
Step 1: Stop the burning process.
Step 2: Lay the patient on the ground to avoid increasing the wounds severity.
Step 3: Cool the burn wound by immersing the burned area under cool running water.
Step 4: Cover the burnt area with a moist, sterile or clean material to exclude air.
Step 5: Use cling film to dress the wound; you should cover face burns with a clean handkerchief.

First air care for abrasion/ skin flap
Step 1: Wash your hands with sterilizing agents or wear sterile latex gloves.
Step 2: Stop the bleeding by pressing a sterile pad gently against the abrasion or skin flap.
Step 3: Once the bleeding stops, clean the skin flap/ abrasion with saline and use sterilized tweezers to remove any debris.
Step 4: Apply antibiotic ointment to the abrasion or skin flap and dress the wound. Make sure you regularly change the dressing.
Step 5: Check for any signs of infection every time you change the dressing.
Don’t forget to check out our piece on how to determine if a wound or cut is infected for your reference.
First Aid Care for Shock & Heart Attack
First aid care for shock
Step 1: Keep the patient still in the position found or lie the patient down if he or she is staggering around. Raise the patient’s head and shoulders for easy breathing
Step 2: Talk to the patient, explaining what you are doing and why and hold his or her hand while maintaining eye contact.
Stop 3: Protect the patient from heat by ensuring he or she is under shade and ground insulation.
Step 4: Give oxygen or assisted breathing.

First aid care for heart attack
Step 1: Observe the patient and recognize signs and symptoms of heart attack.
Step 2: Make the patient as comfortable as possible so as to ease the strain on his or her heart.
Step 3: A half-sitting position with the patient’s head and shoulders well supported and his or her knees bent is often the best.
Step 4: Undo tight clothing
Step 5: Call for emergency help immediately.
Why This Is Important
Help and other first aid resources are usually limited in the wilderness. Care for illness and injuries may be aboriginal, and the only first aid equipment available is what you have with you and what you can improvise.
[the_ad_group id=”23″]
In contrast to urban first aid, you do not have the privilege of a 911 call or an immediate ambulance response service to transport the patient to the hospital. For the best reviews of top first aid kits, check out our earlier article on this important topic.
Therefore, you need the “How To” skills and first aid kit provided in this article to help you assess a victim and give urgent first aid. The skills provided are highly resourceful and versatile. Do you think we have left anything out? If so, let us know in comments.
Knowing first aid in an emergency is very important, even more so when traveling outdoors. It is important when traveling to have a first aid kit handy. Simple first aid kits are pretty cheap, but it is always important to remember to restock on whatever you use from your first aid kit. Also i think duct tape would be very useful in a first aid.
You’ll never go wrong bringing a first aid kit with you wherever you go. Some may find it bulky, but no amount of price can pay the peace of mind that the kit provides should the need arises.
After the abdomen injuries, you need to pay special attention to the appearance of the victim and his physical condition. If he experiences increased heart rate, paleness, weakness, cold sweats, sharp pains in the abdomen, nausea, and even vomiting – it is possible to speak about poisoning or even internal bleeding. In this case, he must refuse the intake of any kind of liquid or food including medications. The victim should be laid down, legs bent at the knees, put the cold on his belly. Then without delay, he must be delivered to the nearest hospital.
It is really important to make sure that all throughout the process, the objective is to keep the patient in a stable condition and should be immobilized to prevent possible progression of symptoms or injuries. This significantly improves the chances of survival and the recovery time.