How to Make Distilled Water: Easy Solutions for Adventurous People
Depending on a clean water source can be a real hassle. Finding some residue sand or other impurities on the bottom of your water bottle while out hiking can really leave a bad tasting memory.
Whether you’re travelling, spending some time outdoors or just got a notification from your water company that tap water isn’t safe for a couple of days – whatever the situation, it is always good to have some tricks up your sleeve.
Luckily, we can teach you how to make the distilled water really quickly and easily. There is a bright point at the end of the tunnel – the water distiller doesn’t need to be fancy special equipment. You can use your home kitchen pots and a little advice from us and you’ll be good to go.
In this article, we will tell you a little bit about what water distillation actually is, why is it good to know how to do it, how to make a water distiller and how to store distilled water. It might sound like a lot right now, but don’t worry – we have you taken care of!
Basics of Distilled Water
In essence, distilled water is nothing else than capturing the water vapour. How you vaporise water and then capture and store it is up to you – the circumstances, the materials and tools available and the time you have to perform this task are all important parts of the process. If you though this is complicated, we can assure you that it really isn’t.
The reasons why someone would prefer to drink distilled water as opposed to tap or bottled water vary. In our opinion, it comes down first your environment. Some are lucky to have a very high-quality drinking water coming right out of the tap in their kitchens while others struggle with it.
Distillation won’t solve all these issues, but if you are looking for a fun experiment to do with your kids at home or a skill to learn to take out on your hike, you’ve come to the right place.
If you find yourself in a survival situation out in the wilderness, you have to be able to get yourself some drinkable water first, in order to survive until rescue team gets to you. Water is the one human need we can’t go without for too long. As you will see – wilderness or your kitchen – the principle of capturing water vapour remains the same.
Where & When to Distill Water?
If you have small kids this would be a perfect rainy-day activity that can safely include the whole family. The kids will learn how to distill water and you will be able to spend some high-quality time with them. It’s always fun to be able to involve the whole family.
Alternatively, challenge your friend to a weekend out camping but with an added bonus of learning and trying out new skills. Maybe each of you can present a new skill.
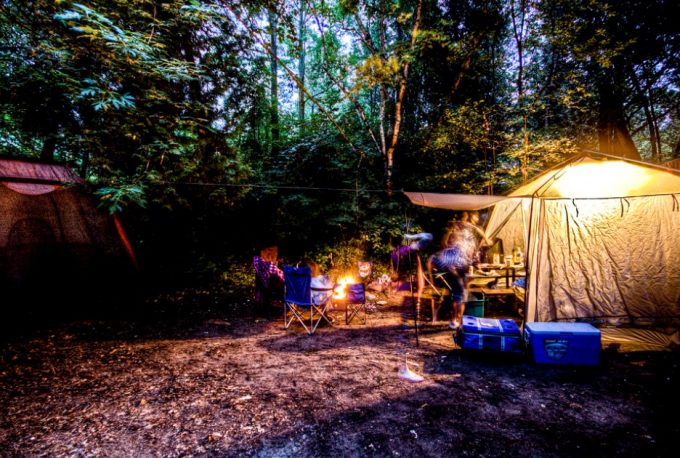
You can test all the “outdoor” ways of water distillation you just learnt yourself and maybe come up with a new one as well! You truly never know when a skill like water distillation will come in handy.
Making Distilled Water
Learning how to make a water distiller has never been easier! Here, you will find a couple of ways you can distil water at home, in your kitchen, the environment you know best. The tools needed to do it will be listed at the beginning of each process. Now, let’s play!
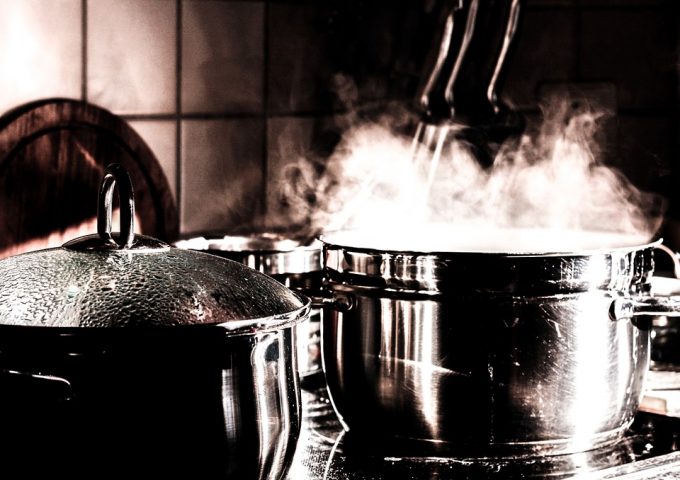
The Pot and Bowl Method
You will need:
- A big pot with a lid
- A bowl and a rack that fits inside the pot
- A bowl of ice (approx. 1kg)
- A stovetop
First, fill the pot halfway and place the rack inside it. Follow by placing the bowl on the rack. The bowl should either float or rest on the rack – depends on the height of the rack. The important part is that the bowl isn’t touching the bottom of the pot. Then, put the lid on upside down.
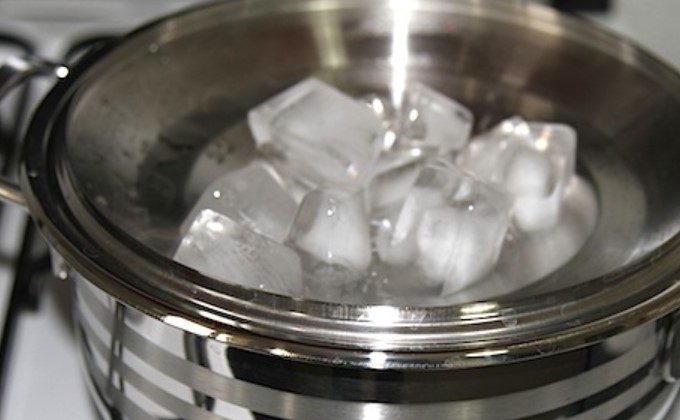
Next, put the pot on a stovetop, turn on the heat and let the water slowly come to a boil. When it starts boiling, turn it down – let it gently simmer or just keep it below simmering.
The vapour will hit the lid, condense and drop into the bowl. You can add the ice on the inverted lid to speed up the distillation process. Keep adding ice as it melts (and pour away melted one if needed).
Keep the slow simmer going for about 45 minutes. Remove the lid carefully and then take out the bowl with distilled water – preferably with gloves and/or tongs. Be careful, the bowl will be hot.
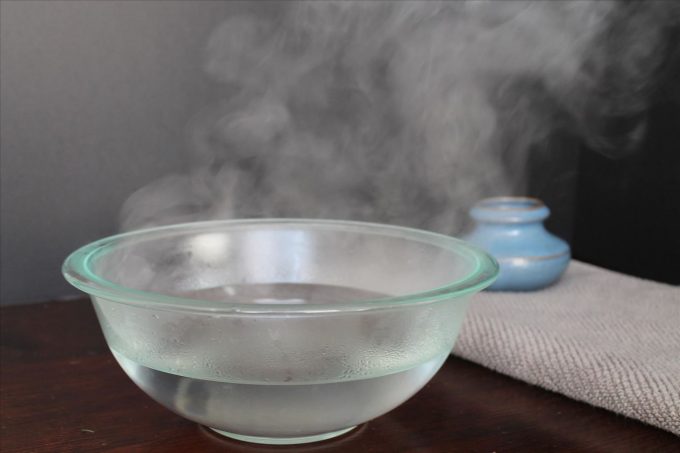
Pour the distilled water you just prepared in a clean container. If you are using a glass or a metal container, you can even sterilize it by heating it up to 120°C in the oven, which kills harmful bacteria. Allow the water to cool down in the container and store in the fridge. Use it in a couple of days.
Bent Bottles Method
You will need:
- A bigger pot
- A straight-neck glass bottle that will fit into the pot
- A bent-neck glass bottle
- Duct tape
- An ice pack
- An assistant
Fill the straight-neck bottle with water, stopping about 3 inches under the top. Connect the straight-neck bottle and the bent-neck bottle at the openings by taping them together with duct tape. Put the straight-neck bottle in the pot, filling it with water so it covers the bottle. The bent-neck bottle will be sticking out of the pot at an angle, so get your assistant to hold it.
Heat up the water in the pot so that the water in the bottle starts evaporating. To speed-up the distillation process, cover the bent-neck bottle with an ice pack.
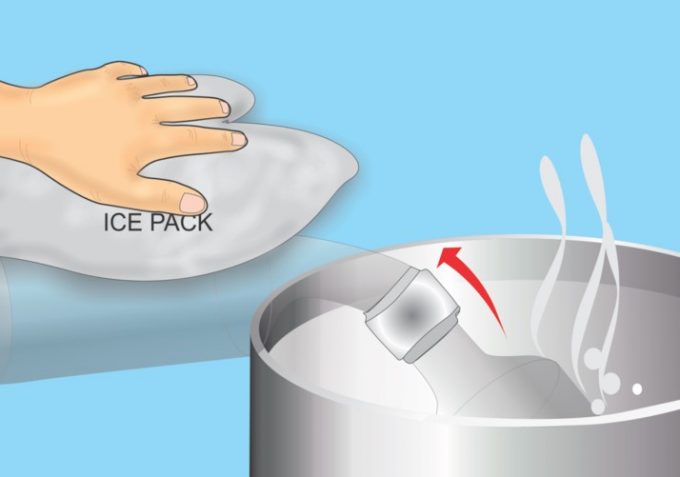
The distilled water will start accumulating in the bent-neck bottle so keep going until you reached the desired amount. Finally, separate the two bottles carefully, pure the distilled water in a clean container and wait for it to cool down. You can then store it in the fridge.
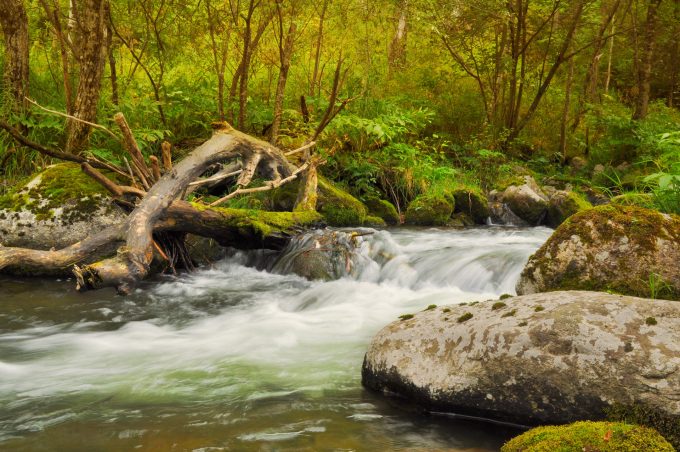
The Tarp and Hole Method
To collect water in the great outdoors, you can use the sun and natural condensation occurring in wet, damp spaces. You can do this in the summer, in the forest where the air is damp and where you get a clear sun exposure.
You will need:
- A tarp
- A container to collect water
- A couple of tent stakes
- A shovel
- An assistant
First, dig a hole that is about half the size of your tarp. So, if your tarp is 3 x 3 meters, the hole should be 1.5 x 1.5 meters. The depth depends on the soil – we suggest you go as deep as you can, make sure it is nice and square. Save the soil and the topsoil to fill up the hole after you are done.
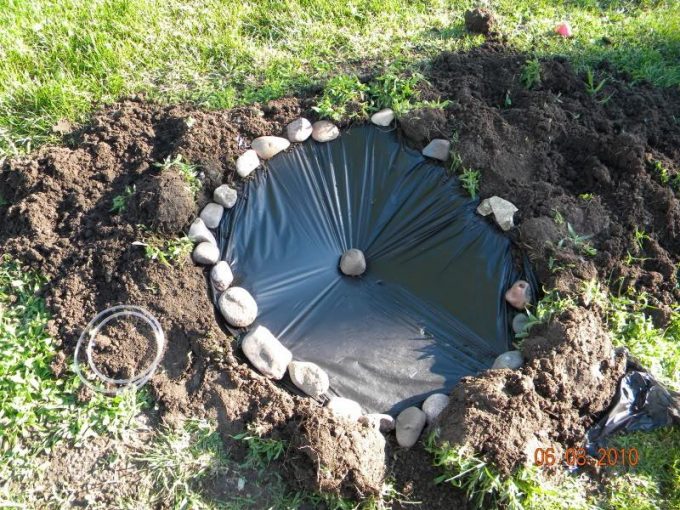
Place the container where you want to collect the water in the middle of the hole (we suggest something wider and with a flat bottom, such as lunchbox). Then, place the tarp over it and secure it at the edges with the stakes. Place a small stone in the middle of the tarp, so that it forms a slight indent right above the container.
Because the area is exposed to sun and the tarp basically covers the hole in the earth, you will achieve condensation on the bottom of the tarp. The droplets will slide down toward the indented part and dip into the container.
If the ground is not moist enough by itself (although remember, that soil contains a lot of moisture), you can add some plants such as fern under the tarp to add to the total moisture you will collect water from.
Come back in a couple of hours to see how much water you’ve collected. You can also leave this out through the night in the summer and collect dew from top of the tarp. If you collected the water away from the city and pollutants, both condensed water and dew should be safe to drink.

However – remember that whatever you have in the air will end up in the dew, so we suggest this method for truly wild environments.
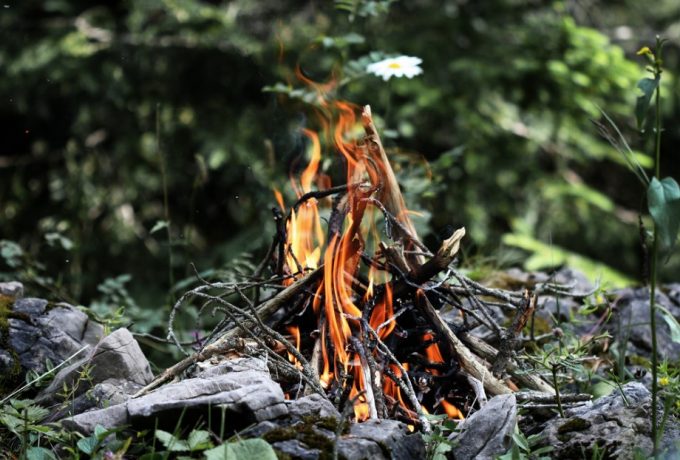
Distilling on Fire – Water/Snow/Ice
If you are camping in the winter, you can do the same process as the Pot and Bowl Method we described, but do it over a campfire.
- A pot
- A smaller container to fit inside
- Some aluminium foil
- Water, snow or ice
- A campfire
Put some ice, water or snow in the bigger pot and then put the smaller one inside. Make sure it floats and doesn’t touch the bottom. You can cover it all with some aluminium foil that is indented downwards for easier water collection. The rest of the process is the same as described in the first method.

Be careful not to poke the foil – we suggest you fold it a couple of times to add strength. You can add some ice on top to speed up the distillation process. Make sure the fire is nice and hot, but avoid heavy boiling. If that happens, move the pot away from the hottest point of the campfire.
After you are done, pour the water into a clean water bottle. Remember that you will only leave behind sediments and similar impurities. If you want to be 100% sure the water you are drinking is safe, we suggest you use a water filter as well. This way, you can be sure you will be ok and not catch a nasty bug drinking polluted water.
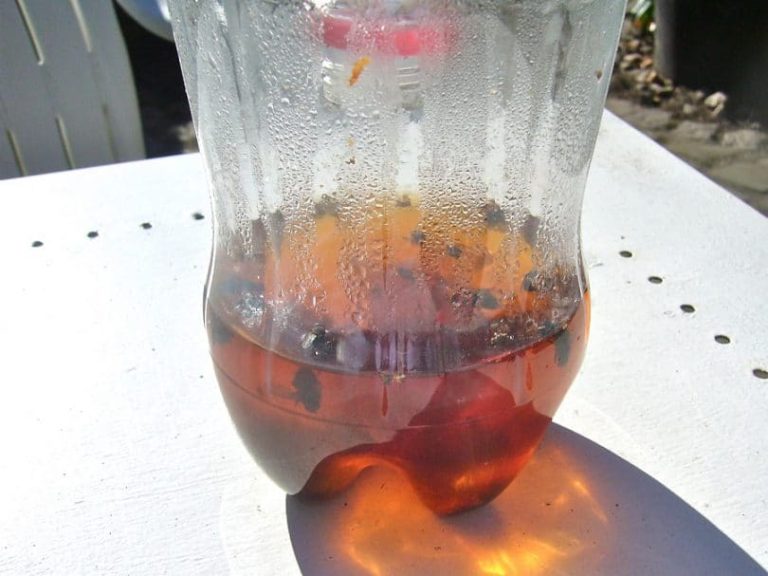
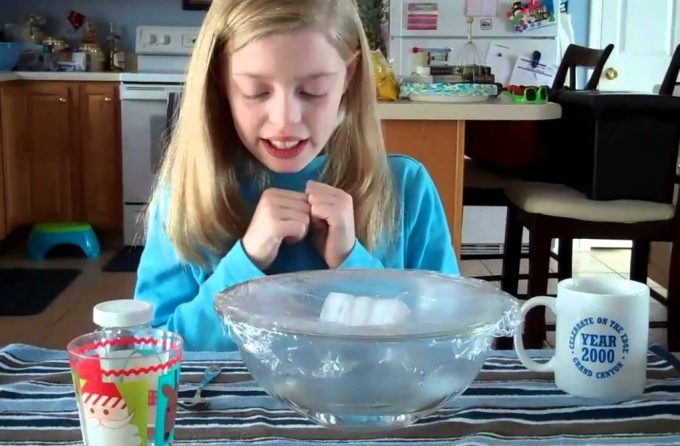
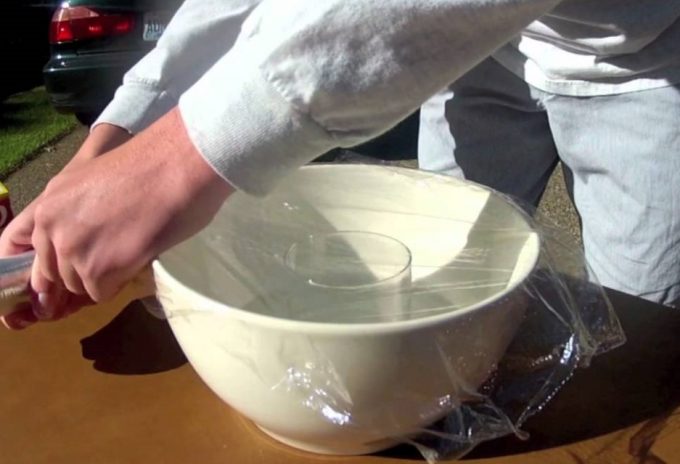
Distilling Salt Water
As an experiment or in cases of real emergencies, you can also distil seawater.
- A plastic bowl
- A glass that will fit inside
- Some plastic wrapping
- Salt or sea water
Pour the water into a plastic bowl with the glass in the middle. A couple of centimetres of water will be enough, make sure the glass doesn’t start floating. Cover it all with plastic wrapping, making sure you have that indent in the middle above the glass. Leave it out in the sun.
We suggest you leave it out over the hottest part of the day and completely exposed to sunlight. Come back in a couple of hours to see how much water you’ve collected. Due to the heat, the water evaporates and condenses on the surface of the plastic. Then it slid down into the glass.
This process is quite time-consuming, but it is a good learning experience, especially for kids to see how evaporation and condensation works. If you put just a little bit of saltwater inside and leave it all to evaporate, you should have some salt crystals left behind on the surface of the bowl. This really is a cool experiment or a piece of knowledge to have in extreme survival situations.
Stay on the Safe Side
Don’t forget that distilled water isn’t something you should rely on as your only source of drinking water. It is only a temporary solution in specific situations. Long-term use of distilled water for drinking might lead to some health issues. You have to remember that safe drinking water – either from a tap or bottled one contains certain minerals that are vital to your health and longevity.
Wrapping Up
As you can see, water distillation is not such a difficult process as you might imagine. All you need is a couple of basic kitchen items and you can get going with it. If you need to collect water in the wilderness, the logic is still the same and with some inventiveness, you can make it happen there as well.
We wanted to make sure you get all the knowledge needed to make the first step into distilling water by yourself. Granted, you can always buy some in the store, but if you are worried about it sitting in a plastic container for who knows how long, you have just learnt an alternative way of doing it at home.
If you feel like we missed a really easy or fun way of doing this, please do let us know in the comments, we love to hear from our readers!