How to Fix a Zipper: Don’t Get Caught Out
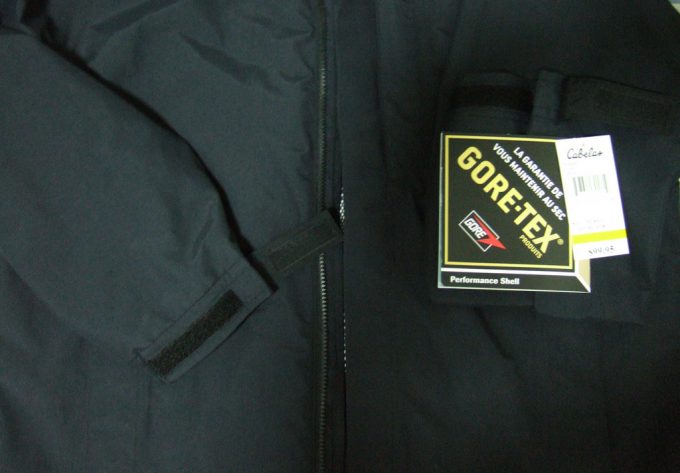
Anyone familiar with the great outdoors knows the value of investing in a good kit and looking after it. Backpacks, jackets, sleeping bags, and tents are all well worth ten times their weight in gold when you’re out in the wilderness. But what do they all have in common? The answer is simple; zippers.
See also: Best Sleeping Pad for Side Sleepers: Keeping You Comfortable on the Trail
A lot of your most important kit makes use of zippers for ease of access and security. Without the humble zipper life would be a lot more complicated, especially when on the trail. So often we come to rely on this simple design to keep our stuff safe and everything packed away. Indeed, they do such a good job we barely even notice they exist.
That is until something goes wrong of course. Then comes the cursing and shouting, as you desperately try to take your jacket off, or keep your backpack closed! When a zip fails it can bring your mood right down, but that needn’t be the case.
Anyone who knows how to fix a zipper can rest assured that with the minimal additional kit, a broken zipper will never present a huge problem. Most fixes are relatively quick and easy once you know how. Below we’ll take a look at the most common problems, how to prevent them and how to fix them.
The anatomy of a zipper
Before looking at how to fix a broken zipper it’s a good idea to break down the various components of the humble zipper. A basic knowledge of what each part is and what it does will make identifying and fixing a problem that much easier.
When you’re trying to work out how to get a zipper back on, it’s always useful to know exactly what part of the zipper you’ll need to manipulate, especially when following an online guide. Without further ado, here are the basic components of the humble zipper.
Zipper tape
This is the fabric the entire zipper is mounted on, which is later stitched onto the garment to be repaired. Widths vary depending on the style of the zipper and its function.
For example, a heavy duty jacket will typically use a wider tape than the zipper for a pair of suit pants.
Top stop
Two stoppers that are fixed above the top teeth to prevent the slider from coming off the zipper.
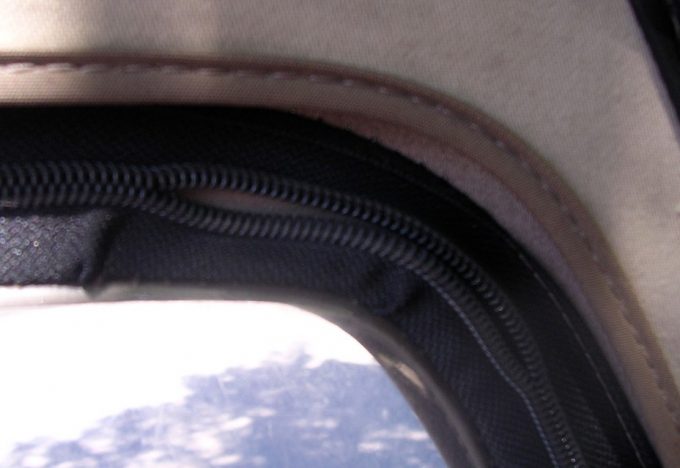
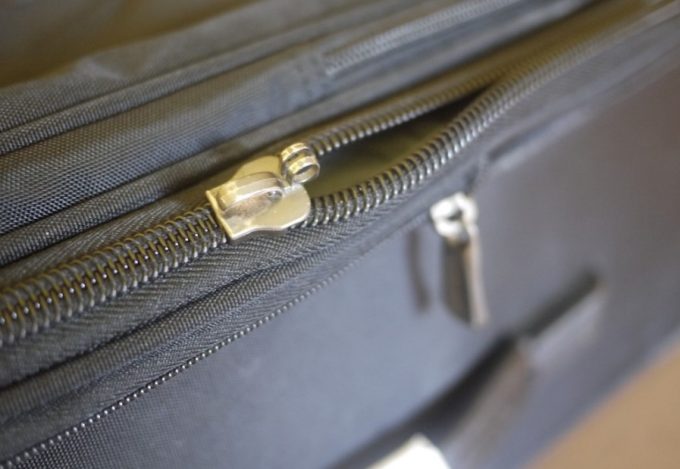
Slider
The slider is the part of the zipper that slides up and down, opening or closing the teeth as it goes.
Teeth or chain
As you may have guessed, the teeth are the individual devices that lock together when the zip is closed.
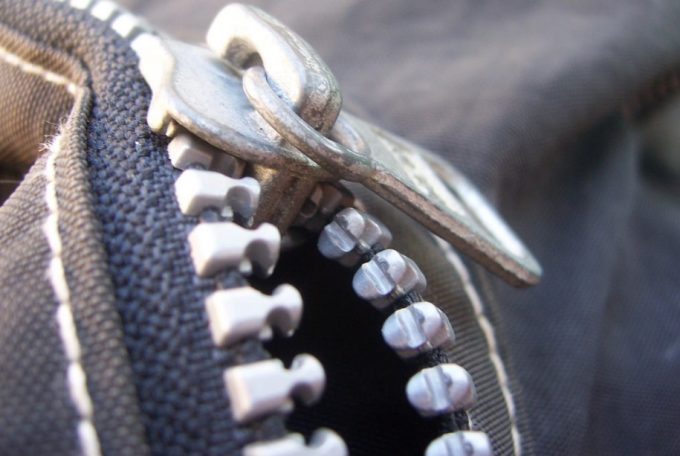
The term chain refers to the entire length of teeth, in particular when they are locked together in the closed position.
Pull tab
Also referred to simply as the puller, this is the material that is attached to the slider. It’s the bit you can grab hold of to operate the zipper. It can be made from a variety of materials, from metal to cord or plastic.
Bottom stop
Normally associated with pant zips or other zippers that are not designed to come apart at the bottom. The bottom stop is simply a strip of material that prevents the slider from dropping off the bottom of the zipper.
Bottom box
Also known as a pin box or retainer box, this is found on separating zippers, such as jacket zips. It is used to align the pin and teeth before zipping up.

It acts as a stopper, as the pin cannot come out until the zip is undone. The slider will remain on the side with the box when the zip is undone.
Insertion pin
Also found on separating zippers, the insertion pin works in partnership with the bottom box. The pin is inserted into the box, joining the two halves of the zipper together.
Separation zipper
This is a type of zipper designed to be separated when open.
You’ll see such zips primarily on coats, jackets and tent doors.
Non-separating zipper
Found most commonly on pant zippers, pockets and backpacks, as the name suggests, this zipper will remain connected at the bottom, even when open.
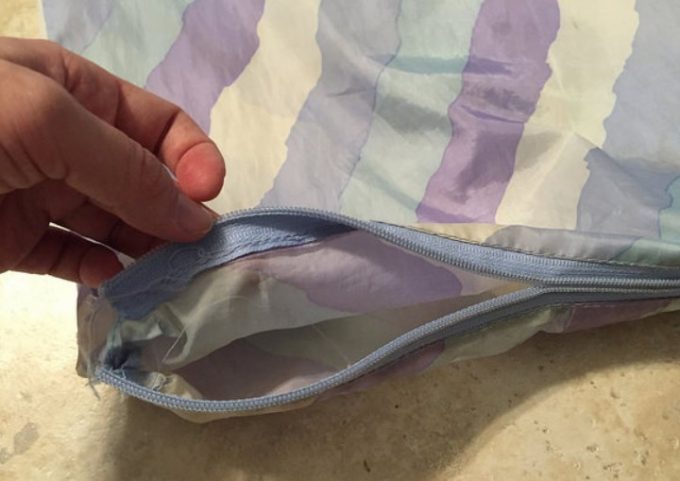
Placket layer
On non-separating zippers, the placket layer is the double layer of folded fabric that covers the bottom of the zipper, keeping it tidy and less likely to snag.
To gain access to the bottom stop on such a zipper, the placket layer will generally need to be opened. With an idea of the makeup of a zipper, let’s have a look at what kit you will need to become a fully fledged zipper repairer.
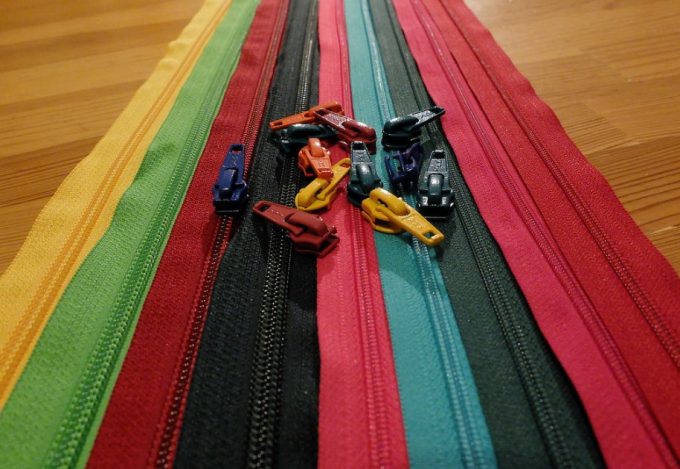
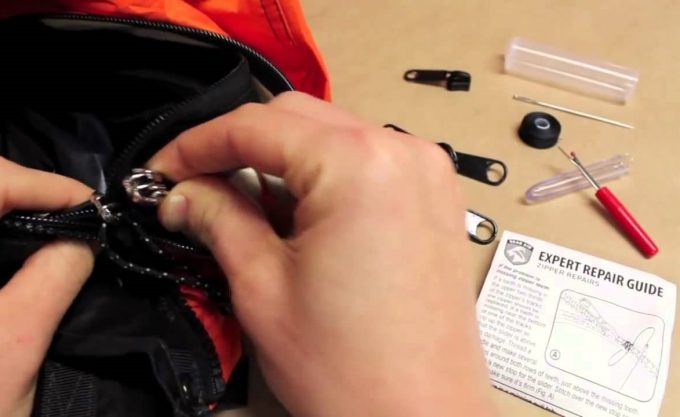
Zipper tools and kits
Most zipper problems can be fixed with basic tools, or objects laying around the house. Sometimes, however, you will be required to replace a section, or sometimes even the entire zipper. As such it’s well worth carrying a basic zipper repair kit.
These typically contain a variety of replacement components in differing sizes and styles. While they may not match exactly with the rest of the zipper, they will offer a temporary replacement until you can get your hands on matching replacements. Such kits will typically contain the following;
- Top stops
- Bottom stops
- Insertion pins
- Bottom boxes
- Sliders
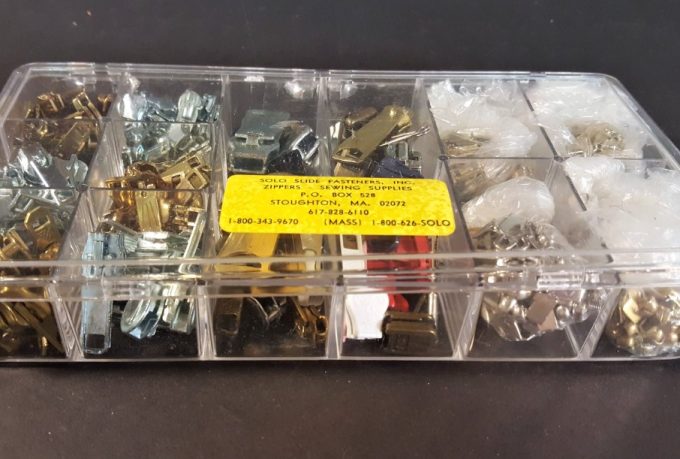
These will normally come in several styles and sizes, ensuring you can find a match for any zipper that may break. This basic set of replacement parts packs away very small and makes an easy addition to any kit.
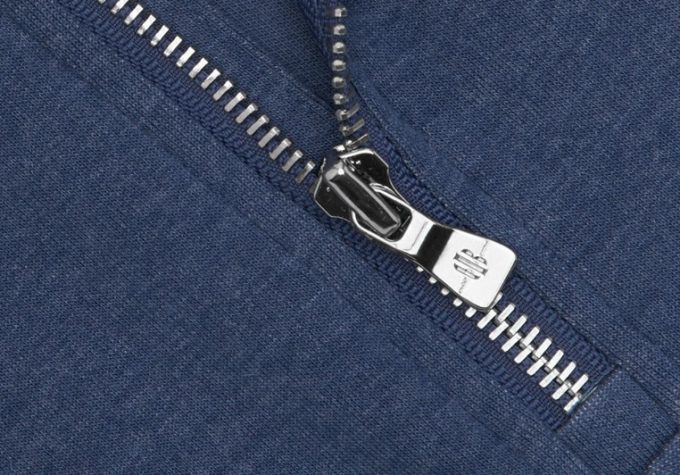
A note on zipper sizes
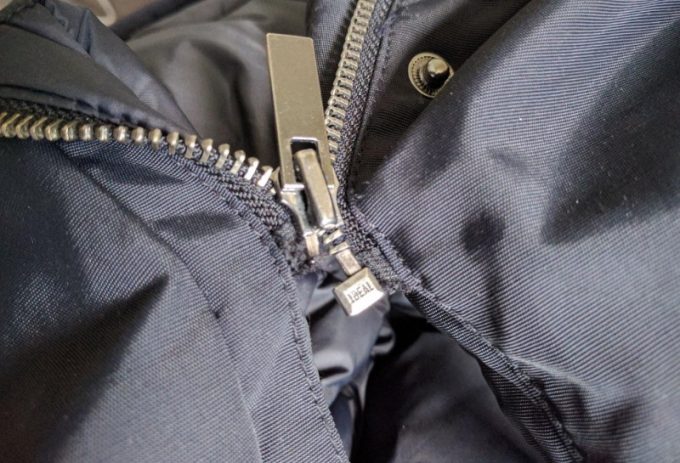
You will have noticed that zippers come in a number of sizes. Compare the zip on your outdoor jacket to the one on your wallet and you’ll see that it can vary a fair bit. You can normally tell the size of a particular zip by looking on the back of the slider.
There should be a number on the back, ranging from 1 – 10 typically. The number relates to the width of the zipper teeth in millimeters. The lower the number, the smaller the zip. Most zips for pants are #5, but may be larger for heavy duty cargo pants.
Basic tools
Aside from replacement parts, you will need a few basic tools in order to fix the majority of problems.

These are most likely tools you already have and would probably take on a camping trip so space shouldn’t be an issue.
- Pliers. The most useful tool to have with you when it comes to repairing zippers. They can be used to remove stoppers, bend teeth back into place and fix a warped slider. Long-nosed pliers are useful for getting into more awkward places, but a set of normal pliers should be okay for most jobs.
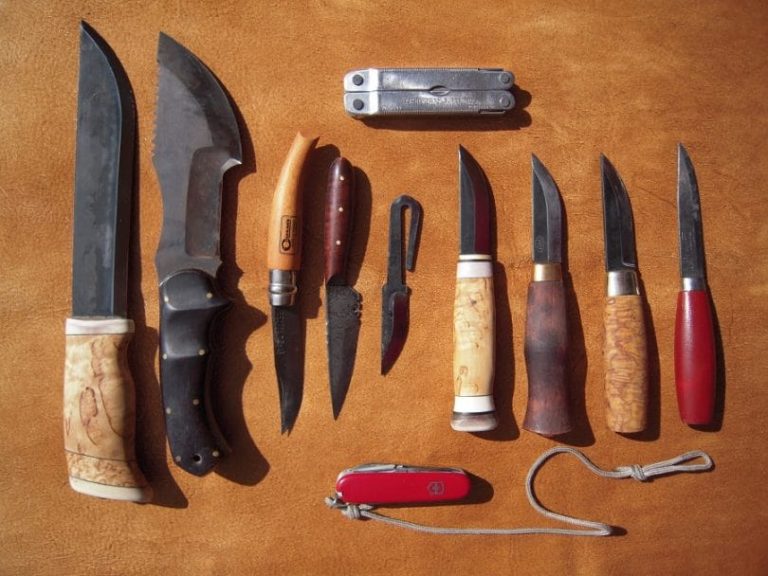
- Razor blade. Occasionally you will need to cut through the stitching to gain access to certain parts of the zip. A sharp razor blade will ensure you make a clean cut that allows the old stitching to be quickly removed and replaced. A good knife can be used in place of a razor blade.
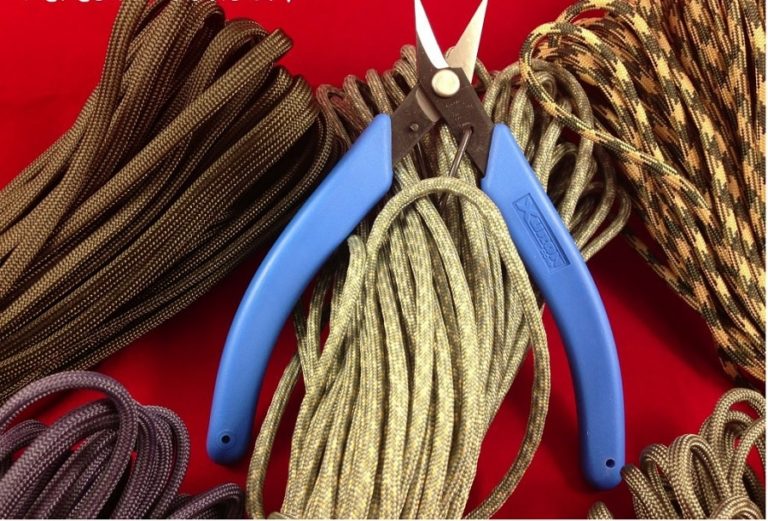
- Wire cutters. For some jobs you may need to cut off the slider. This can be done with minimal effort with a good pair of wire cutters.
- Old toothbrush. The ideal cleaning tool for zips.
- Sewing kit. Useful for patching up repair jobs.
- Small flathead screwdriver. This is very useful when you need to poke the slider back onto the zipper without removing the stoppers.
Zipper maintenance
As with most things, if you want to avoid problems when out and about, prevention is the best cure. By looking after your zippers you can ensure their longevity and avoid time-consuming problems. Most issues can be avoided by keeping the zipper cleaned and lubricated.
Cleaning a zipper
Camping trips can be dirty, especially in areas that are dry and dusty, or wet and muddy. Dirt travels and can soon be all over your gear. Zippers can quickly become clogged with grime and dirt, causing them to malfunction.
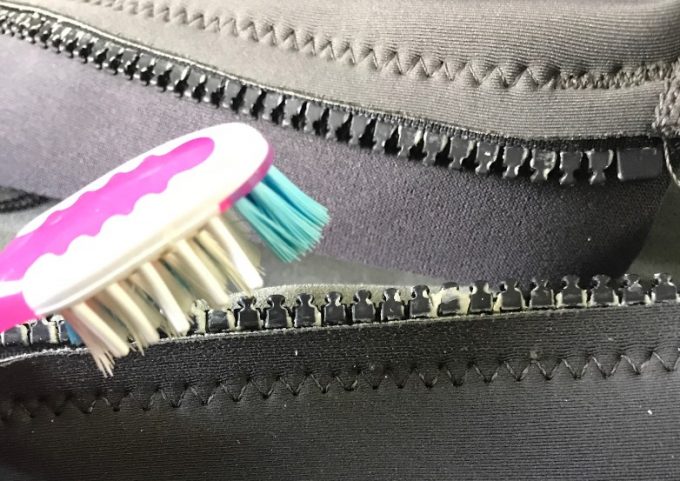
Indeed, nine times out of ten, the cause of a stuck zipper is dirt clogging the teeth. If you have been out in dusty, dirty conditions, it’s well worth washing all zippers with warm soapy water. Simple dish washing liquid will suffice.
Use a toothbrush to really get into the teeth, as there will often be dirt where you can’t see it. Once the entire zipper has been scrubbed, rinse off with warm water and check that the zip functions correctly.
Lubricating a zipper
Once the zipper is nice, clean and clear of dirt it’s a good idea to lubricate the teeth. This will prevent further dirt from getting in easily, and will allow the parts to function more easily. Avoid oil based lubricants as they can attract grime and soon clog up the teeth.
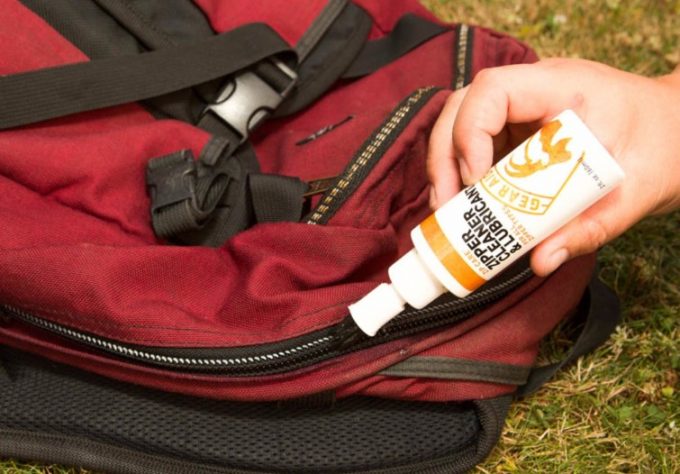
Instead, use a pure silicone lubricant to regularly keep your zippers in check. It’s especially important to lubricate your zipper after being exposed to dusty, wet or dirty conditions, to prevent rust and sticking.
Preventative measures
You can avoid excess amounts of dirt and strain on your zips by following a few key points.
- Keep zips closed when erecting tents to prevent any grit getting in the teeth. Keeping them closed also prevents you from stretching the tent too taut, thus reducing strain on the zipper as well.
- Never zip over wet or dry mud. If there is dirt on your zipper clean it off before zipping up. This prevents the mud from spreading further up the zip and getting into the places you can’t see.
- Regularly lubricate your zippers to keep them in top shape.
- Avoid forcing your zips. If they are stuck, be gentle. Slowly ease them and use lubrication if necessary. Forcing them only increases the risk of further damage. For tents, if the zip will not slide easily it is possibly caused by the tent being too taut or too slack. When pitching your tent be sure to test the zips regularly to ensure they will operate smoothly and without straining.
- Never overload your backpack (or any packs for that matter) to the point that the zips are ready to burst. Zippers can only take so much strain and are likely to burst if pushed past their limits.
- Take care with zippers. It doesn’t take much longer to pull a zipper carefully than just yanking it. As you pull it closed, check for sticking points, fabric getting caught in the zip and any bent teeth.
For more information on how to repair tent zippers, see our must-read article on this topic.
Common problems and how to fix them
There are many ways that a zipper can let you down, from simply getting stuck, trapping you in your clothes, to the embarrassing pant zipper that insists on falling down. Fear not, the most common issues are listed below, as well as how to fix them.
Some fixes are quick and easy and require the bare minimum of tools, while others require a little more tinkering with. All in all however, none of the following fixes are brain surgery, and none require any more than basic tools and the occasional replacement parts.
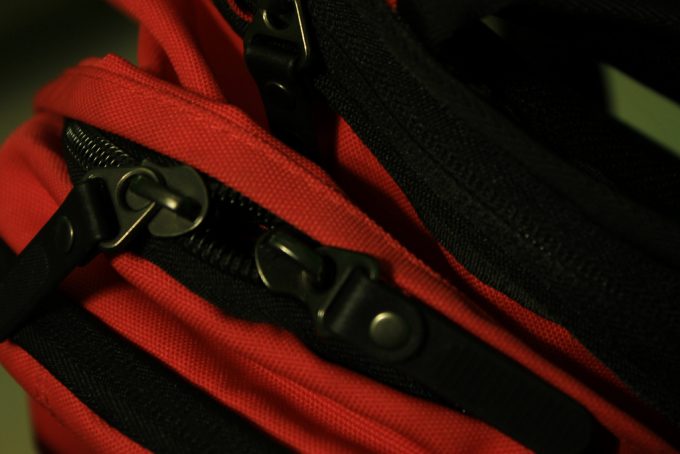
The slider keeps dropping
This problem, while mildly embarrassing if it’s your pant zipper, can be more serious if your backpack or jacket is affected. Sadly a permanent fix requires replacing the old zipper with a new one. However, there is a very quick and easy temporary solution, that requires no tools and simple objects you can find around the house.
On pants, simply attach a keyring, paperclip or rubber band to the slider or pull tab. Then, when the zip is fully closed, hook the ring or band onto the button of your pants. The same solution can be used on a backpack with a double zip, by attaching the two sliders together.
A stuck zipper
This is probably one of the most common problems and a variety of factors can lead to this issue. Dirt in the zipper, fabric caught in the teeth or a bent tooth are all common issues. First check that the none of the teeth are damaged or bent. If there are any that are bent, grab your trusty pliers and bend them back into position.
Try your zip again and it should work. If there is fabric caught in the zip, first try to carefully pull it out. Gently attempt to ease it down and out of the slider. You can use pliers but don’t pull too hard as you might cause more damage. Wiggle the material a bit, pull the zip up, while pulling the fabric down.
If the fabric is stuck fast it’s time to break out the big guns. Windex is a useful tool and will lubricate both the fabric and the zipper, allowing it to slip free. Test a small amount of Windex on the material first to ensure it doesn’t damage it at all.
Next soak the area that the slider is stuck in with Windex and gently wiggle it while moving up and down. Apply more lubrication and slowly work the slider up and down until it moves freely.
If the zipper is stuck but all the teeth look okay and there is no fabric caught, you will need to lubricate the zipper. The cleanest way to do so is to use a graphite pencil, rubbing the zipper and working the slider down. This will normally be enough, but if it’s still not budging you can try a number of other household items:
- Bar of soap
- Petroleum jelly
- Candle wax
- Crayon
- Silicone lubricant
- Windex – if it’s really stuck!
They key is to be firm, but gentle. Keep a good grip on the zipper and ease it down rather than trying to force it. Wiggle the slider and move it up and down for the best results.
Slider has come off (separation zipper)
This is mostly due to the top stop being missing or damaged. You will need to have a replacement stop top to do the job. Fit the slider back onto the side of the zip with the bottom box on.
If you want your stoppers to match, remove the other one using pliers and pulling hard. Attach the new top stop(s) directly above the top teeth and crimp them firmly in place with pliers.
Slider has come off (non-separating zipper)
Caused by the same issue with the top stops, it’s a bit more complicated to fix on a non-separating zipper and will require a bit of sewing. To replace the slider you will need to cut open the stitching on the placket layer at the bottom of the zipper in order to gain access to the bottom stop.
You have to put the slider on from the bottom, otherwise it will zip up the wrong way. Remove the bottom stop using pliers and pulling hard. Slide the slider up both sides of the zip about half way, ensuring it is the right way up and facing outside. You will then need to replace the bottom stop.
Put it directly below the bottom teeth, push the prongs through the fabric and use pliers to crimp it firmly in place. Attach a replacement top stop as above. Test the zipper works before sewing the placket layer back up.
Missing teeth at the top or bottom of the zipper
From time to time the teeth of a zipper may fall off. This isn’t an issue if they fall off from the top or bottom, you simply need to place new stoppers where the gap is to prevent the slider from falling off. If it has come off from one side, use a small screwdriver to relocate it.
Pull the zipper up about half way and attach the new stoppers at either the top or bottom in the same way as above. Be advised that for nonseparating zippers you will need to open up the placket layer to gain access to the bottom stop.
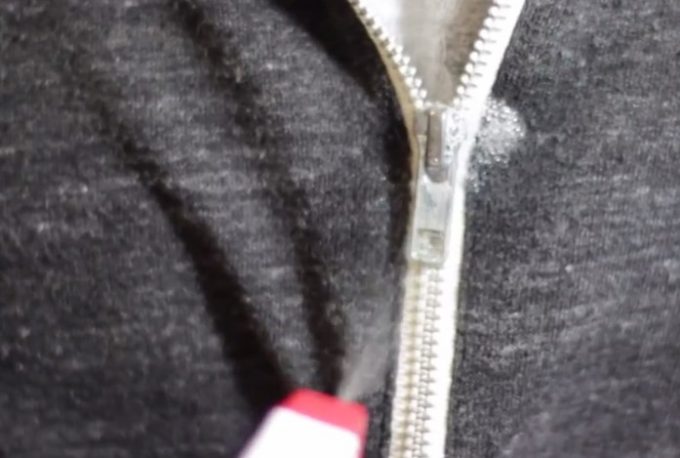
Split zipper
There are several causes for a split zipper, such as overloaded bags and strained zips. To fix this simply empty your bags until the zip isn’t strained anymore. The more common issue, however, is a problem with the slider. To inspect it, remove the top stop(s) and pull the slider off. Have a look at the gap and check that it is even and straight.
If it’s warped the teeth will not crimp and close. This issue can be caused by trapping the zipper in a door or heavy object, or can just be down to general wear and tear. The best thing to do is to replace the slider, but if you don’t have a spare, you can normally bend it back into shape using pliers.
Test it and if it’s working, replace the relevant stoppers. Remember for non separating zippers you will need to remove the bottom stop in order to replace the slider from the bottom.
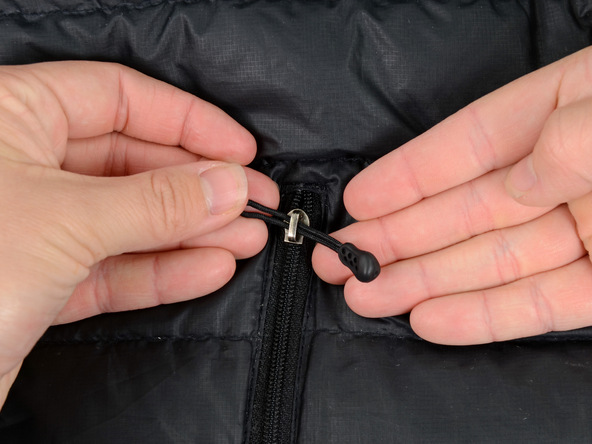
Broken pull tab
A broken pull tab can be temporarily replaced with string, a keyring or something similar. Most kits don’t have replacement pull tabs and it’s normally a good idea to replace the entire slider.
Replacing the entire zipper
Occasionally no amount of tinkering will fix your zipper and you will be required to replace the entire zipper. This is a good skill to know, especially in the wilderness as a broken zip can lead to many problems. If the zip on your tent was to malfunction you could be inviting a number of pests in as well as the cold.
You will of course need to be carrying several spare zips of varying sizes in order to be prepared for any eventuality, though they take up very little space. It can take a little practice to get it right each time and ensure that the teeth all line up, but practice makes perfect.
A zipper that has rusted and no longer slides will need to be replaced, as will any zipper that is missing teeth from the middle of the chain. Here’s how you do it.
- First of all you will need to remove the old zipper. Use a razor blade to cut away the old stitching, taking care not to cut too deeply into the fabric.
- Next, cut the top and bottom of the tape on both sides and pull the old zip off.
- Take your new zipper and unzip it. Put one side in place and secure it with pins and loose stitching.
- Take the other side and zip it up to ensure the two sides are properly lined up.
- Pin the second side in place and unzip.
- Secure the second side with more pins and loose stitching, then test the zip again.
- Once you’re happy with the placement, it’s time to stitch it in place. Keep the zip closed for this to ensure the teeth are aligned.
- If you have access to a sewing machine, attach a zipper foot and use the machine to secure it in place.
- You can sew it by hand, taking care to prevent the two sides moving at all.
- For additional security or heavy duty zippers it’s worth double stitching the zipper in place.
A stitch in time saves nine
With that you’re now fully prepared to handle any zipper problems you may be faced with in the future. The key is to avoid and prevent any issues in the first place by keeping all your zippers unstrained, clean and lubricated. This is especially important after hard use and expose to dirty, wet or dusty conditions.
Sometimes no amount of maintenance or preventative measures will stop a zip from splitting or becoming stuck. With that in mind it is well worth carrying the tools and equipment needed to replace and fix any problem you may face. They won’t take up much space, and you’ll be glad you brought them when your sleeping bag won’t close! Do check out our informative piece on how to repair sleeping bag zippers for your reference.
Just remember that with a little practice, most problems can be fixed relatively quickly and effortlessly and it’s rare that you will need to replace the entire zipper. But a broken zip should never mean that you need new equipment. It’s amazing how many people will throw out perfectly good kit just because they were unable to fix the zipper. Don’t fall into that camp!