How to Clean a Sleeping Bag: Make Your Bag Last Forever
Your sleeping bag is one of the most loyal companions on your camping trip. It will keep you warm during the chilly nights and enable you to wake up feeling well-rested and ready to tackle on new camping challenges in the morning.
That is why it is crucial you know how to clean a sleeping bag and take proper care of it. If you make sure to take good care of your bag, it will take an even better care of you!
[the_ad_group id=”21″]
Camping tripsare almost addictive: once you start enjoying camping and waking up in nature, there’s no way back. However, things can get messy and the expensive camping equipment can easily get dirty and ruined. Your sleeping bag has to fight off not only against the dirt and water as its enemies but also against your body sweat and odor.
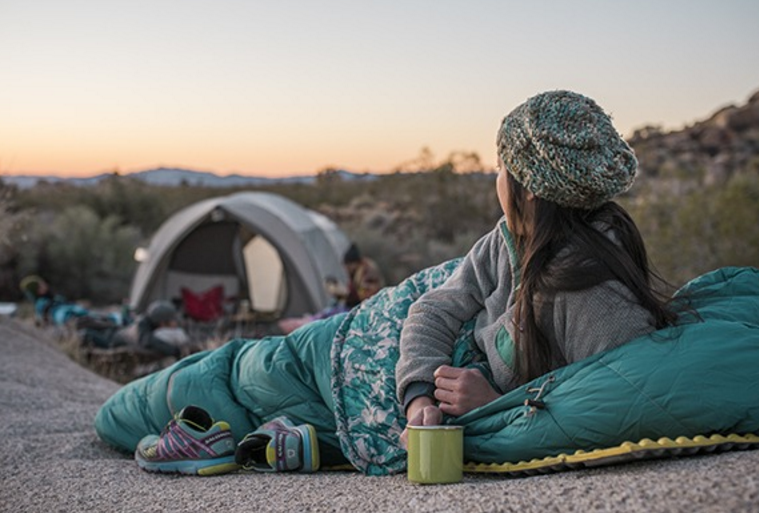
Yet, if you regularly clean it and wash it when necessary, as well as store it properly after your trip is done,your bag will stay in a decent shape for what would seem like forever.
Even the cheapest sleeping bags know how to appreciate theproper care given to them; thus, you can be sure that the durability of the sleeping bag will be extendedfor many years.
Keep it clean longer
To anyone just starting out their camping career, it might come as a surprise to learn that there is no need to wash the sleeping bag after every camping trip in order to clean it. Washing it too often might damage the insulation and the bag will lose its ability to keep you warm.
See also: How to Wash Down Sleeping Bag: Properly Keep Your Gear Longer
Typically, washing it once per year would suffice for most campers. Of course, the more you use your sleeping bag – for example, every weekend – there will be a more frequent need to wash it.
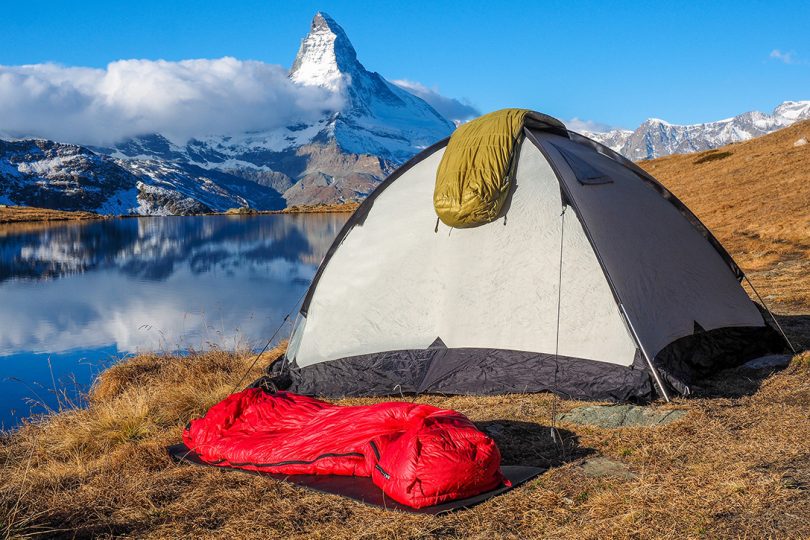
In order to keep it in a good shape, clean it and freshen it up during and after each camping trip. Ensuring you do the little things will save you from the big headaches when you would have to deal with a stinky and grimy mess up in the mountains.
During the trip
Air your sleeping bag daily
In order to not forget to do this, you can do it as a first thing in the morning. After waking up, turn it inside out and leave it in the sun. Ten to fifteen minutes a day would be more than enough to get rid of all the bad smells.
It doesn’t cost anything and yet, it is a proven method to keep your bag fresher for longer. Though, don’t leave it for too long, as the UV rays can damage the fabric.
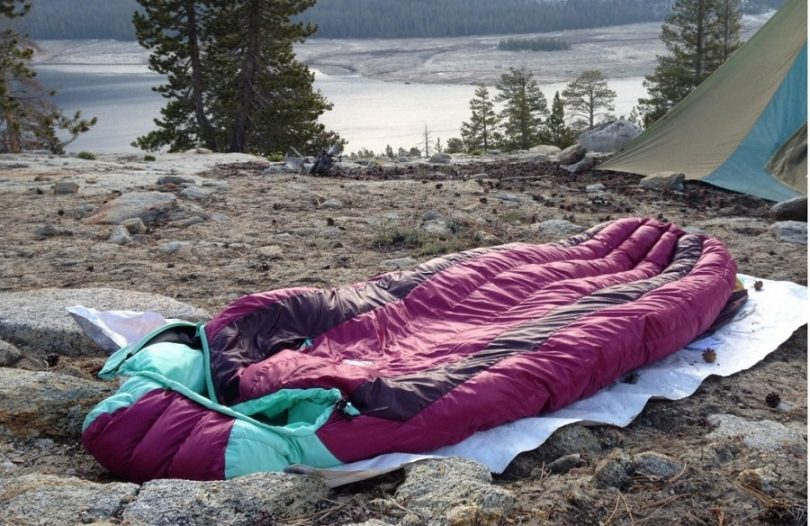
Sleep in clean clothes
It can be tempting to just tuck in after a long and exhausting day, but you won’t be doing your bag nor yourself a favor – every smell will just get stuck inside with you. This should also be the case if you’re cooking something. No one likes to spend a night rolled in a bag that smells like food or fire.
Always change your clothes and use clean, long-sleeved underwear before slipping into the bag. Make sure to wash your face before going to sleep – sunscreen and bugrepellent can leave spots on the fabric of the sleeping bag.
Use bag liners
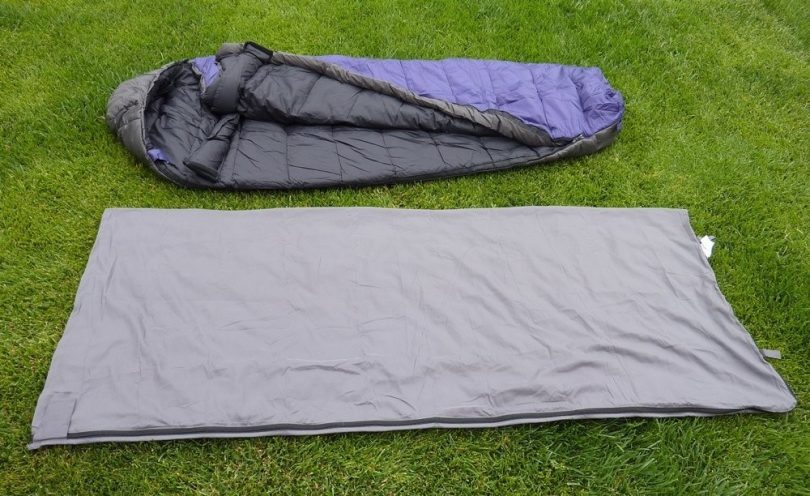
Sleeping bag liners are usually made out of cotton and they will do wonders for your bag. Think of it as a sheet for your bag – you would use it the same way you use sheets for your mattress. See our article review of the best bag liner for reference.
Also, not only will the liner keep the bag cleaner, but it will also add an additional layer of insulation. Remember – it is easier to wash and dry a cotton bag liner, rather than the whole bag.
After the trip
Spot clean it with a toothbrush
This is the easiest way to ensure your bag will stay cleanin the long term. Since it takes a while for the bag to get completely dirty and smelly, freshening it up with a toothbrush will get it ready for your next camping trip in no time.
You will only need a soft toothbrush, some mild, non-detergent soap, and a small cup to mix it all in. Mix the soap with some warm water and make a paste. Don’t make it too liquid – it will soak the fill as well.
The goal is to clean the shell (the outer layer) of the sleeping bag, rather than soaking the whole thing. Don’t forget to wipe it clean with a dry towel after finishing up so you clear off any remains of the soap.
Air-dry it before storing
Ideally, you would air-dry it for an hour or two out in the sun. Don’t leave it out there for too long – sun rays can be damaging to the fabric. If you think you might forget your bag outside in the sun, maybe hanging it up in the garage or in the bathroom could be an option. Nonetheless, don’t pack it in until there is no smell coming from the bag.
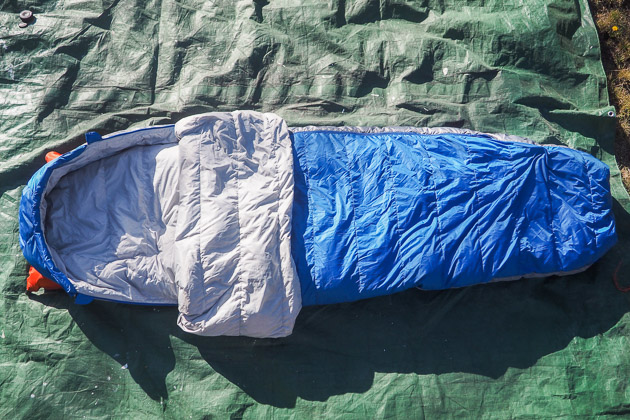
Ways of washing the sleeping bag
Eventually, no matter how good you take care of it, there will come a time to completely wash, soak and clean your sleeping bag. The aim is to prolong the time between two washes in order to preserve the material of the bag.
There are two ways of washing a sleeping bag:
- Hand washing;
- Machine washing;
Both ways have their pros and cons. Even though experienced campers tend to incline slightly more towards hand washing it, not everyone has the time nor the equipment to do it properly and some choose to machine wash it – as long as the manufacturer approves it, there’s nothing wrong in doing so.
[the_ad_group id=”22″]
It is essential to point out that before washing it, you should first check if your bag has any tears or any other damage on the shell. In case there is some damaging, make sure to repair it first, because the water might damage the fill of the bag and make it unusable. Can you imagine what would happen to, let’s say, the down if water got inside?
Picking which washing method is the most suitable for you is an individual decision and should be based on the type of bag you own (down or synthetic) and the instructions it came with. If you’re not sure how to do something, take the time to research and double-check each step in order to not ruin your sleeping bag.
Hand washing
Passionate campers, and especially those who invested in a more expensive sleeping bag, prefer to hand wash it rather than put it in the washer.
In order to do this, you’ll need:
- A bathtub;
- Some mild detergent (note that there are some special detergents made for hand-washing sleeping bags);
- Your dirty sleeping bag;
- Zip your bag and turn it inside-out.
Even though it may look like the outside is dirtier due to the fact that you can see the actual dirt, the really dirty part is the one on the inside.
- Fill the bathtub with some warm water and mix the detergent in until it has completely dissolved.
Pay attention to the temperature of the water – you don’t need anything too hot.You can use cool water only if that’s the recommendation of the manufacturer.Also, don’t use too much detergent as it will be difficult to rinse the soap off the bag.
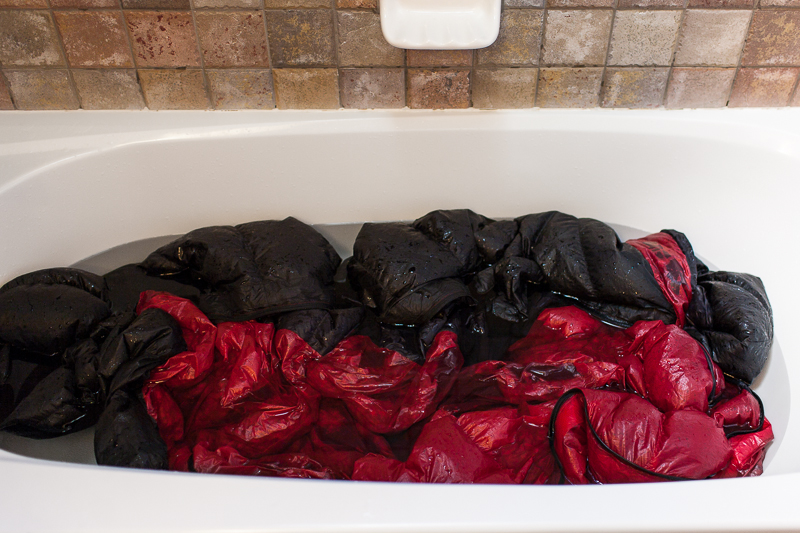
- Put the bag in the tub and make sure water fully covers it. It’s the best if you lay it down and gently start applying pressure to the bag and submerging it under water.
- Allow it to soak for at least an hour. This is a crucial step in hand-washing the bag. This way, the soap can work its way and dissolve dirt. However, it’s probably for the best if you don’t leave it for too long, as that can ruin the insulation.
- Wash the sleeping bag. After soaking for a while, it will be easier to extract dirt from it. Use your hands and carefully work your way around every corner of the bag. If there are some stubborn stains, you can use a soft brush, but very gently and slowly in order not to sear through the wet shell. Some people prefer to step into the tub and walk on top of the bag as if they’re stomping grapes.
- Drain the tub. After washing the bag, it’s essential to let the dirty water out. Don’t get surprised when you see how much dirt there will be – after all, you did take the bag camping.
- Rinse the bag. You will achieve this by filling the tub back again with clean water and carefully rubbing the bag. After being done, let the soapy water out. Repeat as many times as necessary until there is no more soap coming from the bag.
- Carefully start squeezing water out. Watch out – you should never, ever wring out your sleeping bag or you’ll end up with a lumpy mess. You could start by gently rolling the bag and pressuring it along the way.
- Take the bag out. This is the hardest part because the bag will be heavy and the stitches of the bag may easily tear up. Don’t attempt to forcibly pull it out of the tub or you’ll end up with a bag split in half. Some people prefer to have a wheeling cart onstandby on which they can put the rolled-in bag and carry it like that.
Machine washing
The majority of sleeping bags can be machine washed; still, it’s for the best you check yours is the appropriate kind before putting it for a wash.
In order to do this, you’ll need:
- A front-loading washing machine (the agitator on a top-loading machine will damage the sleeping bag);
- Some mild detergent (note that there are some special detergents for machine washing sleeping bags);
- Your dirty sleeping bag;
- Zip your bag and turn it inside-out. When machine washing, it’s also essential to check the zippers and make sure they’re tightly zipped –they can damage both your washing machine and the bag itself.
- Put it in the machine and use a small amount of the appropriate detergent.In order to not ruin the fabric, use a recommended detergent and in small quantities so the machine can rinse it off easily.
- Set the machine. Use the ‘gentle cycle’ or the ‘handwash’ setting on your machine. That way, the bag won’t be exposed to too much spinning. If your machine has a temperature regulator for the water, choose ‘warm’ instead of ‘hot’.
- Do an extra cycle of rinsing. Some washing machines have this option, while on others, you’ll have to manually run a whole other wash-and-rinse cycle without actually using soap.
- Take the bag out and proceed to drying. Again, be extra careful when removing the bag from the washing machine. Although it won’t come out soaking wet, it will still be wet and heavy. Don’t pull too strongly or you might tear down the sewn patches. Have a wheeling cart or something similar on standby so it helps you carry it around.
Let it dry
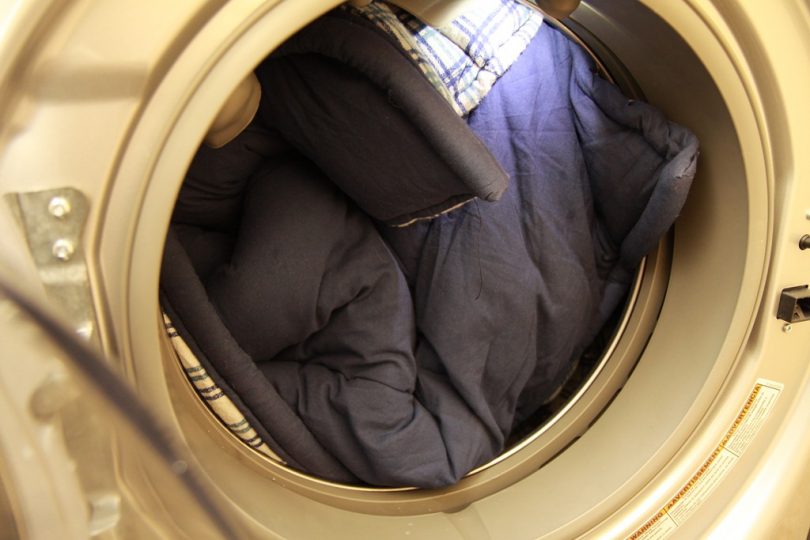
It’s essential to do the drying part right. Think of it as restoring the bag back to its original shape. You have two alternatives:
A dryer
If you decide on using a dryer, be wary: the dryer has to be large enough to comfortably fit the sleeping bag without squeezing it too much. An ideal dryer would be the one where a human can fit as well!
Always use the lowest heat possible. Some people share that even that was too high for their bags and melted the synthetic material. If that’s the case with you, do frequent stops and open the dryer every 15 minutes or so to let heat out. It will take about 4-5 hours on average to dry a sleeping bag – anything quicker might end up with a disaster.
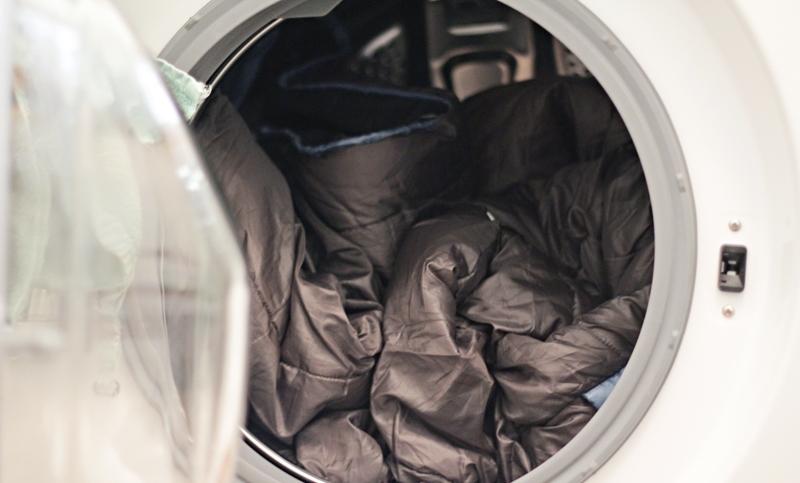
Also, if you opt for the dryer option, never put a soaking wet bag inside. Allow it to drip-dry first!
If drying a down sleeping bag in a dryer, add a few tennis balls inside – it will help break any potential lumps that might appear on the surface and restore its fluffiness.
Drying on its own
If the day is warm enough, you can let the bag dry on its own. Taking that you have enough time on your hands, this is probably the best way to dry it – however, it’s the longest. On average, it may take a full day for the bag to dry.
Take it out on and be careful to not expose it directly to the sun – a partial shade would do wonders. One alternative is to lay it down on a clean surface, such as on a thick beach towel placed outside. Another one is to hang it up across a rope; though be careful not to rip the bag while placing it like this.
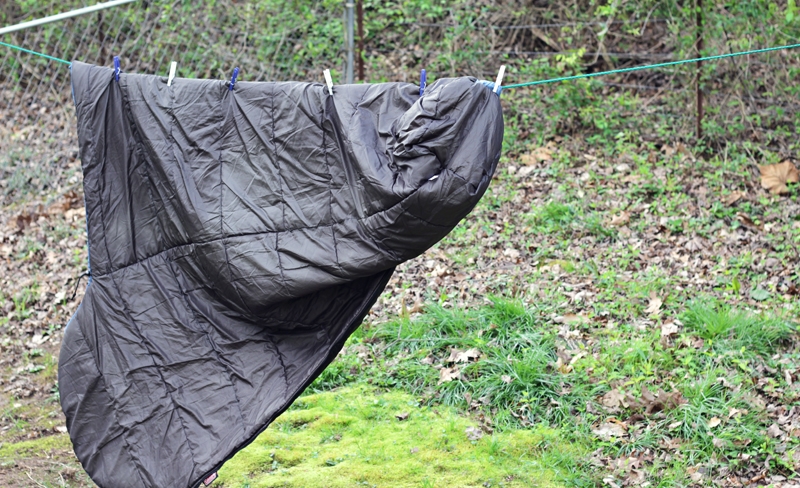
If air-drying like this, go regularly and check the fill of the bag – you might need to tap it and break any potential lumps that could appear on the surface.
What not to do to your bag
Nevertheless, now is a good moment to point outto a couple of extra tips. While some companies swear that their sleeping bags can be dry-cleaned, the camping community advises against it.
The chemicals used during the dry-cleaning process are very strong and can do great damage to the bag. It also wouldn’t be a good idea to bleach or iron your sleeping bag as that would completely ruin the fill.
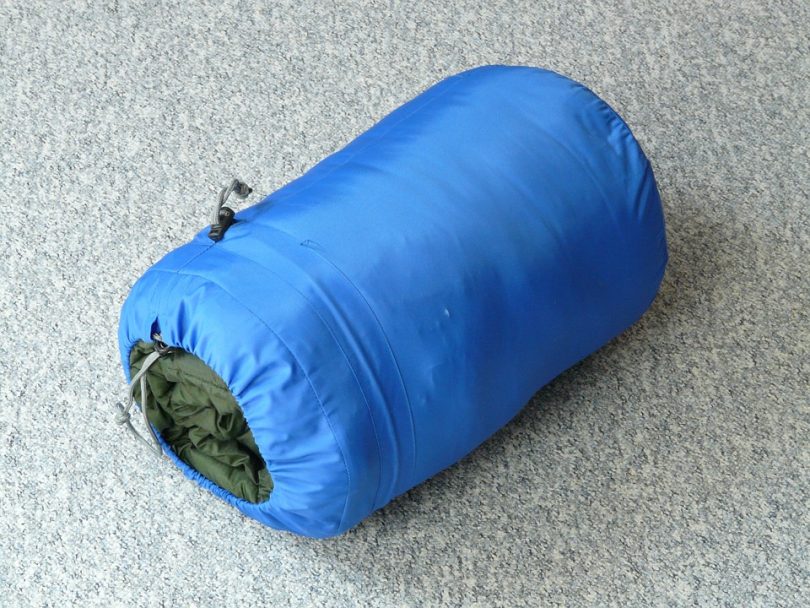
Some are reporting that they’ve added a fabric softener in order to help fight off the smells. However, it’s best to stay off of fabric softener – most of the bags treated with softener ended up ruined due to the chemicals inside the softener.
If you’re washing a bag that is waterproof or water-resistant, you should know that each time you wash it, the water will reduce those features. But the good news is that you can buy a waterproofspray that would restore them and make the bag almost as good as new.
Wrapping it up
Before (literally) wrapping your bag and placing it in storage, the most important thing would be for you to wait until it’s completely dry. If wet, or even damp, mold might appear inside the filland ruin it, or the bag may lose its fluffiness and end up flat and unusable.
[the_ad_group id=”23″]
Also, be careful on the actual wrapping – it’s okay as long as it’s for short periods of time. For example, storing it like that for a few days while waiting for your next camping trip is not that bad, but it’s a definite no for long-term storing.
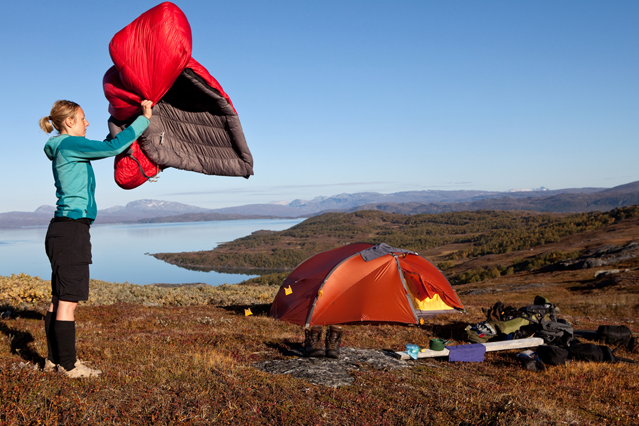
Store the bag in an appropriate size case – think of it like a giant pillowcase, or even better, use a giant pillowcase! – that would allow you to keep it flat in a space with some good ventilation. For the top ultralight sleeping bag, check out our article on this.
So as long as you’re following instructions, cleaning and maintaining your sleeping bag should be easy enough. Treat your bag gently and it will serve you for many more camping trips to come.



This has been a very helpful article. I’ve been too scared to wash my Feathered Friends Egret. I have been using it for about a year and a half now, and have been keeping up with the maintenance cleaning, but it is starting to get pretty smelly. One of my biggest concerns was actually the first stage of drying when it is still dripping wet. I hadn’t thought of rolling it and and squeezing it. I was planning on just wringing it all out, so I’m glad I saw your warning. What detergents do you recommend?
Glad it was of help to you! Cleaning is I like least after a trip, but this doesn’t mean I have to be careless with the things I use. I use non-detergent soap, same as the ones used for baby clothes.
I have been looking to buy a better sleeping bag or quilt as of recent. I currently own the Kelty Cosmic Down 20, which I haven’t been too afraid of messing up since it’s not too expensive. I have been looking at the Enlightened Equipment Revelation, but have been worried about the high price tag and somehow ruining it. This article was helpful in learning how to properly wash and care for a down bag, and has lowered my worries about buying a more expensive bag.
Glad you’re able to draw some helpful points from the article! Both of the brands you’ve mentioned are durable. Just make sure to follow the cleaning instructions and reference this material as well.