How to Care for A Blister: The Blister Blues
For many people, the outdoors simply call to them. A pulling of sorts will drag people out into the woods to experience all types of adventure, from the smallest hill to the darkest woods. No matter what task you have in your mind for any particular outdoor adventure, you don’t want anything slowing you down or throwing you off your game. That’s why this article will give you the information you need to properly care for a blister.
[the_ad_group id=”21″]
In the grand scheme of things, blisters aren’t that big of a deal, but the great outdoors are called “great” for a reason. The outdoor world is big and unpredictable, and in order to be as safe as possible, you want to have your wits about you.
Blisters take away from that. They distract you, pulling your focus away from the fresh air around you and toward the small source of discomfort. Normally, blisters are going to develop on your feet, but the treatment plan outlined in this article can absolutely apply to other blisters you find on your body as well.
Prevention
To have your best shot at preventing blisters, you need to understand what causes them. Blisters are caused by friction, most commonly found in your boots. When your foot or toe is sliding around in your boot or sock, what’s referred to as a “hot spot” will form.
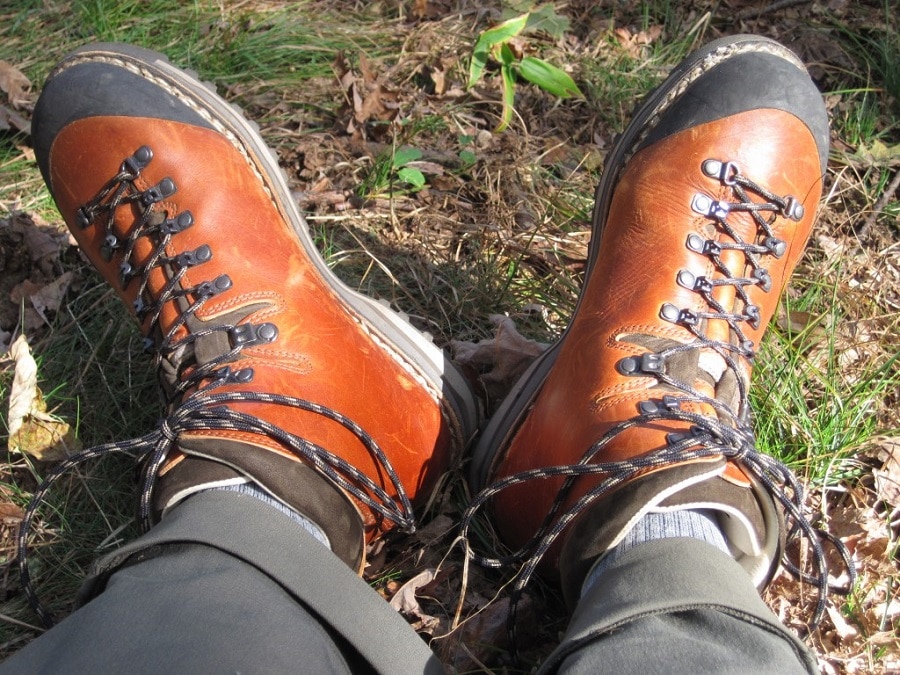
Hot spots are the precursor to the blister, and if left unattended they will develop a pocket of liquid under a layer of skin, which becomes the blister. To prevent blisters, eliminating friction is the name of the game.
The first step in prevention is breaking in your boots. This truly cannot be stressed enough. If you’re walking into the woods with a couple slabs of wood tied around your ankles, you’re going to have a rough time with it all. See our guide on how to properly break-in your boots to help prevent blisters from forming.
After buying boots, you need to spend time working them, going on afternoon or morning hikes and then working up to full-fledged day hikes. Breaking in a new pair of boots will be the most important step in preventing blisters.
After breaking in your boots, you need to make sure you tie your boots tight. As stated earlier, blisters are caused by friction, and keeping your boots tight is going to help remove most, if not all, of that friction.
Shoes should move with your feet, not around your feet. When picking up a new pair of boots, talk to the people who work in the shoe department at your local store. They know their stuff. Talk to them about what makes a good fit, and get their help in finding a boot that’s right for your foot. If you eliminate sliding in your boot, you’ve made a big step towards avoiding blisters.
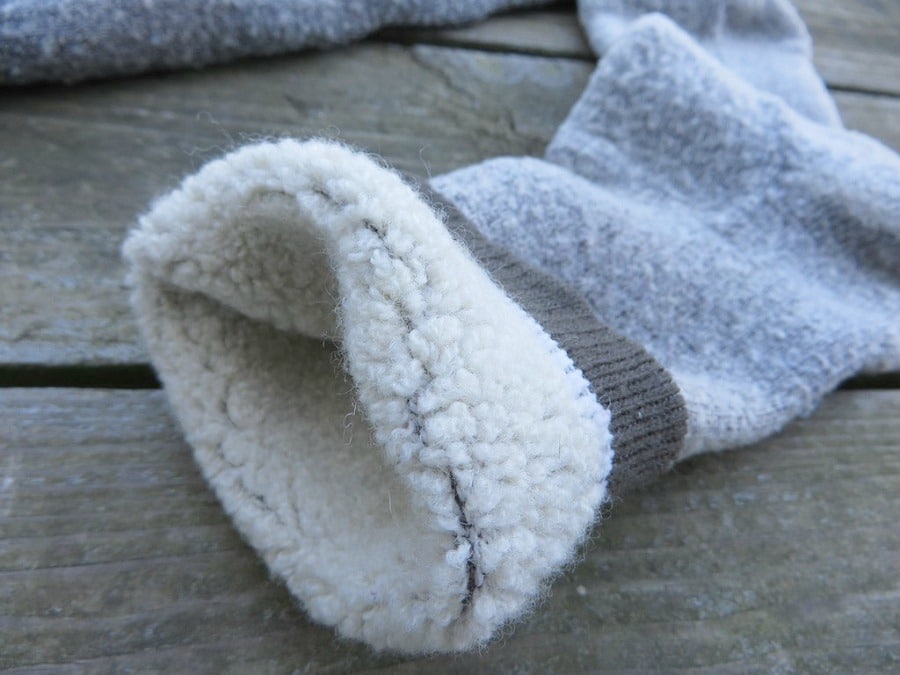
Next, get yourself a good pair of hiking socks. Nike makes running socks with moisture wicking technology, of course, there are companies specializing in the needs of hikers. WigWams are a good example of hiking socks. They come in all thicknesses and allow for a soft layer between your boots and your feet. To keep you updated on the best hiking socks, see our reviews on these for your reference.
Whether you choose a liner/sock system, a two-layered sock, or some old wool socks from the local thrift (remember to avoid cotton), a good pair of hiking socks will make your trip more comfortable overall, and help with the blister prevention. Keep your socks dry to the best of your abilities, and have an extra pair to swap out if your first pair is compromised.
[the_ad_group id=”22″]
The last step in the realm of prevention is how you monitor your health. You need to pay attention to the signals your body is sending you, especially in the backcountry. Stay tuned into your body, looking for hot spots or rocks in your boots that might cause you problems later.
If you find debris in your boots or a hot spot, stop and take a look at it at your next break. Hot spots should be covered, and debris (of course) should be removed. Listen to your body.
If A Blister Has Already Arrived, Follow These Steps
Whether you didn’t completely break in your boots or your socks got a little wet on your hike, you’ve got a blister and you need to know how to move forward in the healthiest way. The first age-old question is always going to be whether or not to pop the bothersome ailment.
Let’s be honest: that blister is going to pop. Whether you just keep walking on it because you have no choice, you step weird on a rock, or you sit down and do it yourself, the blister is going to have a hole in it at some point in your trip.
That blister can either pop in your shoes and remain dirty, sweaty, and gross until your next stop, or you can pop it yourself in a clean environment.
Popping Your Blister
If you’ve decided to pop the blister yourself, find yourself a nice little mossy stump to sit on and peel off those kicks. Get your sock off, and let your foot breath for a cool minute.
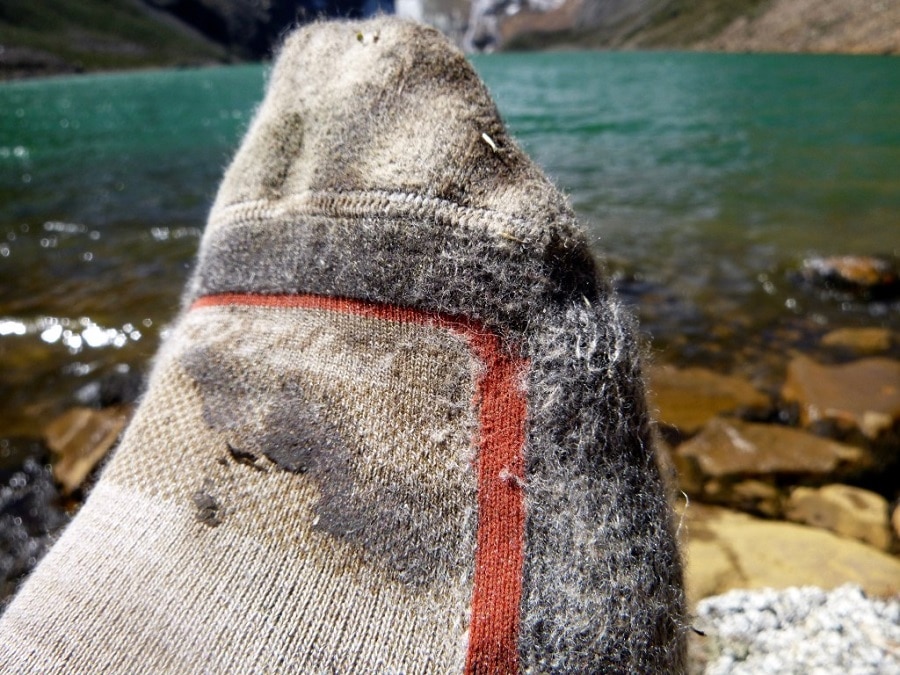
You want everything to be dry, and you’ll want to be in the shade because comfort is a good thing. The thing about popping the blister is that afterward, you’ll have what amounts to an open lesion on your skin. It’s generally a good idea to avoid such open wounds, due to the risk of infection.
Before getting into the actual process, gather all the tools you’ll be using. These should all be in your first aid kit that you (ideally) always have with you when you are hiking. Here’s what you’ll need:
- Hand Sanitizer
- Tweezers (maybe a pin)
- Neosporin
- Alcohol Swabs
- Gauze (for wiping excess juices away)
- A Lighter (not necessarily in your first aid kit, but you should have one with you)
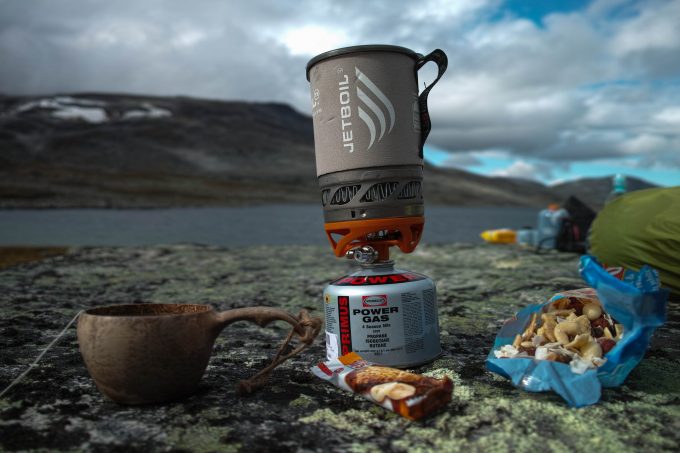
- If you are backpacking or camping for several days, you may want a stove for the use described below. A stove is not absolutely necessary for treating your blister, but if you prefer sterilization through boiling water, then you will need one.
You really don’t want an infection in a cut or blister. Not only do you run the risk of losing the foot if you let the infection get bad enough (quite dramatic, but still within the realm of slim possibility), but you’ll be hurting for your entire hike and you will have a harder time getting out of the woods.
Avoiding infection involves sterilizing everything you use. Sanitize your hands and wipe the blistered area with alcohol swabs to clean it off.
Next, those dirty tweezers need cleaning. Even if they still are wrapped in the seal you bought them in, it’s safest to clean them anyway. Here, you have several options. The first and easiest option is to wipe them thoroughly with an alcohol swab.
The second option is to heat the tweezers up. In this situation, you’ll want to heat them up until they are red hot using a lighter, and you’ll need to wipe them with an alcohol swab anyway to clean off the soot and carbon deposits from the flame.
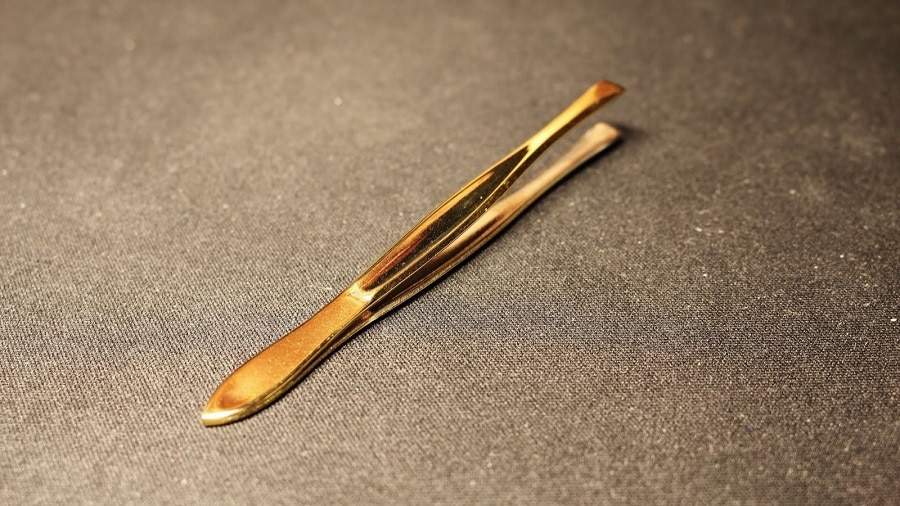
The last and most complex method is to boil them. This option is really only viable for backpacking or camping excursions that last longer than a day (otherwise you most likely won’t be carrying a stove).
If this is your situation and you’d like to boil your tweezers, pour an inch of water into your pot. Bring the water to a rolling boil. As for how long you will need to boil the water, there is a great difference of opinions. Some sources will tell you that simply bringing the water to a boil is enough, while others say that you need to be boiling the tweezers for a set amount of time.
Boil the tweezers to your comfort level, but boiling them for more than two minutes is probably overkill. Sanitize your hands, take out the tweezers, and get ready. You’ll have to determine your own comfort level with sterilization, but things must be clean.
For the popping, you don’t want to actually “pop” the blister. There should be no squeezing the bulb until it explodes. Work a small hole in the bottom of the blister with your sterilized tweezers or pin, and work the juices out gently with your fingers. It’s important to keep the old skin in place, and thus it’s important not to explode the thing.
That layer of skin will add a little protection to the blistered skin, and help to keep it clean, and will allow for the new skin to grow a little easier. Drain it to the best of your abilities, then hit it with alcohol again.
This brings me to the next point: you need to keep the blister. You have many choices with which to cover your blister, and what you choose will depend on your own personal proclivities. The difficulty of having a blister on your feet is the heat, the sweat, and the constant motion of the area of the wound. The sticky substance on tape often turns to gummy goo, and it’s difficult to keep bandages in place.
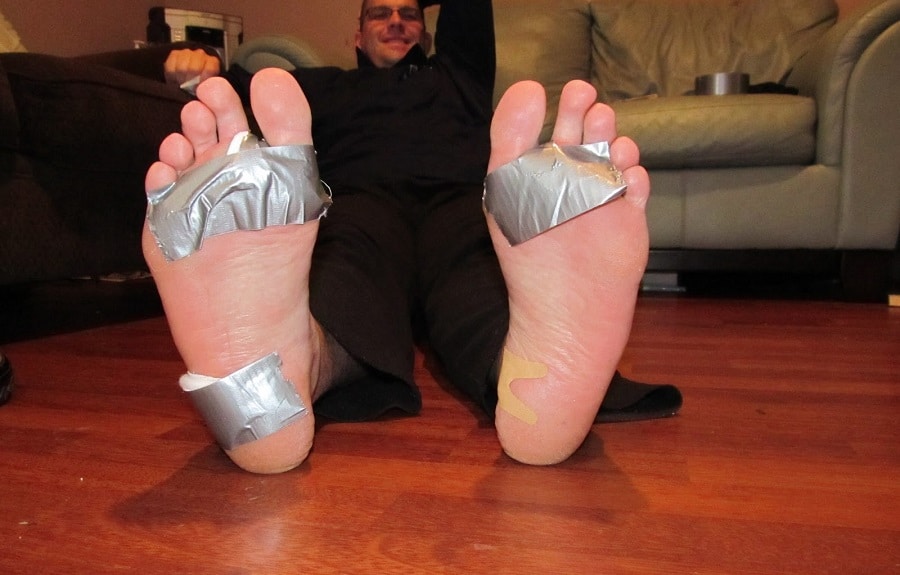
Duct tape is the friend of all people, and it has the added benefit of having multiple applications. If you are the type of person to always keep duct tape with you in your pack, it’ll come in handy for blisters as well as for quickly patching a tent.
Duct tape will also stick around so that hot wet environment I spoke off isn’t quite such a mountain to overcome. Sterilize, cover with a small patch of gauze, and tape everything up. I say to cover with a small patch of gauze because otherwise, that duct tape might be bringing that little old flap of skin with it (possibly more painful than you want).
If you aren’t into duct tape, prefer something that’s a little more suited for the medical field, and don’t mind carrying one small extra roll of material, medical tape is your shtick. Same process as above, only you can skip the covering with gauze. You might sacrifice some sticky-ness with medical tape, so you might have to really wrap everything up to be sure.
[the_ad_group id=”23″]
Another option is a simple Band-Aid Bandage or some similar product. These types of bandages are beneficial both in weight and size, which makes them easy to pack.
The only downside is their susceptibility to water. If they become a little wet, whether through sweating or a crossed stream, they won’t stay in place. To protect the bandage from water, you’ll probably want to tape it over, either with medical tape or duct tape.
Please do not forget to put on your anti-bacterial cream. Before covering the blister, you must coat it with some sort of anti-bacterial cream, with Neosporin being the most popular and well-known.
Letting the Blister Pop on Its Own
Some experts suggest allowing nature to take its course. If you’d like to follow this practice, then all you have to do is wait for the blister to pop on its own. Once it does, you will want to clean the area and bandage it following the same steps found above. Remove your shoes and socks, and sanitize your hands. Clean the wounded area with alcohol swabs and gauze, and bandage it as you please.
Monitor
Just like the prevention stage, keep an eye on your wounds! After you’re all bandaged up, your job isn’t done. Pay attention to whether the pain goes up or goes down. When you take a break from your hike, take your shoes and socks off and double check that the bandaging is still in place.

If yours is a multi-day trip, re-bandage every night and check for signs of infection. Signs of infection include increased tenderness, swelling and redness. If an infection starts to gain a little steam, you might see more oozing and discoloration that goes beyond the wound being simply a deeper red. Keep an eye on your blister, keep it clean, and try to baby it as much as possible.
Conclusion
Blisters are far from the worst thing to happen to you on the trail, but they can cause frustration. If you take care and stay mindful, you can keep blisters from developing, to begin with. Once they’re around, watch them close and treat them right.
You’ll live with a bit of pain for a few days, but with treatment, there’s little risk of any long-lasting damage. Most importantly, have fun. The great outdoors are meant to be enjoyed. Don’t let a little blister ruin your hike.
For more tips on how to deal with any emergencies, check out our earlier article that expounds on this topic in detail.

I am one of those people who cringe at the thought of popping a blister, the possibility of it getting infected and then me eventually losing a foot, is something I’d rather not think about. Though the temptation to relieve the pain is there, more often than not, I’ll simply cover with gauze, tape them up and wait for them to heal on their own.
If you’re vigilant and keep it clean, your chances of infection in a regular blister (one filled with clear fluid) are relatively low in my experience.
I once had the opportunity to put this question to a Doctor, he explained the fluid within the blister is primarily there to cushion the tissue underneath and protect it from further damage. If you’re able to keep it clean and cushion it yourself, in other words, don’t pop it, forget to cover it and immediately go back to the activity that originally caused it, you should be OK. I often pop those that impede my movement or when they are on the larger side just to relieve the pressure from the sheer volume of fluid.
These are great facts, Sophie. The bottomline is not to pop it and keep the blister intact as long as you can.
It would be better to keep the blister intact as long as possible. Popping it forms a portal of entry for microorganisms that can lead to infection. Covering it with gauze protects it from dirt and letting the blister be reabsorbed by your body is better.
The best way to solve any problem is to prevent it from happening in the first place. I agree that you need to know what exactly causes blisters on your feet. It’s usually the type of footwear that’s most important. For me, adequate boots and socks (sometimes two pairs) work perfectly. New boots are almost always problematic and because of that I don’t really like buying them. If I get a blister I usually put a plaster on and it seals and protects it from popping.
Blister prevention is one of the most important things that you can practice, especially when you are already in the process of hiking or camping more frequently. As blisters develop due to friction, garment comfortability and proper fit should be perfect. Carrying plasters and bandages can also help prevent foreseeable blisters.