
DIY Camping: Have Just as Much Spending Much Less on Gear
So you love to go camping? Maybe you’ve been doing it your whole life, you just went for the first time and fell in love or you’ve been dreaming about it for ages and are soon heading out on your first adventure.
[the_ad_group id=”21″]
No matter what, one of the most important questions you ask yourself before heading out into the wilderness for some glorious outdoor rest and relaxation is: what do I need to take with me? You could spend hundreds equipping yourself, or you could look around your house, put your brain to work and get all that you might need and more.

Take a look at some great DIY gear options for your next trip.
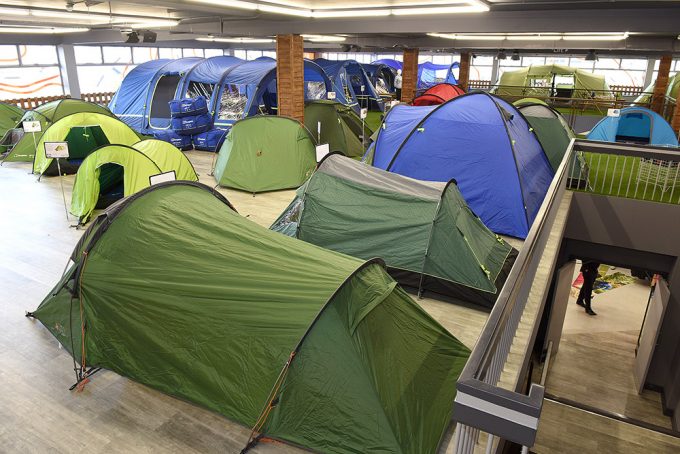
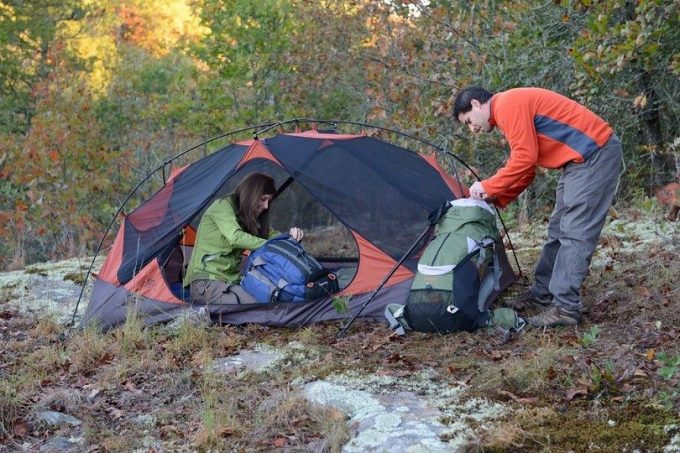
Tent Alternatives
Don’t feel like buying a tent, or just want to have an outdoors experience that is a little more your own? Here are two options for how to make a shelter with materials you have at home, by cheaply or find while you’re camping.
Self-made hut
The principle behind this type of shelter is to use logs and branches you find in the woods to fashion a structure that can provide you with the necessary protection. Here are the materials you need from home. The rest you can find while you’re out in the wilderness.
- Rope-having about 50-100 feet of sturdy rope will help you attach logs together and make your .
- Knife-most pocket knives will do—the idea purpose of it is to cut the rope.
- Tarp-to cover over the structure you will build. Again, the bigger the better—10 x 10 would be a nice start.
- A hatchet-this will make it easier to find the right size logs since you can just cut them to size.
Here are the steps for making your homemade tent.

Step 1: Locate a good place to build your shelter. Find a flat surface with the ground hard enough to support the tent’s weight, but not too hard to make the digging impossible. It should have a bit of overhead coverage to provide additional protection from intense sun or heavy rainfall.
Step 2: Gather materials. Here is what you will need:
- One long log no more than three or four inches in diameter and at least five or six feet depending on your height.
- Nine more logs of varying size for the frame. For each log or branch you need another one that is the same height. You will need 3 that are all roughly your height for the entrance to the shelter and another six with each pair being around a foot shorter than the previous one.
- Leaves or branches that still have lots of leaves on them. This is most necessary if you do not have a tarp, but if you’re carrying one than it is not so important to collect these materials.
Having a hatchet for this step is particularly useful as you can cut whatever logs you find to be the size you need them to be. If you don’t have one, no problem, just keep searching!
Step 3: Build your shelter. For this step, having rope and a knife to cut it with is going to make your life, and your shelter, a thousand times better. Follow these steps to construct the frame of your shelter:
- Take two of the three logs you collected that are all roughly the same size. Attach two of them by criss-crossing them at the top and lashing them together with rope. Leave a foot or so of space after where you have placed them over each other and try to make the angle at least 90° or more. Now attach the third log of the same height at an angle to the other two to make something that resembles a tripod. Place this where you want the entrance to your shelter to be and then try to secure it as best as possible. For example you could dig a little hole and place the end of each log in the hole to help prevent it from tipping over.
- Now that you have the entrance to your shelter standing, use the long log to create the backbone of the shelter. Place the top of it in the V you created when you made the entrance and place the other end of the log on the ground.
- Using the other logs you have collected, attach them together like you did with the first two logs of the entrance. Place them underneath the large log to support it with the tallest ones going nearest to the entrance and the shortest one’s closest to the other end. Now you have the basic structure of your shelter.
Step 4: Cover your shelter. With the frame of your shelter now built, you’re almost there, but now you are still exposed to nature and because of this your shelter is still pretty useless. If you are using a tarp, simply take the tarp and drape it over the frame of the structure so that it covers it completely. Place some rocks on top of the part of the tarp that is on the ground to secure it and your shelter is ready for use.
For more, do read our piece on how to construct your own easy-to-make shelter for survival.
Simple tarp tent
Another option for a tent that you can make yourself also involves a tarp, but far fewer steps and supplies. For this version you will need:
- A tarp that is at least 10’ x 10’ and that has reinforced holes in the corners.
- Rope-fifty feet will be enough in most cases, but it is always better to have more and then cut what you don’t need.
Follow these simple steps to make this easy self-made tent.

Step 1: Tie off support line. Take half of your rope and tie it to two trees parallel to the ground about five or six feet up from the ground. You want the line to be as tight as possible and as level to the ground as possible.
Step 2: Place tarp over support line. Throw the tarp over the line so that the rope cuts it in half from one corner to another.
Step 3: Secure ends of the tarp. Take what you have left for rope and cut it in half. Then secure each piece of rope to the tarp by tying it into the reinforced holes in the corner. Run each line down to the ground and tie it to something to secure it. This will help make the tarp tight and will give you good protection against any rain just like any tent would.
The obvious disadvantage to this type of homemade tent is that the sides are not covered. You could try to solve this by getting a bigger tarp that would get closer to the ground.
Improvised Light Sources
Having a way to light up your campsite is absolutely essential. Once the sun goes down you will be hopeless without some way to illuminate your tent or any path you might need to walk along.

Lanterns are nice to have, but they can be heavy and cumbersome to carry with you in your bag. Take a look at a few alternatives that you can do by yourself.
Turn a headlight into a lantern
Materials:
- Headlamp
- Gallon milk jug
- Knife
Step 1: Cut hole into milk jug. On the flat part of the milk jug cut a hole the size of the headlamp using your knife
Step 2: Secure headlamp. Insert the light into the milk jug so that it shines inside of it. Take the strap and wrap it around the milk jug and pull the adjustment straps tight so that it fits snug.
Step 3: Turn lamp on and step into the light. Your homemade lantern is complete. The light will reflect around inside the milk jug and will give off light at a wider angle turning your headlamp into a lantern.
For the top gas lanterns you can use, see our informative reviews to help you with options.
Food Gathering
Don’t want to carry all your food with you, but you’re not an expert hunter? No problem. There are plenty of improvised tools and gadgets you can make with stuff you have around the house or find at camp. Take a look at these suggestions.
Build your own fishing pole
Having a fishing pole at camp can be a nice way to pass some time and if you’re really lucky and patient it could produce a nice treat for lunch or dinner. But if you’re not a serious angler, it might be tough to justify spending a significant quantity of money on a pole. However, if you make your own, you can enjoy the pleasures of fishing without dropping the big bucks. Here’s how.
[the_ad_group id=”22″]
Materials:
- 5-foot long live branch. You’ll want to cut one off a tree so that it will bend and not break in the event you actually hook a fish
- 4 screw eyes. The smaller the better. They shouldn’t be more than an inch long and the hole can be as small as ¼’’.
- Fishing weights
- Fishing hook
- Fishing line
- A few feet of nylon rope
If you don’t already have these materials at home, you can find them at a local hardware store for no more than $20 total. This is far less then what you would spend on even a cheap fishing pole.
Now follow these steps to create your fishing pole.
Step 1: Affix the screw eyes. Start at the top of the fishing pole and then screw in each eye 8 inches apart along the branch.
Step 2: Thread the line. Start by Tying the line to the eye located closest to the bottom. Then thread the line through each screw. You want to leave at least another 5-10 feet after the last eye depending on how deep the water is you will be fishing in and how far you want to be able to cast the hook from where you are standing.
Step 3: Attach the sinker. About a foot up from the end of the line tie on the weights you have bought so that the hook will go down deep into the water instead of just staying at the top. You shouldn’t need more than a few grams of weight.
Step 4: Attach the hook. At the end of the line tie on the hook and you’re homemade fishing rod is ready for use. Attach some bait to the hook, ideally a work, but pieces of food such as corn or bits of chicken could work too. Now, all that is left is to cast your line into the water, grab a cold beverage and wait for the fish to bite.
Small Animal Trap
If you’re not a big fan of fish, well then maybe you will want to make a small animal trap to leave at camp and help you collect some food. This simple trap is fairly easy to build and uses only a few inexpensive materials. Take a look.
What you need:
- A piece of wood that measures 10” x 36”. The size and type of wood is not super important, but remember that you want to trap an animal so make sure it is big enough for one to get inside.
- Stiff wire—it needs to be as long as your piece of wood, so 36 inches in this case, and 2 inches wide—ten inches on each side, ten inches on the top and one inch of overlap on the sides to affix the staples. You will also need another piece that is 11 inches tall and 10 inches wide for the back.
- Staples and staple gun
- A few small screws and nails that you can surely find at your workbench
- Some twine or small rope
- Some scraps of wood for the door and the trigger mechanism.
Step 1: Attach the wire. Take the wire and fold it so that each vertical side of the cage is 11 inches and the horizontal top is 10 inches. Fold the extra inch on each side underneath the piece of wood and staple the wire to the bottom. Attach the smaller piece of wire to the back of the trap in the same way, folding it underneath the wood and stapling.
Step 2: Affix the door. Find a scrap piece of wood the size of the opening, 10”x 10.” Drill three holes at the top of the door and then tie it to the wire using a few smaller pieces of wire or twine. Make sure the wood you use for the door is fairly heavy so it will close easily. Make another hole on the bottom of the door in the center and tie a piece of twine to it that is about one inch long.
Step 3: Make the trigger mechanism. Find two scrap pieces of wood that are about the thickness of a pencil and about a foot long.
On one of them, put a nail on the tip, like where the eraser would be, and leave it about ¼ inch out of the wood. About four or five inches up the same piece, glue or nail a chunk of wood underneath it to support this part of the trigger on the cage. Now, grab the other piece of wood and about an inch down from one of the ends whittle away a notch.
Place the end without the nail of the other pencil-sized piece of wood inside the notch so that the two pieces form a sort of “L” at less than 90°. Now, take the horizontal portion, the part with the support underneath it, and place it on the cage. It should be more or less level with the top of the cage.
Then place the vertical part in between the wire and leave it hanging inside the cage. Attach the twine tied to the door to the nail sticking out of the horizontal part. Everything should balance out nicely and you will notice that when something disturbs the piece of wood hanging in the cage, the mechanism will engage and the door will fall shut.
Step 4: Place bait and wait. Try to hang some piece of bait behind the trigger mechanism so that anything that enters will disturb the hanging piece of wood and engage the trap. Place it somewhere away from camp to not spook off any animal and then wait and see if anything wanders inside.
And now you have an easy-to-make and relatively effective homemade trap. This won’t work on anything bigger than rabbits, but it is still a good way to try and capture something without having to spend tons of money.
Do-It-Yourself Cooking
Now that you’ve seen a few ways you can gather your own food, let’s take a look at how we’re going to cook it. Nothing beats a hot meal while you’re out in the wilderness and camping stoves and grills can be pricey and heavy.

Take a look at how you can easily make a grill with a few simple materials you can find around the house.
Tin can grill
Turn something as simple as a can into a nice cooking surface by following these simple steps.
Materials:
- Soda can, coffee can, an empty can of beans, etc. The bigger the can the better as your cooking surface will then be larger.
- Tin snips
- Heavy duty aluminum foil
- Grill grate or rack
- Charcoal
Step 1: Create your cooking area. Take your scissors and cut vertically down the can from the top to an inch or ½ inch from the bottom to create between 6-8 strips. Make each strip about ¾ of an inch wide. Once you have cut everything push them down and fold the strips slightly at the bottom so that they remain as flat as possible.
Now take the aluminum foil and cover this new surface. It should look like an upside-down cone. Cover it entirely so that there is no sight of the can.

Step 2: Add charcoal. Put a layer of charcoal, either match light or regular, inside the upside down cone you just made. Ignite the charcoal using lighter fluid or by just simple lighting it. If you really want to be a DIY pro, you make a small fire instead of using charcoal.
Try to use dense woods such as birch or maple so that you can get hot coals that will burn slow and will be just as effective as charcoal.
Step 3: Place the grate/rack and enjoy. This is a pretty self-explanatory step. Once the fire burns down a bit place the grill grate or rack or whatever you are going to use on top and start cooking.
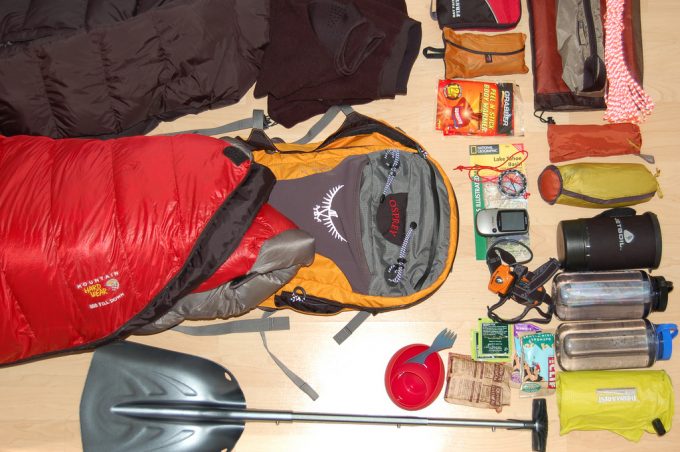
Miscellaneous Essentials
The amount of equipment you could take with you on your next trip is endless. We’ve tried to give you a few ideas in some of the more important categories, but the suggestions here do not represent all that is available.
Here are a few more ideas for self-made equipment to spark your imagination and get your creative juices flowing.
On-the-go cutting boards
Often not thought of as an essential, but a cutting board will help keep your knives from dulling and will also give you a clean place to store food while you are cooking. They’re really easy to make. Go down to Target or look around in your house for a thin plastic cutting board.

Cut it using a hacksaw to the exact dimensions of whatever pot or pan you are going to use while out in the wilderness. This makes them easy to store in your bag and also gives you a place to use it when you are out in the wilderness.
Trash bag shower
A warm shower in the wilderness can be hard to find, but can also be one of the most rewarding experiences. Here’s how to make it happen:
Materials:
- Three large plastic garbage bags
- Rubber bands
- Rope
This process is very simple. Take the rope and toss it around a tree—it’s going to be used to hang the plastic bags. Next, put the bags inside of each other to create a triple bag and then fill them with water. Be careful not to overflow as the bag will break, but you should be able to get at least 2-3 gallons of water in there.
If you want to add more, do so slowly to make sure the bag can support it. After the bag is filled, tie it shut and then use the rope to hang it to the tree.

Make sure to do this in the morning and to place the bag in a place that gets sunlight so the water can warm up. At the end of the day grab your soap, shampoo, and rubber band and go stand under the bag.
[the_ad_group id=”23″]
Cut the bag in one corner ever so slightly and then douse yourself in the nice warm water. Use the rubber band to close it up, lather yourself with soap and then remove the rubber band to rinse. Enjoy the glory of a hot shower in the middle of Mother Nature!
Wrapping Up
DIY camping is a great way to save some money and to have a more rewarding wilderness experience knowing that you created something unique instead of simply buying it. We’ve offered some suggestions, but our list is surely not complete.

To improve it we need your help. Please let us know of some unique and inventive alternatives to camping equipment that you’ve used or heard of and we’ll do our best to spread the word.
So the next time you head out into the great outdoors know that a trip to the camping store is no longer necessary. Just take a look at what you’ve got laying around the house and put your imagination to work. Don’t forget to check out our guide to basic survival skills to enable you to survive just about anywhere!

Very interesting article, thanks! I have yet to try my hand at making my own shelter, stove or traps, I have, however, made my own hammocks. All you need is some canvas, grommet rings, and some ski rope. Naturally, there is some preparation to be done before heading out camping, if you’re looking to make one that will stand the test of time, however, if you happen to find yourself in a pickle without anywhere to sleep, and do happen to have some canvas and rope, with a little clever thinking, you can usually whip up a make-shift hammock in a few minutes.
You’re welcome, Will. Preparation is essential when it comes to a really fruitful camping experience. You should also determine your personal preference of comfort to avoid any inconveniences once you’re already outdoors.
I just wanted to take a moment to thank you, Dennis. Your article inspired my wife and I to eventually start a project we’ve been putting off for quite some time. Inspired by an article we read a few years ago, we wanted to make our own backpacks, since we’ve found all the off-the-shelf ones to be either too heavy, not have enough room are were simply uncomfortable to carry. By making our own, we were able to design a bespoke pack that not only fit us both perfectly but has all the necessary space we wanted. We spent approximately 3 hours a day for around a month making them, all totaled, I think it took around 100 hours in total to make the two and the whole project cost just shy of $200. Though it was hard work and at times incredibly frustrating, now it’s finished, we don’t regret a minute. Thanks again!
You’re welcome, Danny. It is a humbling experience when we interact with a lot of outdoor enthusiasts and inspire them to make the most out of their camping experience. Hard work, especially in determining the things you want to purchase or arrange, eventually pays off in the end.
I never use or buy any instant meals for camping. Firstly, I think they’re unhealthy and secondly, the food I prepare is tastier. Basically, I try to dehydrate everything I can. Then I just pack it in plastic bags and put it in the freezer. I do that not only with camping food, but also with everyday food. The only money you need to spend is on a dehydrator and that investment will certainly pay off.
We all have our preferences, Jake. Instant meals have their own advantages such as convenience in terms of preparation, and they don’t taste bad at all. Dehydrating your food is great, though this will slightly affect the flavor. Other than that, both options are fine.