DIY Camp Stove: How to Build a Safe, Effective, and Efficient Stove
Emergencies will tend to hit when you least expect it and among the top necessities for survival is the ability to cook food and boil water. Yes, it’s easy enough to buy a butane or portable gas stove and have it stored away.
However, events beyond your control might put you in a situation wherein the need arises but your butane stove isn’t available. That’s why knowing how to put together a cooking apparatus like a DIY camp stove can come in very handy if you’re in a pinch.
[the_ad_group id=”21″]
For campers, on the other hand, making and carrying a self-built cooking rig gives a variety of advantages. For instance:
- These stoves tend to be light, giving you more room in your pack for other essentials.
- Fuel for these stoves is also readily available in most hardware shops. And in the case of the stove that we’re about to go discuss, the fuel is safer because it’s non-explosive and generally odorless. The fuel can also be transported safely via plastic bottles; no need for bulky and heavy metallic canisters.
- You won’t have any maintenance concerns as well because of the simple build.
- Finally, the whole thing generally costs next to nothing because it’s pretty much made up of recycled and household items.
Today we’re going to show you how to do a great do-it-yourself camp stove that’s lightweight, efficient, and can be constructed with household items.
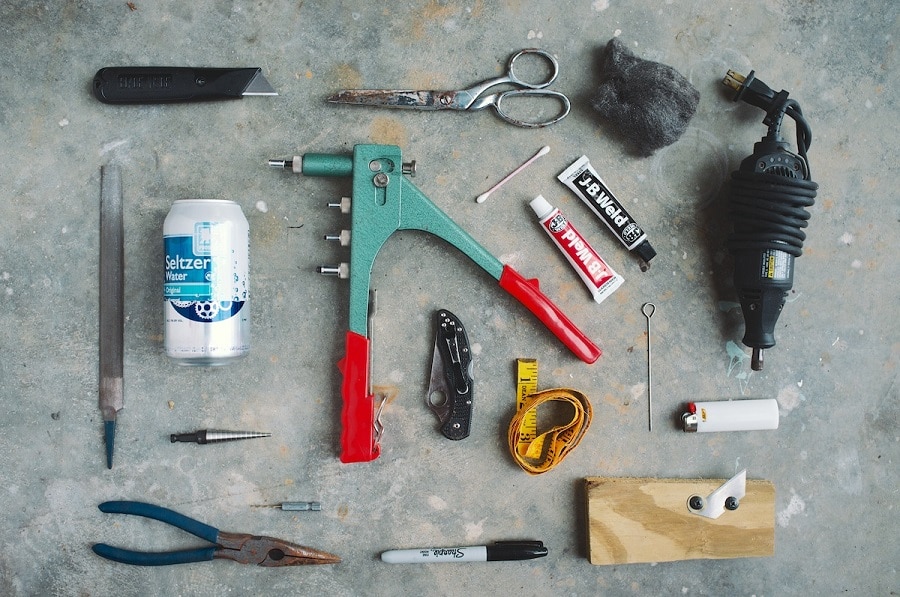
If you intend to go camping with one, the light weight and small space consumption go a long way in making the treks more manageable.
How To Put Together A Camp Stove
Materials
This first makeshift stove weighs roughly 10 grams and costs next to nothing. For this one you will need:
- 1 Razor blade (single edged)
- 1 nail
- thumbtacks
- flue tape/ aluminum foil (heavy gauge)
- ruler
- book
- sharpie maker
- scissors
- hammer
- 2 Aluminum cans (empty) and ideally thick bottom
- 1 Aluminum can (full/unopened)
- fuel (denatured alcohol/ methyl hydrate)
Step 1
Your first step is to mark the burner holes. These will eventually make for the holes that concentrate heat in specific places allowing for better heat dispersion. You will want to use the sharpie (or a good sign pen) to make 32 marks on the bottom of one of the empty cans.
An easier way to go about this is to do the process in halves. The first two markings are on opposite ends of the can (let’s call it top and bottom). The next two are perpendicular to the first (let’s call them left and right). After this, continue to make marks that are an equal distance from the can’s bottom. Just make sure that the ink doesn’t smudge. Visually judging distances shouldn’t be too tough.
Step 2
Now you’ll want to make the actual holes for the burner. Go through the marks and puncture them one at a time with one of those thumbtacks.
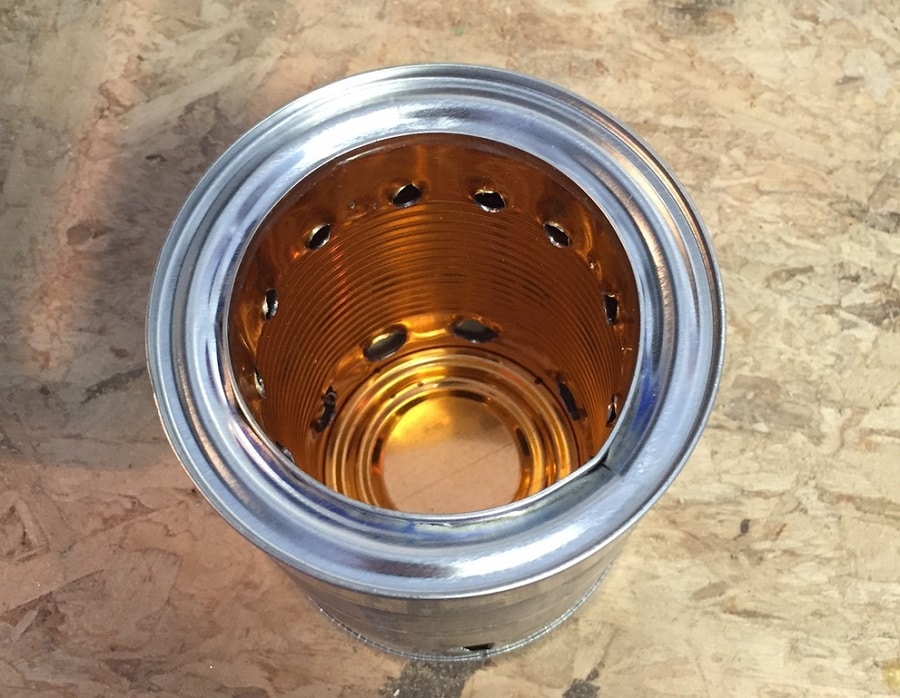
The trick here is to make the holes without putting dents in the can. Try to even out the force you put on the can. You want to retain the can’s structural integrity as much as possible to extend its life. Your thumbtacks will bend throughout the process so it’s best to have a few handy.
Step 3
Setting in the central drain holes is your next objective. We will go through this by taking the nail and pounding holes into the bottom of the can. Seven holes are ideal, make a hexagon with an additional hole in the middle. You can use the hammer if you have one available. Alternatively, a full can will do fine.
Step 4
Next, you will want to slice in a groove on the side of the can. Roughly 7/8 of an inch is good. The best way to do this is to score the grooves by inserting the razor into the book at the right height and slowly making an incision by rotating the can against the blade.
Step 5
This is when our stove really starts to take shape. You’ll want to cut through your can starting from a point a bit higher than the score you marked earlier.
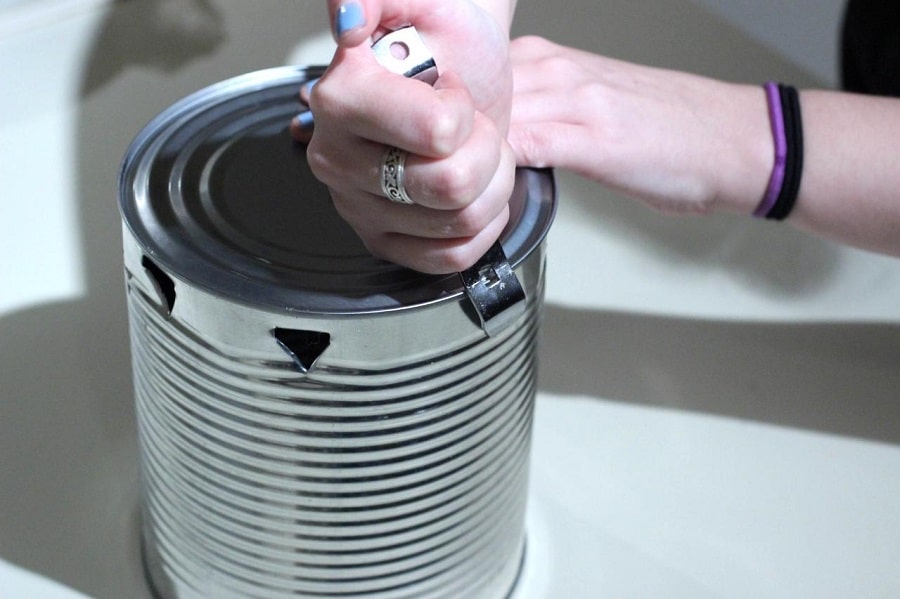
From there slowly cut at an angle towards the score. Now, peel towards the score, then along the score. If you peeled the aluminum in this manner, you should have a smooth rim.
Step 6
Since we already have our top portion ready, we will now proceed with the bottom portion. It’s a similar process to what we did earlier. Make a score roughly 1 and 3/8s from the base. Cut and then peel along the score. At this point, you now have the top and bottom.
Step 7
Now we will create the internal wall. To do this, we will take roughly 1 and 1/2 by 7-inch strip from the walls of one of your empty cans. You can use your scissors or the score and peel method we used earlier. It’s up to you.
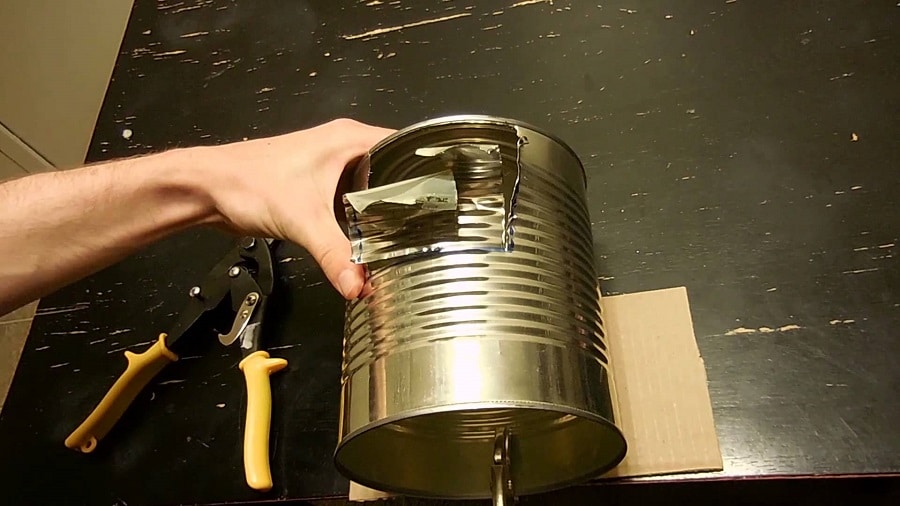
In general, however, we should have a smoothly cut wall.
Step 8
The next task is to secure the internal wall. So take the can strip we just cut out and fit it into the top piece (the side with the burner).
[the_ad_group id=”22″]
We want to be certain that the edge of the strip that hits the top portion is completely smoothed. Use flue tape to fasten the bottom of the middle strip. Alternatively, you can use the heavy gauge aluminum foil to crimp it down.
Step 9
Cut notches in the center wall. Cut in three v-shaped notches on the bottom of the middle wall. Cut them in place evenly around the diameter of the inner wall’s bottom portion
Step 10
The next task is to make a jig. This is done by using one the cut off the top of the can you used for the inner wall. Now, slide it over the bottom of the full can and pound on it as hard as possible. This widened piece of the can is now your jig.
Step 11
The next goal is to expand your lower section just a teeny bit. We do this by taking it and pressing it over your jig. Then you remove it. Screw it in and out. Use strength but be careful. You don’t want to dent the rim at this point. Should you accidentally put a dent in it, you can still smooth it out, with a thumbtack or some other small flat object.
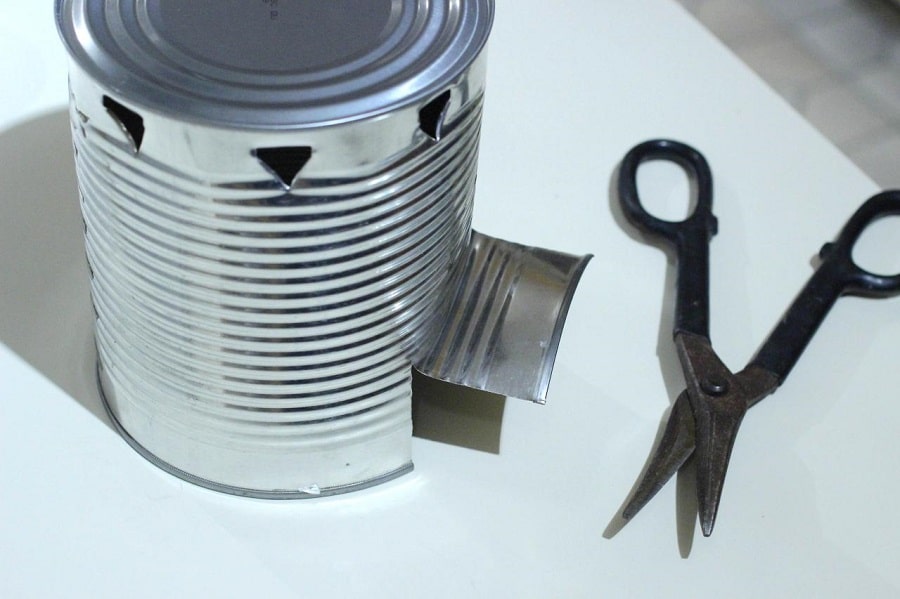
The next part is critical! Secure the middle wall into the top portion. Following this, you fit your top piece with the bottom portion. The top must slide into the bottom. If you manage to get to this point without any dents in your stove, you should have an easier time. When you’re able to put the top into the bottom, firmly push downward until you hear a click. This sound indicates that your inner wall is in place.
The smoothness of your cans will be very important here. Also, the difficulty in pushing the cans together is there for a reason. If they go in too easy, there’s probably a large gap in between your top and bottom portions. This will probably lead to fuel leaks and your flame coming out of the wrong place.
Step 12
This is the time where we discuss ignition. Methyl hydrate or denatured alcohol are good fuel options. Also, since this isn’t your typical gas range, you have to do a bit of priming first. The fuel inside alone won’t be what you’re looking to burn at this point.
The target is to burn vapor that will come from the stove. To get vapor coming out of the jets, you’ll need to heat the stove. One way to do this is to put your stove in a pan that’s also filled with fuel. You can then set fire to the fuel in the pan.
Our intention at this point is to raise the temperature of the fuel inside the stove to a high enough point that the fuel starts to evaporate. When this happen pressure builds from the inside, eventually forcing the gas out. Once fumes start to rise out of your small stove, this means it is primed for lighting. So you can then take it out and light it from one of the holes on top.
See also: Esbit Alcohol Stove: The Ultralight Backpacking Stove for Outdoors
Priming varies with the weather conditions you are currently experiencing. Very low temperatures make this type of stove quite difficult to use at very low ambient temperatures because this will require great effort in priming the fuel inside the stove. Also, strong winds will make the process much more difficult.
Now, if done correctly, this should produce a nice, even blue flame that comes out of the small holes around the stove as well as the top.
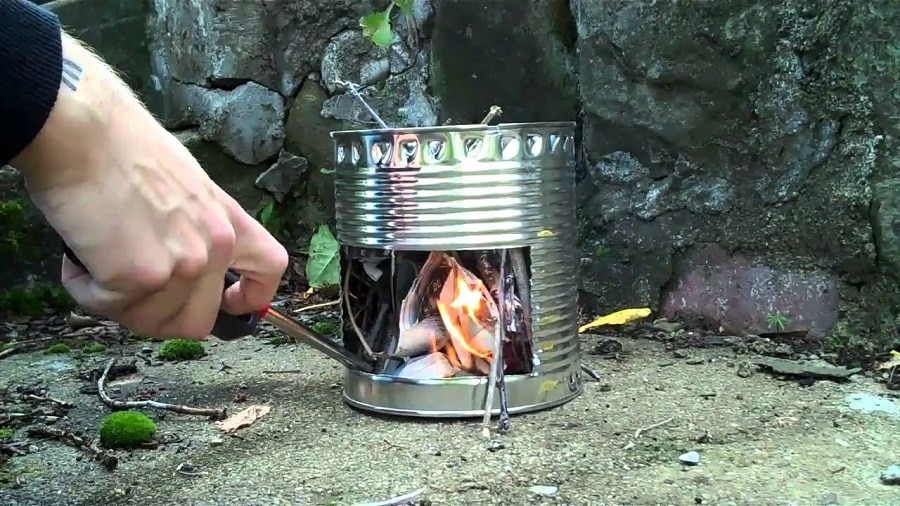
You will want a blue flame. This is ideal because this provides the highest possible temperature for the most efficient level of fuel consumption.
The Final Step – Testing
When the time comes that you want to control the flame, you won’t have a dial to turn that regulates the heat. You will have to manually add fuel if it is running low. If you want to simmer down the flame, you can add very small amounts of water to the fuel. The water mixes with alcohol and will tone down the strength of your flame.
[the_ad_group id=”23″]
Alternatively, you can also equip your stove with an additional simmer ring. You can do this by securing the top portion of one of the cans you used earlier (the end with the tab). Take off the tab and trim to where it makes a nice snug fit on your stove. This will lessen the amount of heat that reaches your cooking surface. Just put it on top of the stove for the simmering effect.
Putting Out The Flame
When you’re through cooking, you will want that flame extinguished before packing your stove. The safest way is to just let the alcohol burn out. However, if you are pressed for resources, you can fashion yourself a snuffer. The “snuffer” works by depriving the flame of oxygen.
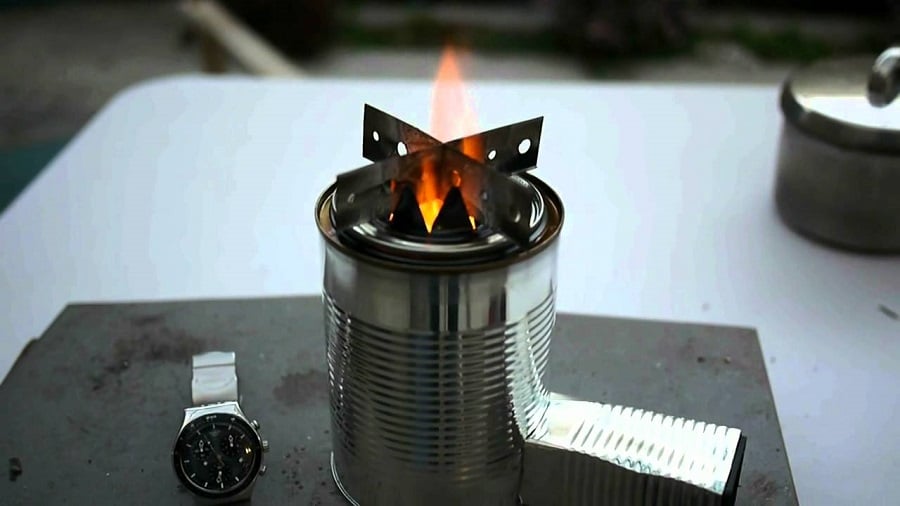
You can make one by cutting out the lower end of a can (probably the full one after you’ve consumed the contents), and simply placing it over your stove. This can help kill the fire quickly. The downside to this, however, is that using it increases the risk of tipping over your stove making for an unpleasant situation.
Safety Tips
Since we’re dealing with fire, there are a few things that we should keep in mind:
- Light outside if possible – This is the case, especially when you’re still learning the ropes. You’ll want to steer clear if any flammables. Any twigs, dried leaves, and wood chips can cause a large fire. When outdoors, alcohol based flames can be near-invisible. So stay sharp to avoid any potential accidents.
- Have an extinguisher ready – By extinguisher, we don’t necessarily mean an actual fire extinguisher. (Though that would be ideal. Water spraying fire extinguishers are a good option). Just a fall-back mechanism to put out the flame in the event that one does break out. In smaller amounts, you can easily put out an alcohol-based fire by smothering. You can use a shirt, towel or scarf to this effect.
- Some aluminum cans (depending on safety standards of where you’re living) are sprayed over with a layer of colorless coating which eventually burns off over time. This can emit a toxic vapor which leads to a burning sensation in the eyes and/or lungs. It would be wise to consider sanding off the coating with steel wool or sandpaper before putting together your stove. You can also periodically build new stoves as this construct is easy to put together anyway.
- Some states require campers to only use stoves with an on and off switch. This is because careless camping cooks have, time and again, started forest fires by being negligent. When camping, before leaving your site or going to sleep, make sure that any flame has been fully extinguished.
See more of our article on fire safety tips for campers to keep you and your family safe.
That’s pretty much all you need to know about putting together a lightweight, effective and safe recyclable alcohol-powered cooking stove. This is great knowledge to have if you’re a camper or even just a regular guy, in the event of a natural disaster. If you tried any other designs, please let us know in comments.
Check out more solo stove reviews in our earlier article before you hit out the trail – it’s a must-read!


It is a good and very simple instructions. I remember my brother did that stove about 20 years ago, when we had to spend the night in the woods while hunting. Now of course we both already have store-bought camp stoves, but I was wondering if I can do such thing by myself, so will probably try next week 🙂
Someone did? Was it good? How it heats?
I believe you can do it, Marco. The effectiveness of DIY camp stoves have been proven many times over provided that you follow the instructions to the word. Just make sure to follow the guide, especially the safety instructions to ensure proper and safe use.
If you are fond of hiking, then you know what a tremendous difference in the way the ability to provide effective and reliable fire source. Without it, you can neither cook food nor boil water for drinking or to keep warm in bad weather. Factory-made wood burning stove on Amazon costs $70-80, so if you follow the provided guide – you can save a lot of money. Mine worked for 6 months, after this, I had to change the cans.
If you’re not fond of DIYs, it is very important to check the stores (both online and offline) if you’re planning to get a camp stove. Else, you can always DIY because it will help you learn a lot of practical skills you can definitely apply on your activities.