Camping Dessert Recipes: How to Create Delicious Treats Everyone Will Love
Summer nights in nature just wouldn’t be complete without the traditional s’mores around the fire, right? However, every dessert lover would be thrilled to find out there are many other camping delights! Read on to learn some brand new camping dessert recipes and ways on how to create delicious treats everyone will love.
Since you do spend a lot of time on the move during a hike, a cheat meal here and there may be just the thing you need – and there’s no better choice than some savory, sugary treat. Getting to know a few simple recipes could potentially make you the backpacking chef of your group, a privilege not many have.
See also: The Best Energy Bars: How to Keep Your Stamina Going
Most of the recipes included here are easy to make and don’t require a lot of cooking equipment – not many would be thrilled to haul some heavy-duty cooking gear up in a mountain. Check out the recipes and get ready to make your trips five times more awesome!
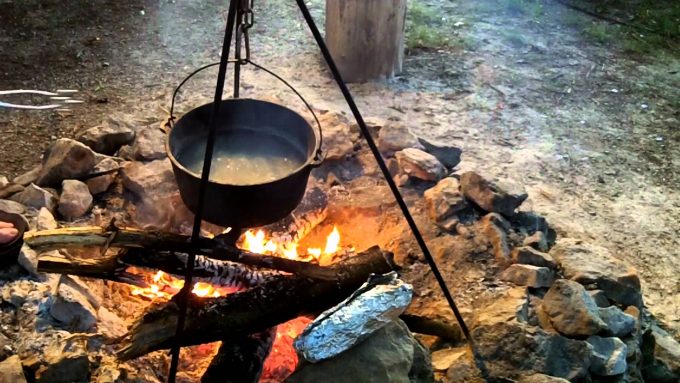
Yummy dessert is just a few steps away
After a long day, it’s only natural you’ll want to get to your food as fast as possible without making much fuss. On top of that, meal prep on the spot can sometimes be exhausting – if you’d rather save yourself some time, you can do partial food prep at home with some of the recipes.
For the biggest part of the recipes included, you’ll only need the most basic tools every person has in their home.
- A sharp knife that you get to use for all of the cooking done on spot;
- A roll of tin foil, for cooking desserts over the campfire;
- Zip-lock bags that can be used both for storing and food prep;
- Aluminum pan, but you could also grab an iron skillet with you.
- Roasting sticks, so you can as creative as possible!
- Cast iron sandwich stick to assist you with some of the desserts.
Here’s a selection of the finest recipes that most campers will manage to whip up in a minute without compromising on the flavor!
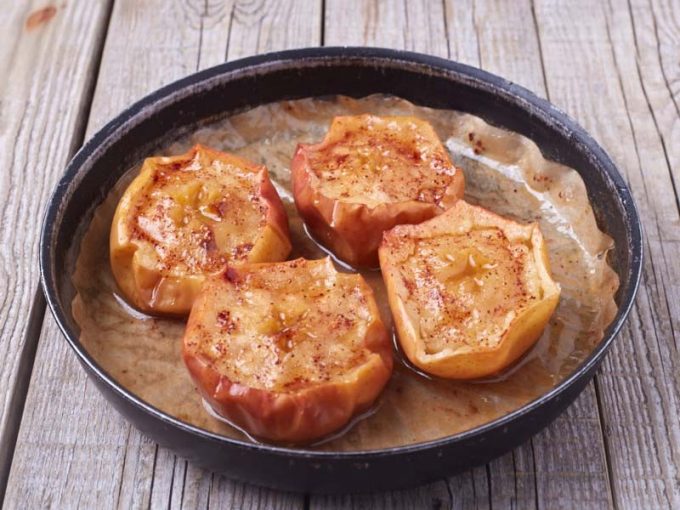
Baked Camping Apples
Ingredients for 4 servings
- 4 apples
- Handful of pecan halves
- 2 Tbsp. dried cranberries
- 4 Tbsp. oats
- 1 Tbsp. brown sugar
- 2 Tbsp. butter
- 1 Tbsp. coconut oil
- A pinch of cinnamon
Instructions
- Cut the apples in half and remove the core out of each half. Keep the matching halves close-by each other as you’ll need to close the apple halves back together later on.
- Get a small, clean zip-lock bag and mix together the butter, the coconut oil, the brown sugar and the cinnamon. Stir them together and follow with the cranberries, the oats, and the pecans. Optionally, you could do this in a bowl though zip-lock bags are the way to go if you’d rather skip cleaning up later on.
- Get four pieces of tin foil and place a half of each apple on each piece. Start filling out the halves with the mixture you’ve made.
- Once you’ve filled out each half, use the other half to close the apple back together. Wrap them tightly in the tin foil.
- Place the tin-foiled apples into the campfire and let them cook for 15-20 minutes or until the apples get soft. Once ready, remove from the fire though be careful – the tin foil will be extremely hot!
- Eat while still warm!
Campfire Roasted Caramel Peaches
Ingredients for 4 servings
- 4 peaches
- ½ cup of pecan halves
- 4 Tbsp. caramel sauce
- 2 Tbsp. butter
Instructions
- Wash and slice the peaches in half, removing the pit from the inside. Set them aside.
- Get a large piece of tin foil and grease it with some butter. Add the peach halves and sprinkle some caramel sauce on top. Then, scatter the pecans evenly all around.
- Wrap everything tightly and place it in the campfire. Be careful – you don’t want to place them in a burning fire but rather in burned down coals. If your fire is too strong, let it burn down a bit.
- Allow the dessert to cook slowly for at least 20 minutes. Don’t open the tin foil during cooking time as the heat will escape.
- Once the peaches have softened, open the tin foil though be careful – it’ll be very hot! Allow it to cool down for a few minutes. You can eat it from the tin foil or optionally, serve it onto plates.
- Eat while still warm!
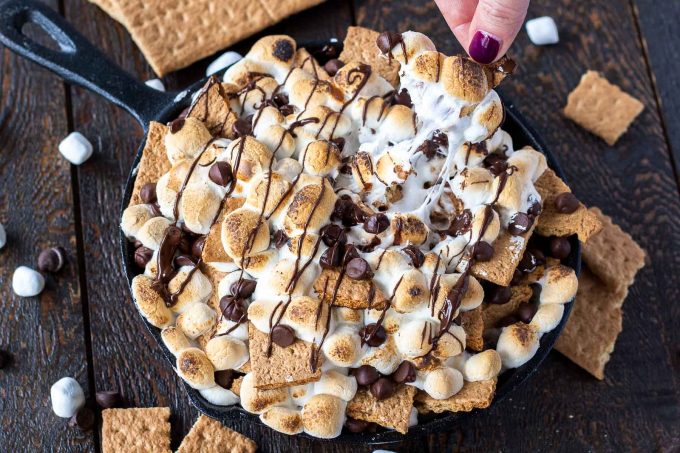
S’mores Nachos
Ingredients for 4 servings
- 16 Graham crackers
- 16 puffed marshmallows
- 4 milk chocolate bars
- 1 cup of caramel bits
- 2 cups of mini-marshmallows
Instructions
- Get a large aluminum cake pan that you’ll dispose of later – the deeper the pan, the better. Break the chocolate bars into pieces and check the campfire, making sure it’s going strong.
- Start layering the Graham crackers, the broken chocolate pieces, and the marshmallow. Finish everything off with the caramel bits, though make sure it doesn’t go much over the top of the pan.
- Cover the pan with some tin foil and place it over indirect fire. Let it melt for a few minutes and be careful not to burn anything.
- After a maximum of 5 minutes, carefully remove it from the fire and remove the tin foil. Serve while still warm!
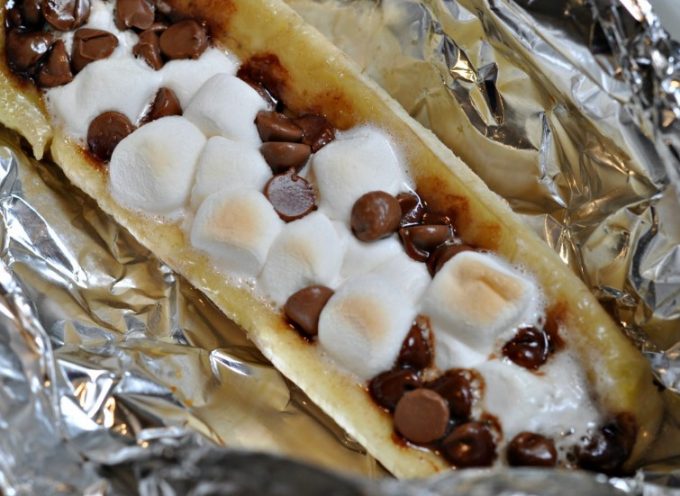
Fruit Marshmallow Cones
Ingredients for 4 servings
- 4 waffle ice-cream cones (or more, depending on preference!)
- 1 cup of strawberries
- 1 banana
- 1 cup of mini-marshmallows
- ½ cup of chocolate chips
Instructions
- Cut the strawberries and the banana into small chunks.
- Get a large zip-lock bag and mix all of the ingredients together: the smaller fruit chunks, the mini-marshmallows, and the chocolate chips.
- Wrap the cones with some tin foil and start stuffing them with the filling. Make sure to wrap each cone with enough tin foil so you can wrap them up fully once you fill them out.
- Place them in the fire though not directly – it’s best if you do it in the coals. Let all of the ingredients melt for about 5-7 minutes. Turn them a couple of times meanwhile.
- Carefully remove it from the fire and let cool down for a minute before eating – the tin foil will be hot!
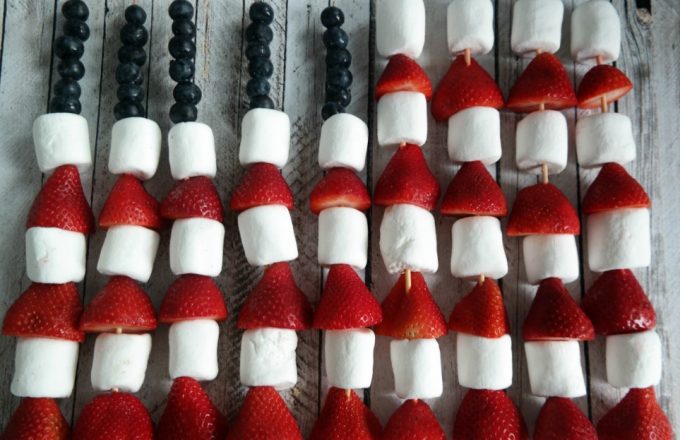
Camping Fruit Skewers
Ingredients for 4 servings
- 1 cup of strawberries
- 1 banana
- 1 cup of marshmallows
- 1 package of store-bought brownies (or make your own batch!)
- Optionally: any other fruit you’d enjoy!
Instructions
- Slice all of the fruit into bite-sized pieces. Cut up the brownies as well.
- Get the skewers and start layering – do a chunk of brownie, then follow with a piece of fruit, then a marshmallow. Repeat as you see fit for each skewer.
- Place the skewers on the grill but only for a few minutes, so the marshmallow can melt. Optionally, you can even eat them as they are!
Easy Berry Crumble Pie
Ingredients for 4 servings
- 2 cups of berries
- 2 cups of granola
- 2 tbsp. of sugar (or more, depending on taste)
Instructions
- Get a pan and add the wild berries inside. Optionally, you can also use an aluminum baking pan.
- Sprinkle the sugar over the berries and move the pan over the fire, though make sure it’s not very strong. Bring to a boil and cook them for a few minutes.
- After about 4-5 minutes, remove them from the fire and set them aside. Add the granola and stir everything nicely together.
- You can eat it while it’s still warm or let it cool down first!
Pineapple Pudding Cake
Ingredients for 4 servings
- 2 cups of dried pineapple pieces
- 2 cups of cake crumbs
- 8 tbsp. of vanilla instant pudding mix
- 8 tbsp. of dry milk powder
- 8 tbsp. of dried shredded coconut
- 4 cups of water

Instructions
- Get a pot and add the dried pineapple to it with half of the water. Warm it up for about 10 minutes over some light fire until the pineapple rehydrates.
- In another cup, combine the powdered milk with the rest of the water and stir until the milk completely dissolves. Add the instant pudding to it and stir again until you get a smooth texture.
- Leave the pudding aside for 10-12 minutes the texture can set.
- After the pudding is ready, add the cake crumbs to it and stir it up. Add the warm pineapple on top and sprinkle the coconut. You can either stir everything together or serve the cake in layers.
- Eat while still fresh!
Crunchy Banana Pudding Cake
Ingredients for 4 servings
- 2 cups of dried banana slices
- 2 cups of crumbled Graham crackers
- 8 tbsp. of dry milk powder
- 8 tbsp. of vanilla instant pudding mix
- 4 cups of water
Instructions
- Get a small pot and add two cups of water and the banana slices. Warm them up for 10-12 minutes over some low heat until the banana slices rehydrate. There’s no need to boil them.
- In another pot, combine the powdered milk with the rest of the water. Mix until you get a smooth texture. Then, add the pudding and stir again.
- Leave pudding to the side so it sets – it should take you about 7-10 minutes.
- Start layering the cake – spoon out the warm bananas and add them to the pot with the pudding. Stir once or twice.
- Top your cake with the Graham crackers, making sure they’re spread out evenly on the top. Drizzle any remaining fruit juice on top.
- Serve while still warm!
Dessert Tortillas
Ingredients for 4 servings
- 4 tortillas
- 1 banana
- ½ cup of chopped walnuts
- ½ cup of chocolate chips
- 1 cup of mini-marshmallows
- 2 tbsp. of butter
- Optionally: peanut butter or Nutella
Instructions
- Get four larger pieces of tin foil and grease it lightly with a bit of butter – you don’t want the tortillas to stick to the foil! Slice the banana as thinly as possible.
- Spread out the tortilla and start layering it up. If you’re adding peanut butter or Nutella, do those first and then add the rest of the ingredients.
- Roll the dessert tortilla the same way you’d roll out any other tortilla. Wrap them up with the tin foil and place them in the coal.
- Let the tortillas cook for 10-15 minutes over some low heat flame. Once ready, carefully remove them from the fire and cut them in half – the insides should be all melted up.
- Serve while still warm!
Campfire Pies
Ingredients for 4 servings
- 8 bread slices
- 2-3 cups of fresh fruit by choice;
- 4 tbsp. of sugar
- 5-6 Tbsp. of butter
- 2 tsp. of cinnamon
- Optionally: canned pie filling
Instructions
- For this recipe, you’ll need at least one cast iron sandwich press. Make sure you grease it up nicely with butter – or some other non-stick cooking spray – before doing the pies as they might stick to the iron any other way.
- Make sure your campfire is going strong and is very hot – the coals should be glowing!
- Start making the pies. Lay a piece of bread on each side of the sandwich iron and press only slightly so you make an indent for the fruit. Add the filling and sprinkle with some sugar and a pinch of cinnamon. Optionally, you can use some canned pie filling.
- Connect the two sides of the sandwich iron and firmly press down so the handles lock together. Make sure that all of the food is inside the iron and nothing is sticking anywhere, as food will burn when placed in the fire.
- Cook for 3-4 minutes in the middle of the fire. Sides should get golden brown and crunchy, while the fruit should melt in the middle.
- Have a plate ready nearby as the pies will be extremely hot once ready – cut in half and let them cool down for a few minutes before eating!
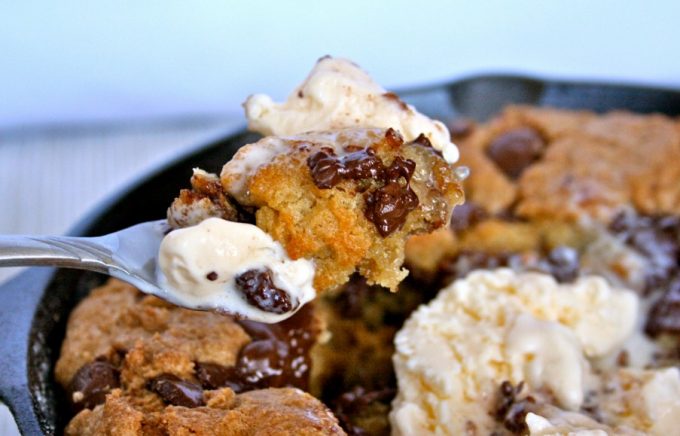
Giant Camping Cookie
Ingredients for 4 servings
- 1 tube of store-bought chocolate chip cookie dough
- 1 bag of Oreo
- Optionally: whipped cream or Nutella
Instructions
- You can do this recipe either in a cast iron skillet or in a larger aluminum pan – both should work pretty well.
- Press the cookie dough into the bottom of the pan, making sure it’s spread out evenly. Chop or crush the Oreo cookies as you see fit. Sprinkle them on top and press down on them as well.
- Cover it with some tin foil and place it over the fire. Ideally, you’d be baking for about 20 minutes or until the cookie gets a nice, golden brown finish.
- Once ready, move to the side and cut it into slices. Let it cool down for a few minutes.
- You can serve it as it is or top it off with some whipped cream or Nutella!
Apple Pie on a Stick
Ingredients for 4 servings
- 4 apples, preferably red
- 2 tsp. of cinnamon
- 1 cup of sugar
- Optionally: whipped cream or crushed nuts
Instructions
- You’ll need iron sticks and a very hot fire for this recipe. To start with, push the stick through the apple until the apple is secure on top. In a bowl, mix together the sugar and the cinnamon.
- Place the apple two or three inches away from the hot coals and keep turning it at all times until it roasts nicely. Each apple should be cooked when you notice that the skin browns and juice starts coming out of it.
- Remove the apple from the fire and carefully remove the skin – it will be burning hot so pay extra attention to this step!
- Roll the apple in the mix with the sugar and the cinnamon. Make sure you cover all of the apples, forming a sort of a glaze on top of it. Optionally, you can add some crushed nuts to the mix as well.
- Get the apple back to the fire and roast for a few more minutes.
- Remove from the coals and let it cool down for a minute or two before eating it!
Enjoy Your Time Around The Campfire
A tasty dessert can literally be the cherry on the top of a great day – wrap up your time in nature with a sugary delight that will tickle all of your taste buds!

One of the best parts about campfire desserts is that even kids can help in the meal prep, as cooking camping delights definitely doesn’t require much cooking experience. However, be careful at all times during cook time and especially when handling hot food, as that can cause severe burns. For the top campfire dessert recipes, check out our article on this topic.
By now, you probably got a few fresh ideas you’ll get to try out on your next camping trip. Don’t forget that most of the desserts are pretty basic and ingredients can be found in local stores – just do some planning beforehand as to avoid carrying unnecessary amounts of all the ingredients.