Campfire Dessert Recipes: How to Make the Easiest Treats
Spending some time away from home doesn’t mean you’ll need to give up on the joy of a full-course meal. Actually, is there anything better than finishing off a rough day on the trail with something sweet and tasty?
Since any camping meal wouldn’t be complete without a dessert at the end, read about the best campfire dessert recipes and learn how to make the easiest treats on the trail. Campers and hikers often overlook dessert when it comes to meal planning.
See also: Best Hiking Snacks for Day Hikes and Backpacking
However, remember that you may end up losing an average of 3,000-5,000 calories per day on the more demanding trails – your body needs all the extra fuel it can get!

Most of the camping desserts are extremely easy to make, won’t take out of your time but will make your trip at least ten times better.
Get to know the basics
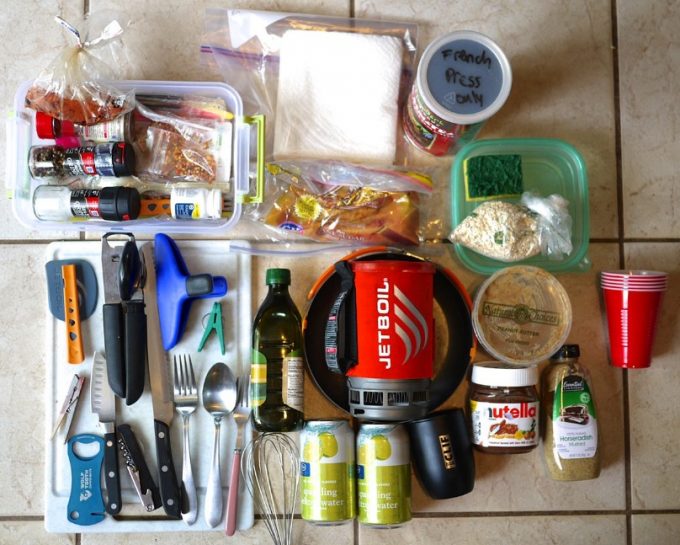
No matter whether you’ll be doing some basic meal prep at home or you’ll be cooking the whole dessert on the spot, here are some basic tools and ingredients you’ll need to get started.
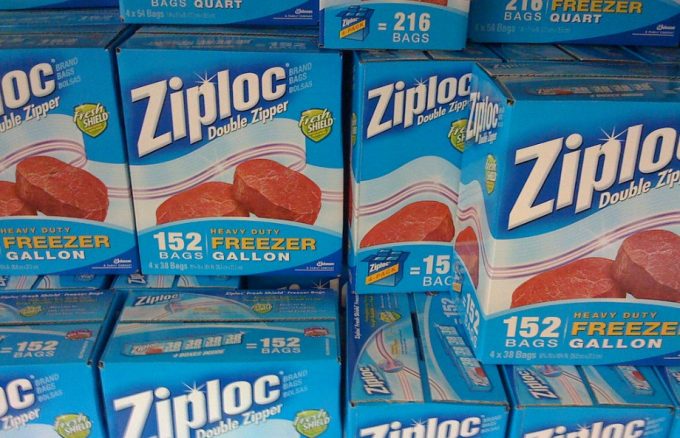
- Zip-lock bags, for packing, storing, and transporting of things;
- Tin foil, for cooking some of the desserts over the campfire;
- A sharp knife that will come in handy for all of your meals on the trail;
- A spoon, but you could also grab some plastic spoons with you. However, make sure to not leave the plastic spoons in nature and once you’re done using them, dispose of them in a designated area.
- Roasting sticks, for marshmallows or even fruits;
- A tin can, to make things look more fun for the kids;
- Dehydrated fruits to put in some of the desserts. Fruit is one of the easiest things to dehydrate and is very suitable even for the absolute beginners. Just spread it out evenly in a tray and dehydrate whether in an oven or in a dehydrator until completely dry.
- Breadcrumbs, which is basically some dehydrated bread that you’ll get to use as a dessert base for some texture.
Easy-peasy recipes
Here is a fine selection of the easiest mouthwatering dessert recipes! Don’t forget that you don’t need any excessive cooking knowledge or experience to successfully prepare the listed recipes. If you need more options, do read our easy instructions for making the best campfire dessert recipes for more choices.
S’moreos
Ingredients for 4 servings
- A box of Oreo cookies
- Chocolate spread
- Marshmallows
- Peanut butter (optional)
The whole idea here is to use the Oreo cookies as you’d normally use Graham crackers. You could also use any other type of store-bought cookies that you’d be able to split into two halves.
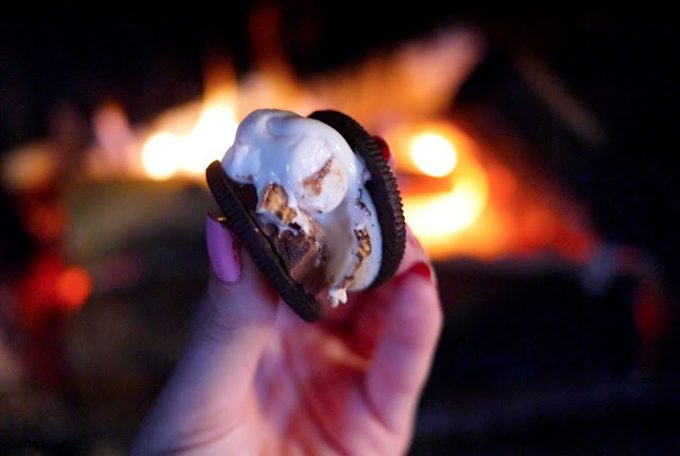
The original recipe comes with Nutella but you can use whatever brand of chocolate spread you like. As far as the peanut butter is concerned, you can take a smaller jar that will be easier to carry and you’ll also won’t make a mess at home. Don’t forget to bring a sharp knife and some roasting sticks with you on the trail!
Dessert prep at home: None, you can do everything on the trail.
Dessert prep on the trail:
- Carefully open up each cookie with the knife and try not to break any of the shells.
- Put a bit of chocolate spread on one of the half of the shells. You could also add some peanut butter but that’s optional. Leave the other halves on the side. It’d be good if you have someone assist you with this step as things can get messy.
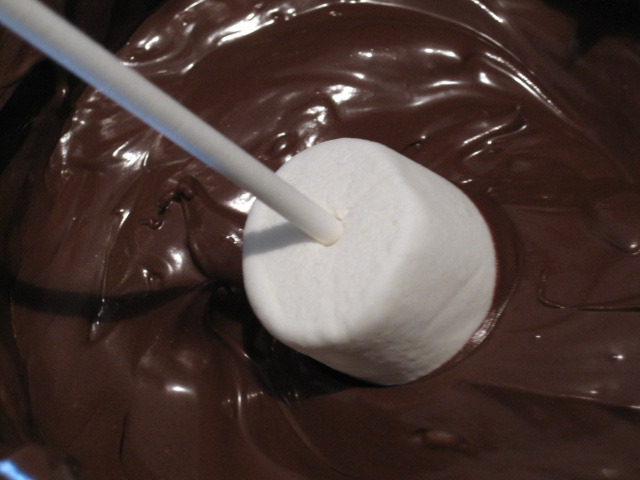
- Meanwhile, put the marshmallows on the roasting sticks and put them over the fire.
- Once the marshmallows are ready, put each marshmallow on the halves you’ve set aside.
- Close the two sides together and you got your S’moreo ready! Warning: be ready that your fingers will be very sticky once you’re done eating this dessert.
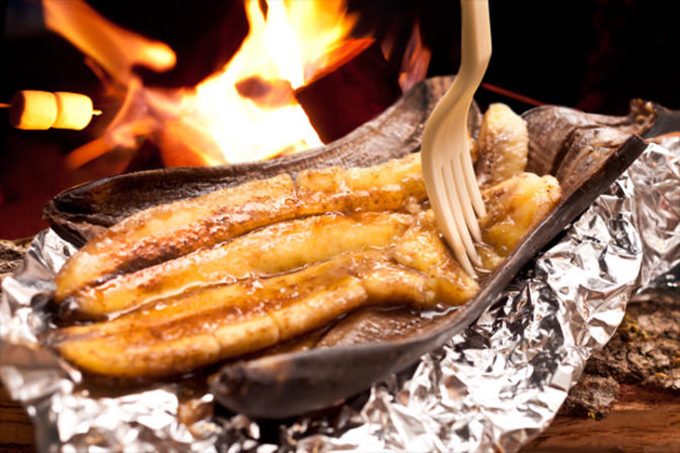
Banana Boats
Ingredients for 2 servings
- 2 bananas
- 1 cup of mini marshmallows
- ½ cup of chocolate chips (you could do a mix of black and white chocolate)
You could also add anything else you think you’ll enjoy here: all sorts of nuts, crackers, different toppings such as caramel, jam, etc. Feel free to let your imagination run wild!
Don’t forget to bring these tools on the trail so you could cook the dessert.
- A knife to cut open the bananas;
- Tin foil to bake the banana boats in;
- Spoons to eat the banana boats as they can get too messy.
Dessert prep at home: None
Dessert prep on the trail:
- Carefully cut through the whole length of the banana but don’t cut the whole way down. Opt for cutting on the curved side; you’ll basically want to do like a little pocket inside of the banana shell.
- Start stuffing your banana boats. The chocolate chips go in first, then the rest follows. Don’t overfill the banana boats, especially not with marshmallows!
- Put each banana on a square-shaped tin foil. Pay attention so the foil is bigger because you’ll need to lift the ends of it and start crimping it. Wrap the whole banana into the tin foil but leave some room around so you can use the foil as a plate later on.
- Place it in the coals of your camping fire, not directly into the fire.
- Let everything melt for around 5-7 minutes.
- Take them off the fire but be careful as the tin foil can get extremely hot. Let it cool down for a minute or two.
- Open the banana boats up and dig in!
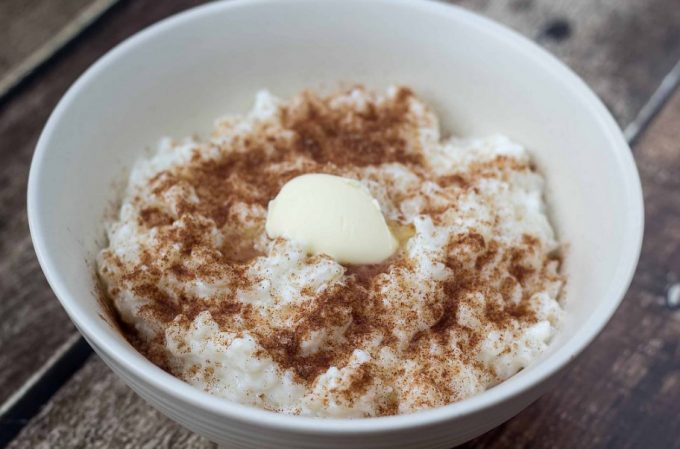
Rice Pudding with Almond Milk
Ingredients for 2 servings
- 1 cup of rice
- 2 cups of almond milk
- 1 teaspoon of vanilla sugar
- Cinnamon, optional
- Raisins, optional
- Nuts, optional
- Dehydrated fruits, optional
Dessert prep at home:
- Combine all of the ingredients together in a pot and bring to a boil. Cinnamon adds a nice flavor to the mix but you don’t have to use it.
- After it starts boiling, reduce the heat to a low and let the rice pudding simmer. It’s important to point out that you’ll need to stir the rice pudding while it cooks at all times so the rice grains don’t stick together.
- Cook until the rice gets soft and tender; you’ll notice how the milk will thicken from the starch.
- Let cool down a bit and then spread the pudding on a tray. Remember to first cover the tray with some non-sticky sheets as you’ll have a hard time unsticking the rice from the tray otherwise.
- If you have a dehydrator, dry the rice pudding for 5-6 hours, while remembering to break any grains that stuck together. If you’re drying it in the oven, drying time will largely depend on the model you have at home, but it may take longer.
- Once it’s dry, you can pack it in clean zip-lock bags. Pack a cup per serving.
Dessert prep on the trail:
- Put the dehydrated rice pudding in a pot and let soak for 5-7 minutes. You could also add some raisins, nuts or dehydrated fruits for some extra energy and flavor.
- Heat up but don’t boil – the rice is already cooked!
- Remove from the stove and cover it. Wait for 10-12 minutes before eating.
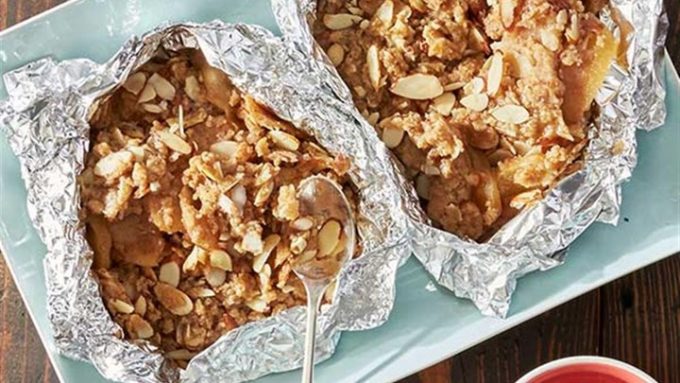
Grilled Apple Crunch
Ingredients for 2 servings
- 2 medium sized apples
- ½ cup of granola
- Cinnamon, optional
- Honey, optional
- Nuts, optional
Don’t forget to grab some tin foil and a couple of spoons for the trail later on!
Meal prep at home:
- Wash and dry the apples. Don’t cut them at home – they’ll just get soggy by the time you actually get to cook them.
- Pack everything else in zip-lock bags.
Meal prep on the trail:
- Try and cut the apples in as smaller pieces as you can. Ideally, you want them diced, however, even doing some thin slices would work on the trail.
- Get some square-shaped tin foil piece and put the apples in the middle. The tin foil acts as a plate here.
- Add the granola but don’t shy away from pitching in anything else as well: honey, nuts, or cinnamon.
- Crimp the foil and seal it well before placing it in the coals of the fire, not directly into the fire.
- Let cook for around 10 minutes – you’ll want the apples to get soft and absorb any of the spices you’ve put in.
- Put aside and wait for the tin foil to cool down a bit before eating!
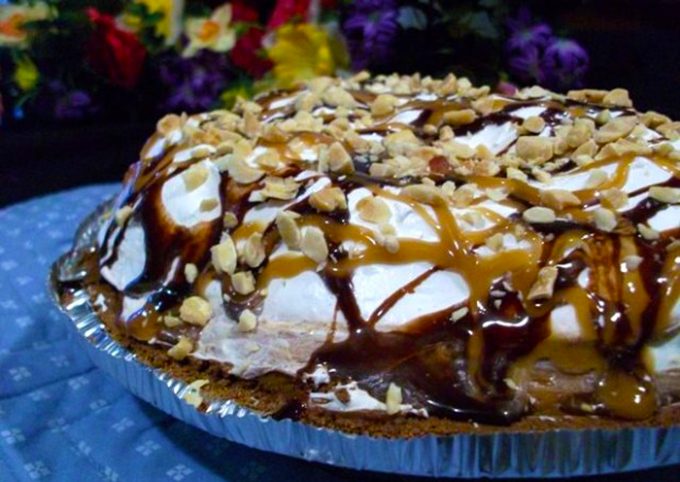
Quick Mud Pie
Ingredients for 2 servings
- 5 tablespoons instant pudding
- 4 tablespoons of powdered milk
- 1 cup of Graham crackers
- ½ cup of almonds
Dessert prep at home:
- Pack the pudding and the powdered milk in one bag, the almonds in the second bag and the crackers in a third bag. If you want to do two servings on two separate occasions, split the ingredients in two and pack them like that.
Dessert prep on the trail:
- Add the powdered milk to a pot where you’ve put a cup of cold water. Stir everything until the powder completely dissolves.
- Add in the instant pudding and stir again until there are no lumps in the mix.
- Let the pudding set for 5-7 minutes, depending on the brand you’ve chosen.
- Add in the crackers and the almonds.
- Let sit for another minute or two before eating so the crackers soak up some of the pudding. Your pie is ready!
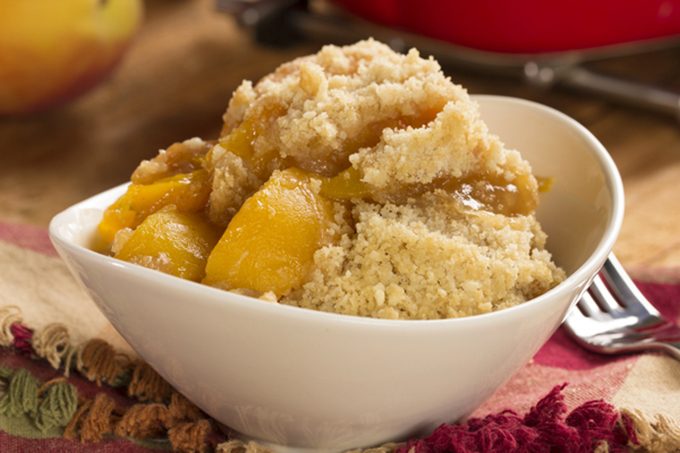
Peach Cobbler
Ingredients for 2 servings
- 1 cup of dehydrated peach slices
- ½ cup of bread crumbs
- 3 teaspoons of sugar
- Cinnamon, optional
- Nutmeg, optional
Dessert prep at home:
- Pack the dehydrated peach slices together with the sugar, cinnamon or nutmeg, depending on your preference. Put the bread crumbs in a different bag.
Dessert prep on the trail:
- Put the dehydrated peach slices together with the sugar (and the cinnamon and nutmeg, if you’re adding some of that) in a pot filled with one cup of water.
- Don’t boil the peaches – just warm them up over low fire.
- Stir them up a bit until they rehydrate and absorb water and sugar.
- Add the bread crumbs and stir everything up.
- Let sit for 5-7 minutes so the bread crumbs will absorb more flavor before eating.
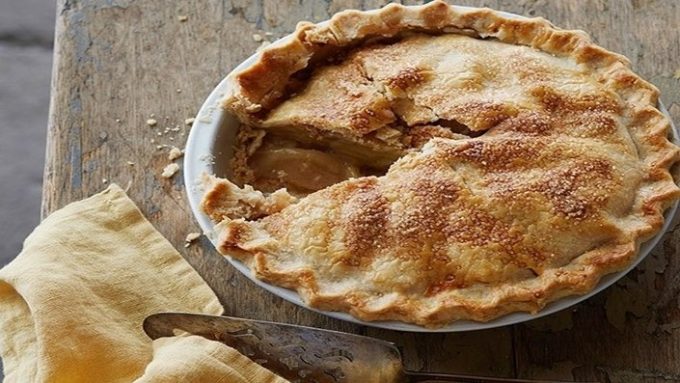
Apple Pie
Ingredients for 2 servings
- 1 cup of dehydrated apple slices
- 1 cup of bread crumbs
- ½ cup of raisins
- 3 teaspoons of sugar
- ½ teaspoon of cinnamon
Dessert prep at home:
- Pack the dehydrated apples together with the raisins, the cinnamon, and the sugar. The bread crumbs should go in a separate bag.
Dessert prep on the trail:
- Put the apples, sugar, cinnamon, and raisins in a pot with one cup of water.
- Don’t boil anything; you’ll just want to warm things up over low fire.
- Let the apples rehydrate and soak in the flavor.
- Add the bread crumbs and stir everything nicely.
- Let sit for 5-7 minutes before eating the bread crumbs.
Marshmallow Puppy Chow
Ingredients for 2 servings
- ½ cup of mini marshmallows
- ½ cup of chocolate chips (you can even do a mix with white chocolate chips)
- Cookies of your choice (opt for chewy cookies)
- Peanut butter, optional
- Graham crackers, optional
For an even nicer variation, you could do a mix of white and black chocolate chips. This recipe works best with chewy cookies as they have more moisture in them but feel free to experiment further on. If you find that the cookies make the dessert too sweet for your liking, do half cookies, half graham crackers to kill the sweetness.
Don’t forget to bring a tin can to mix everything in, especially if you have children – they’ll find it much more exciting! Each person should get a tin can and a spoon.
Dessert prep at home: None
Dessert prep on the trail:
- Take a tin can and put in the chocolate chips and the peanut butter inside.
- Melt everything over low fire.
- Add in the cookies (or the Graham crackers, depending what you chose) and stir it in nicely.
- Add the marshmallows on top and wait only a minute or two more so they melt and give texture.
- You could stir all of it together or just dig in as it is – it’ll be tasty whichever way you choose!
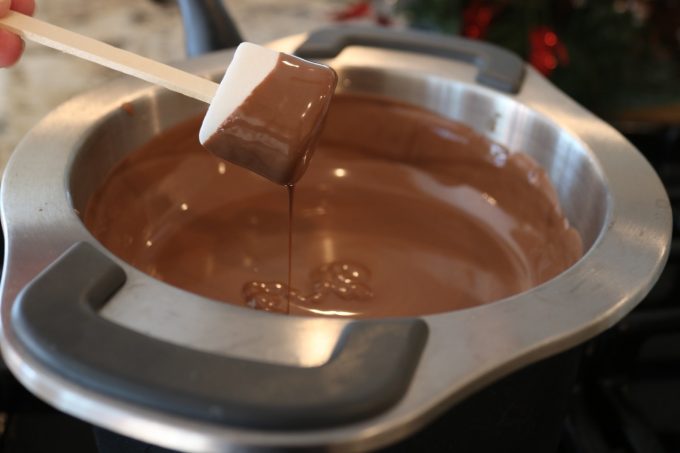
Chocolate Campfire Dip
Ingredients for 4 servings
- 1 box of chocolate cream cheese
- 1 box of marshmallow cream
- ½ cup of chocolate chips
- ½ cup of mini marshmallows
- Graham crackers
- Nuts, optional
- Fruit slices, optional
Don’t forget to bring a larger parchment of tin foil to melt the dip in and some skewers if you don’t want to get messy and sticky fingers.
Dessert prep at home:
- Crush the nuts at home and pack them in a separate bag. Almonds and walnuts would work best in this case.
- Pack the rest in separate bags.
Dessert prep on the trail:
- Put everything except the crackers and the fruit in the tin foil.
- Wrap it up and place it on the coal.
- Let the ingredients melt; you can stir it occasionally.
- After 7-10 minutes, your campfire dip should be ready. Remove it from the fire and put it aside.
- Place a piece of fruit, (or even a marshmallow!) on a skewer or take some crackers and you’re ready to dip into your dessert!
Go healthylicious
If you’ve been avoiding sugar like the plague and don’t feel like breaking your diet on the trail, then the good news is that you could easily opt for some healthier dessert alternatives.
Fruit is always a good idea – it’s healthy, delicious, and full of important fibers. However, if you’re bored by the way regular fruit taste likes, you could always go wild with your fruits and try grilling them in a pan over the campfire. If you have your kids around, they will love these healthy sweets, too. Check out our helpful hints when camping with children for more information.
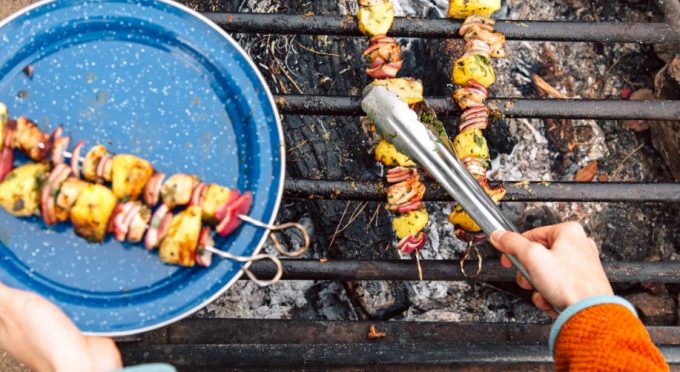
A grilled pineapple tastes amazingly well – if you’re willing to drag a pineapple all the way up there – though that’s very doable on shorter-distance trips.
Apart from different fruits, you could always bring some dark chocolate that has more than 70% cocoa in it. Bonus: you could make some of these recipes with dark chocolate only, as it won’t largely compromise the recipe!
Dig into your delicacies!
You’ve probably realized by now just how simple and easy these desserts are – most of them will take less than 10-15 minutes to make! That’s just the right amount of time you’ll need to get even more comfortable around the campfire after a nice dinner.
On top of that, most of them are budget-friendly and with ingredients that won’t take you further than your local store. Once you start feeling more comfortable, start adding in your own variations and take things to a whole different level.
Hopefully, you’ve chosen your absolute favorite that you’ll be trying on your next camping trip. Don’t forget to pair each dessert with your favorite warm drink and you’ll be feeling much more rested and energized on your trip. Bon appetite!
For yummy dessert recipes for camping, check out our earlier must-read article for more information.